 Save to feedthepins
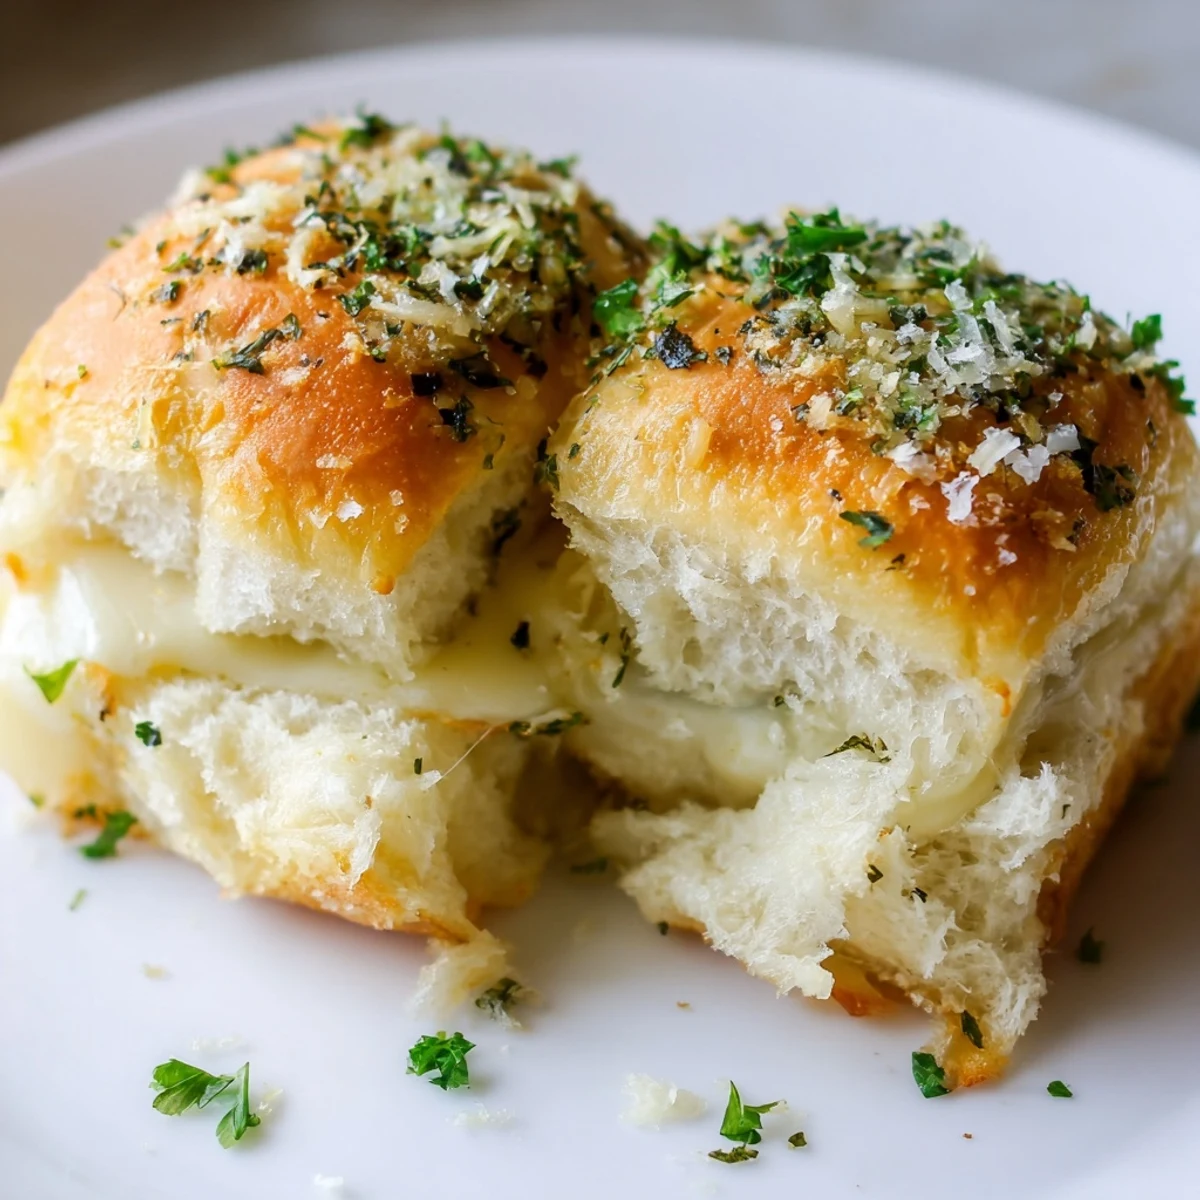
 These delightful mini sandwiches feature sweet Hawaiian rolls sliced horizontally and filled with a generous layer of mozzarella and sharp cheddar cheese. Brushed with garlic butter and baked until the tops turn golden brown, each bite delivers perfectly melted cheese with a subtle sweetness from the rolls.
The preparation takes just 10 minutes, and the whole tray bakes together in one sheet pan, making them ideal for feeding a crowd. Optional toppings like fresh parsley and Parmesan add extra flavor dimension.
Perfect for game day gatherings, birthday parties, or as an afternoon snack, these handheld treats pair wonderfully with warm tomato soup. Customizable with different cheese varieties, they're sure to become a go-to appetizer for any occasion.
The smell of Hawaiian rolls always takes me back to my aunt's kitchen, where she'd serve them warm from the oven at every family gathering. I stumbled upon this recipe during a particularly stressful week when I needed something comforting but didn't have the energy for an elaborate cooking project. The first batch disappeared so quickly that my husband actually asked if I'd made enough for seconds, which never happens with my usual appetizers.
Last winter, my friend Sarah was going through a rough patch and I brought over a batch of these warm, gooey rolls. We sat at her kitchen table, pulling apart the cheese-stretched sandwiches while the snow fell outside, and she told me it was exactly what she needed. Now whenever I make them, I think about how sometimes the simplest comfort foods can turn an ordinary Tuesday into something that feels like a hug.
Ingredients
- 1 package (12-count) Hawaiian sweet rolls: The sweetness of these rolls is non-negotiable, it's what makes this recipe sing and creates that perfect sweet-savory balance
- 8 oz (225 g) shredded mozzarella cheese: Mozzarella provides that incredible cheese pull everyone fights over, plus it melts so beautifully
- 4 oz (115 g) cheddar cheese, sliced or shredded: Sharp cheddar cuts through the sweetness and adds that familiar comfort flavor we all crave
- 4 tbsp unsalted butter, melted: I learned the hard way that salted butter makes these too salty, so stick with unsalted
- 1 tsp garlic powder: Don't use fresh garlic here, powder distributes more evenly and won't burn in the oven
- 2 tbsp fresh parsley, chopped: This isn't just for looks, it adds a fresh brightness that cuts through all that rich cheese
- 2 tbsp grated Parmesan cheese: The umami bomb that takes the garlic butter topping from good to absolutely irresistible
Instructions
- Get your oven ready:
- Preheat to 350°F (175°C) and line a baking sheet with parchment paper, because nothing ruins a good cooking mood like scrubbing baked-on cheese off a pan.
- Prep the rolls like a pro:
- Leave the rolls connected and slice the entire block horizontally through the middle, creating one giant sandwich that you'll separate later.
- Layer your cheese foundation:
- Place the bottom roll layer on your prepared sheet and pile on the mozzarella and cheddar, right to the edges so every bite gets cheesy.
- Reunite the halves:
- Gently place the top roll layer over your cheese mountain, trying not to squish everything too much.
- Create the garlic butter magic:
- Whisk together your melted butter and garlic powder, then brush it generously over every inch of the roll tops.
- Add the finishing touches:
- Sprinkle with parsley and Parmesan if you're feeling fancy, which you absolutely should be.
- Bake until golden perfection:
- Slide into the oven for 12 to 15 minutes until the tops are golden brown and you can see cheese trying to escape the sides.
- The hardest part:
- Let them cool for 2 minutes before using a sharp knife to separate into individual rolls, or you'll burn your fingers trying to pull them apart.
 Save to feedthepins
 My youngest daughter helped me make these for her birthday party last year, and she was so proud telling all her friends that she had brushed the butter on herself. They were gone before the pizza even arrived, and now she requests them for every celebration.
Make Them Your Own
I've experimented with adding thinly sliced tomatoes or a layer of baby spinach between the cheeses, and while purists might argue, the extra freshness really works. Sometimes I'll tuck in some caramelized onions if I'm feeling particularly indulgent on a Sunday morning.
Cheese Variations
Smoked gouda adds this incredible depth that makes these feel grown-up and sophisticated, while pepper jack brings a gentle heat that surprises people in the best way. Just keep the mozzarella as your base because you need that melt factor.
Serving Suggestions
These are practically begging to be served alongside a steaming bowl of tomato soup on a rainy evening. They also make the most unexpected but welcome addition to a brunch spread, especially when everyone's craving something savory and satisfying.
- Set out some extra warm marinara for dipping, because everything is better with dip
- Cut them in half diagonally if you're serving as cocktail-hour finger food
- Pair with a crisp green salad if you're trying to convince yourself this counts as a balanced meal
 Save to feedthepins
 Hope these bring as much warmth to your kitchen as they have to mine over the years.
Recipe Q&A
- → Can I make these ahead of time?
-
Yes, assemble the sliders up to 4 hours before baking. Cover tightly with foil and refrigerate. Add the garlic butter just before baking for the crispiest results.
- → What other cheeses work well?
-
Smoked gouda, pepper jack, Swiss, or provolone all create delicious variations. Mixing multiple cheeses adds depth of flavor and creaminess.
- → How do I store leftovers?
-
Store cooled sandwiches in an airtight container in the refrigerator for up to 3 days. Reheat in a 350°F oven for 5-7 minutes to restore crispiness.
- → Can I add meat to make them more filling?
-
Absolutely. Thinly sliced ham, turkey, or cooked bacon layers beautifully between the cheeses. Just keep the layer thin so the heat can melt everything properly.
- → What's the best way to cut the rolls?
-
Use a sharp serrated bread knife with a gentle sawing motion. Keep the rolls connected in their block form while slicing horizontally to create two even halves.
- → Can I freeze these before baking?
-
Yes, assemble completely including the butter topping, wrap tightly in plastic then foil, and freeze for up to 1 month. Bake from frozen, adding 3-5 extra minutes.
