 Save to feedthepins
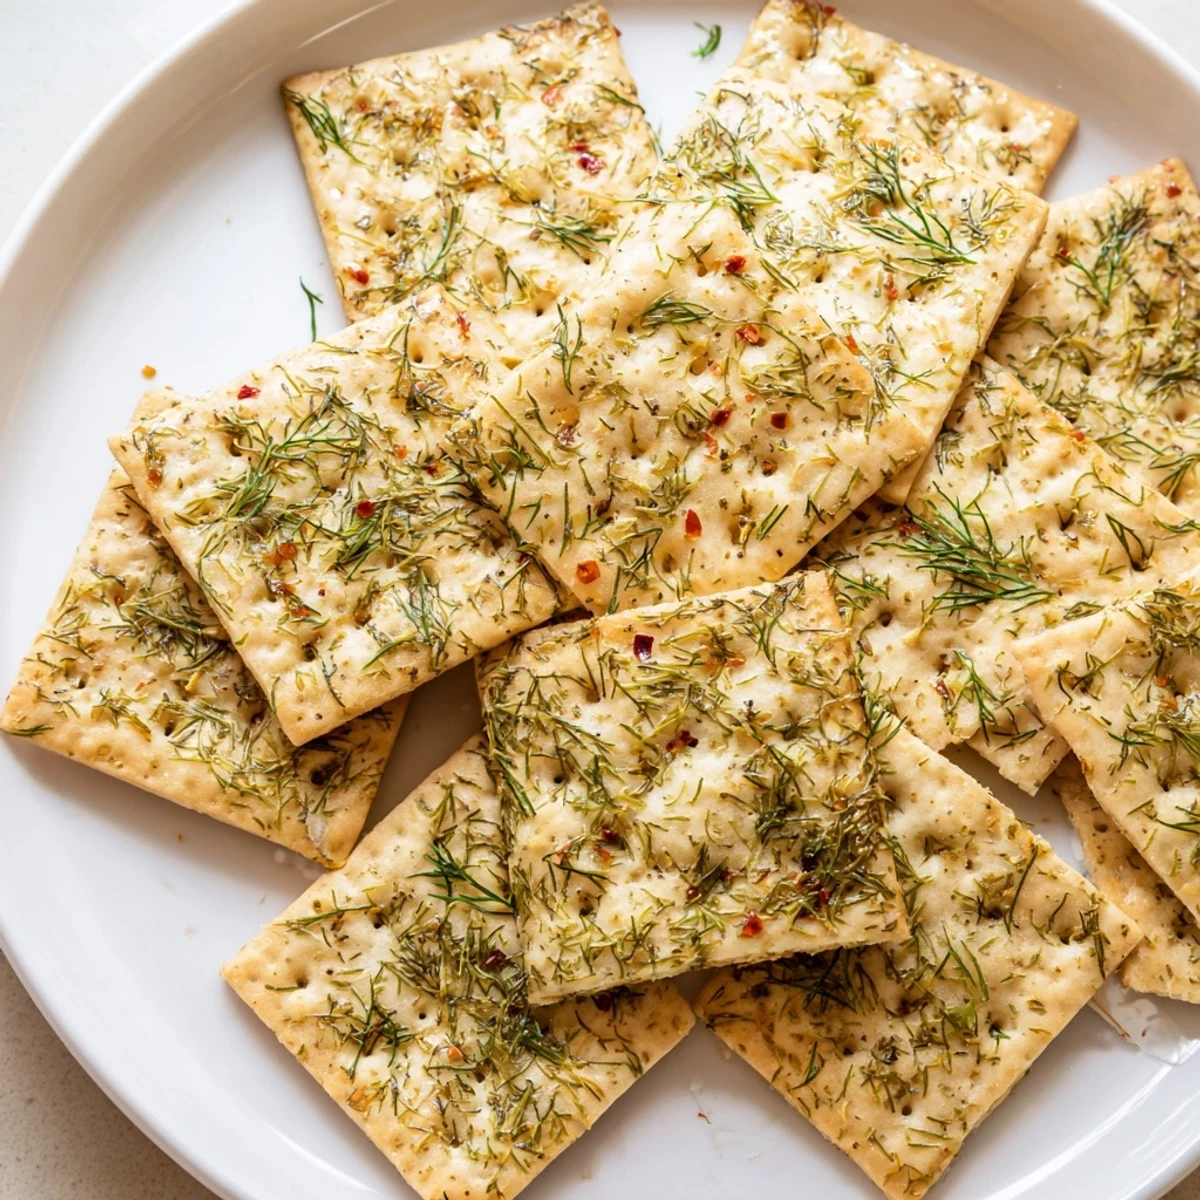
 These dill pickle saltines deliver an irresistible combination of tangy, savory, and slightly spicy flavors. The crackers are brushed with a seasoned butter mixture featuring dill pickle juice, dried dill, garlic powder, onion powder, and optional red pepper flakes for heat. After 15 minutes in the oven, they emerge perfectly crisp with a golden coating that locks in the bold pickle flavor.
Make these for your next gathering and watch them disappear quickly. The preparation is straightforward - simply whisk the melted butter with pickle juice and seasonings, brush onto the crackers, and bake until set. They're ideal for serving alongside cold beer or as part of a snack spread.
The first time I brought these to a party, my friend Sarah literally stood by the bowl and refused to share. She texted me the next morning asking for the recipe, claiming her husband had dreams about them. Now whenever I smell dill and garlic butter warming together, I think about how something so simple can make people so happy.
I accidentally discovered the magic of letting them cool completely on the baking sheet after I got distracted by a phone call. Those extra ten minutes make such a difference in the crunch factor. Now I build that cooling time into every batch, even when nobody's calling.
Ingredients
- Saltine crackers: One sleeve is about 40 crackers, and they need to be fresh and crisp before you start
- Unsalted butter: Melted completely so it mixes seamlessly with the pickle juice
- Dill pickle juice: The backbone of this recipe, so use juice from pickles you actually enjoy eating
- Dried dill weed: Fresh dill works beautifully too, just double the amount
- Garlic powder: Not fresh garlic here, the powder distributes evenly across every cracker
- Onion powder: Adds a subtle sweetness that balances the tang
- Crushed red pepper flakes: Optional, but that tiny kick makes people wonder what your secret ingredient is
- Kosher salt: Adjust based on how salty your crackers already are
Instructions
- Preheat your oven:
- Set it to 300°F and line a baking sheet with parchment paper, trust me, cleanup is worth this step
- Arrange the crackers:
- Lay them out in a single layer, not touching, so every one gets evenly coated
- Whisk the coating:
- Combine melted butter, pickle juice, dill, garlic powder, onion powder, red pepper flakes, and salt until completely blended
- Coat generously:
- Use a pastry brush or spoon to cover each cracker thoroughly, getting into all those nooks and crannies
- Bake until golden:
- Twelve to fifteen minutes until theyre crisp and the topping looks set and slightly glossy
- Cool completely:
- Let them sit on the baking sheet until fully cooled, this is where the magic crunch happens
 Save to feedthepins
 My dad claims he's not a snacker, yet every time he visits, he somehow ends up standing at the counter, eating one after another, telling stories about his childhood. Food has this way of bringing out the best conversations.
Making Them Your Own
Sometimes I add grated parmesan right after brushing them with the butter mixture. The cheese gets all crispy and golden, and suddenly these feel fancy enough for wine night. That tiny addition transforms them from party snacks into something people assume took way more effort than they actually did.
The Perfect Pairing
Cold beer is the classic choice here, something crisp and light that cuts through the richness. But I've also served them with sparkling water at baby showers, and they were just as much of a hit. The key is having something cold and refreshing alongside.
Batch Cooking Wisdom
I've learned to double the coating mixture and keep it in the fridge. When unexpected guests show up, I can whip up a fresh batch in twenty minutes. That little bit of prep has saved me more times than I can count.
- Mix up extra coating and store it in a jar for up to a week
- Set a timer for twelve minutes the first time, then check every minute after
- Let them cool completely before storing, or they'll lose their crunch
 Save to feedthepins
 These little crackers have become my go-to for everything from game day to unexpected visitors. Simple, reliable, and always the first thing to disappear.
Recipe Q&A
- → Can I make dill pickle saltines ahead of time?
-
Yes, you can prepare these up to 3 days in advance. Store them in an airtight container at room temperature to maintain their crisp texture. They actually develop even more flavor as they sit.
- → What's the best way to coat the crackers evenly?
-
Use a pastry brush to gently brush the seasoning mixture onto each cracker. This ensures even coverage without breaking the delicate crackers. A spoon works too, but be careful not to oversaturate any single piece.
- → Can I use fresh dill instead of dried?
-
Absolutely. Fresh dill adds bright, vibrant flavor. Use 2 tablespoons of chopped fresh dill in place of 1 tablespoon dried. The fresh herbs will give the finished crackers a more aromatic, garden-fresh taste.
- → Are these dill pickle saltines spicy?
-
They have a mild kick from the optional red pepper flakes. Omit them if you prefer a completely mild version. The garlic and onion powder provide savory depth without heat, making the overall flavor tangy and buttery rather than spicy.
- → What can I serve with dill pickle saltines?
-
These pair wonderfully with cold beer, sparkling water, or light white wine. They're also excellent alongside dips, cheese plates, or as part of a larger snack spread. Their tangy flavor complements rich, creamy foods especially well.
- → Can I make these gluten-free?
-
Yes. Simply substitute gluten-free crackers for the saltines and use dairy-free butter if needed. The seasoning mixture itself is naturally gluten-free, so just check that all your ingredients meet your dietary requirements.
