 Save to feedthepins
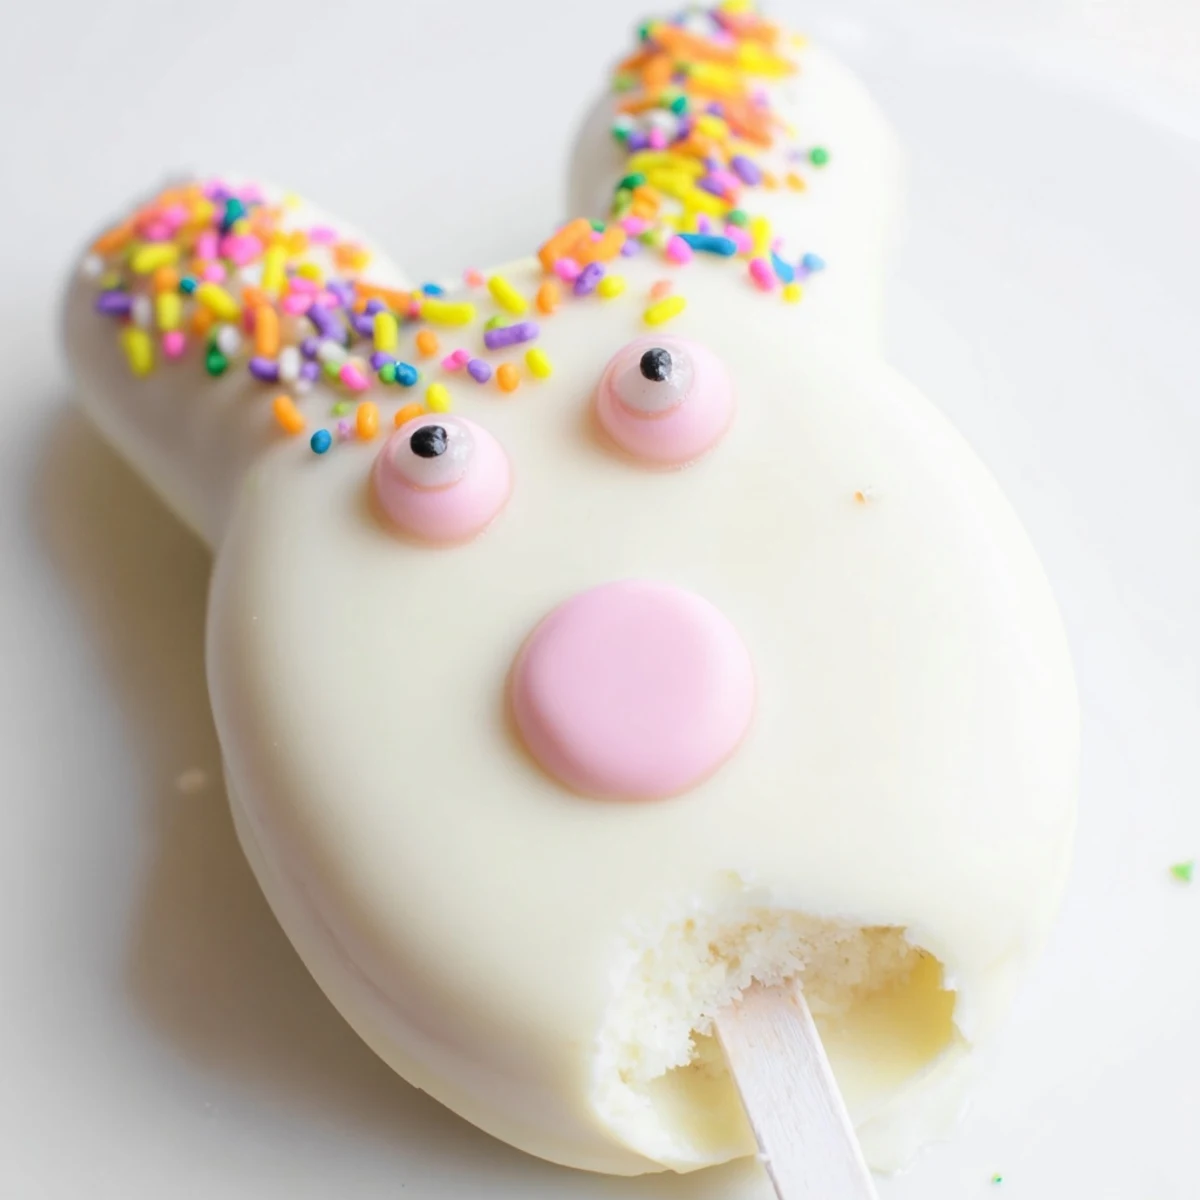
 These delightful bunny-shaped treats combine moist vanilla cake crumbs with a creamy white chocolate coating, creating the perfect festive dessert for your Easter celebration. The dough-like mixture forms easily into adorable bunny faces that hold securely on sticks, making them fun to eat and simple to decorate.
Making these treats is straightforward—simply combine cake crumbs with cream cheese, butter, and vanilla, then shape into bunny faces. After chilling, dip in melted white chocolate and add cute decorations like candy eyes, pink noses, and fondant ears. The result is an irresistible combination of rich chocolate and tender cake that both kids and adults will love.
Customize with different cake flavors, colored chocolate swirls, or various decorations to match your Easter theme. They store beautifully in the refrigerator for up to three days, making them perfect for preparing ahead of your holiday gathering.
My kitchen counter looked like a pastel explosion last Easter Sunday when I decided these bunny cakesicles would be the perfect surprise for my nieces. Theres something ridiculously satisfying about turning leftover cake into something magical that makes both kids and adults grin.
The best moment came when my five year old niece declared these better than anything the Easter bunny could possibly deliver. Now theyre requested for every family gathering spring or not.
Ingredients
- Vanilla cake crumbs: Using stale cake or cupcakes works beautifully here since were binding it with frosting ingredients anyway.
- Cream cheese: Softened to room temperature this acts as the glue that holds your cake mixture together perfectly.
- Unsalted butter: Adds richness and helps create that fudgy texture that makes these irresistible.
- Powdered sugar: Just enough sweetness to bind everything without making the mixture too sweet.
- Vanilla extract: Pure vanilla makes all the difference in rounding out the flavors.
- White chocolate: High quality melts create the smoothest coating for professional looking results.
- Cakesicle sticks: Ensure these are food grade and sturdy enough to hold your cake shapes.
- Edible decorations: Candy eyes and sprinkles transform simple cake pops into adorable bunny faces.
Instructions
- Mix the cake dough:
- Combine cake crumbs cream cheese butter powdered sugar and vanilla in a medium bowl mixing until you have a dough that holds together when squeezed.
- Shape the bunnies:
- Divide mixture into 8 portions and flatten each into an oval bunny face shape inserting a stick about halfway into each one.
- Chill until firm:
- Refrigerate for 20 to 30 minutes until completely firm which helps them hold their shape during dipping.
- Melt the chocolate:
- Heat white chocolate in 30 second bursts stirring between each until completely smooth and fluid.
- Coat the cakesicles:
- Dip each chilled cake shape into melted chocolate tapping gently to remove excess while ensuring complete coverage.
- Add the decorations:
- While chocolate is still soft add candy eyes sprinkles and fondant ears creating those adorable bunny faces.
- Set and serve:
- Let them firm up at room temperature or pop in the fridge briefly before serving your festive creations.
 Save to feedthepins
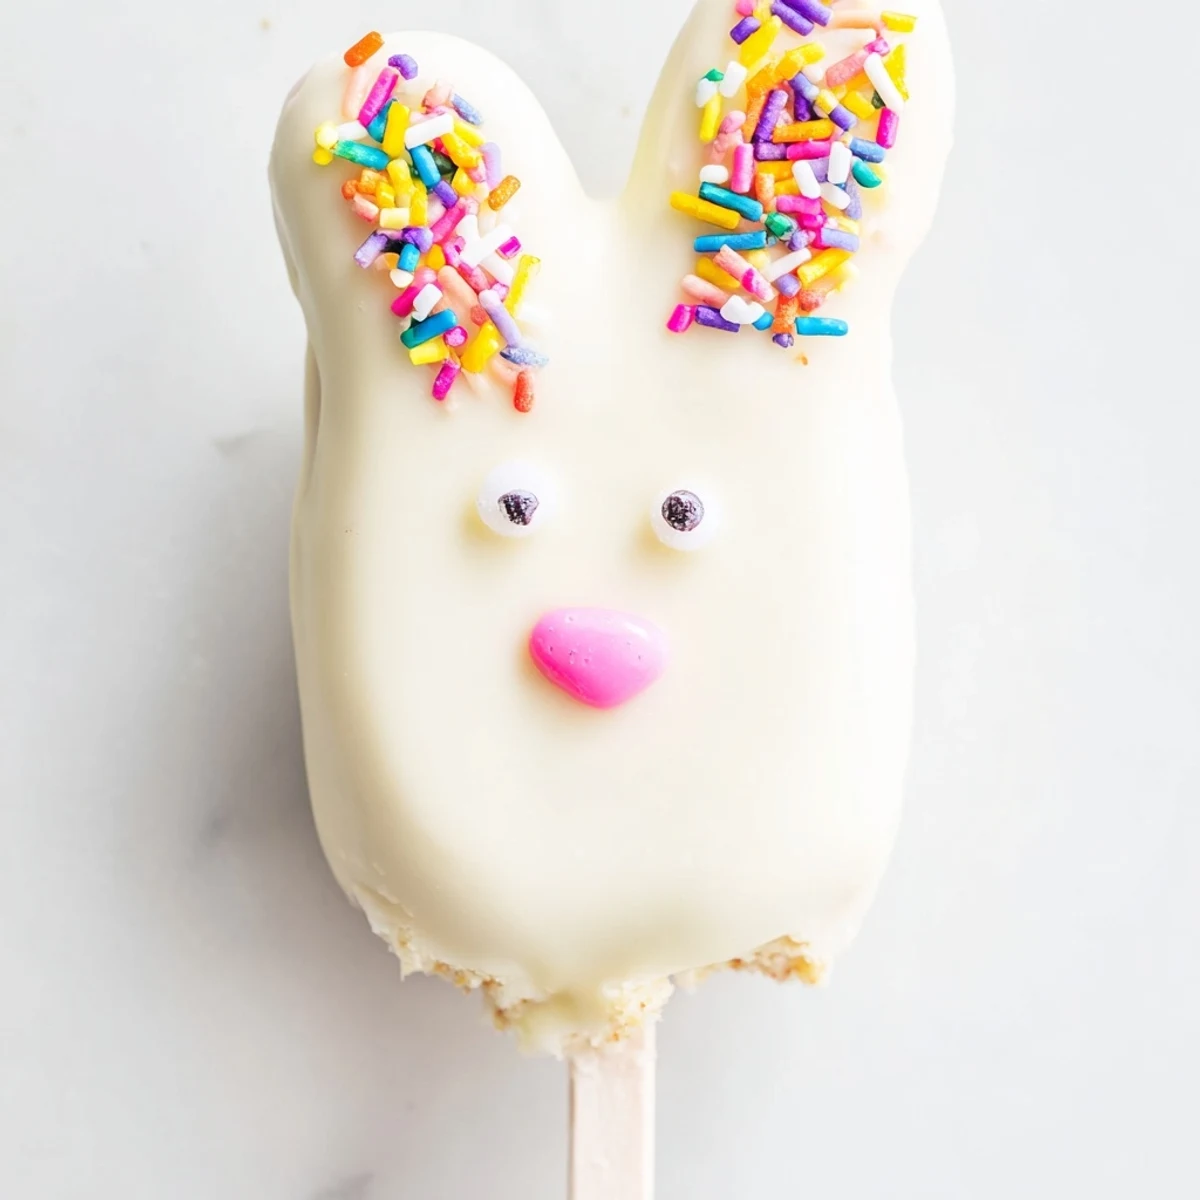
 Last year I made three dozen of these for a neighborhood egg hunt and parents were just as excited as the kids. Something about those little bunny faces makes everything feel more celebratory.
Getting Creative With Flavors
Lemon or chocolate cake crumbs create completely different flavor profiles that are just as delicious as the vanilla version. My personal favorite is using red velvet cake crumbs with white chocolate coating for that stunning color contrast.
Making Them In Advance
These freeze beautifully before dipping so you can prepare the cake shapes weeks ahead and just coat them when needed. Keep them layered between parchment paper in an airtight container for up to a month.
Decoration Ideas That Wow
Swirl a tiny bit of pink gel food coloring through your white chocolate before dipping for a gorgeous marbled effect. You can also use edible markers to draw whiskers and noses after the chocolate sets.
- Use edible glitter for extra sparkle on the ears.
- Pretzel sticks make great whiskers when cut into small pieces.
- Keep your chocolate warm in a bowl over hot water while working.
 Save to feedthepins
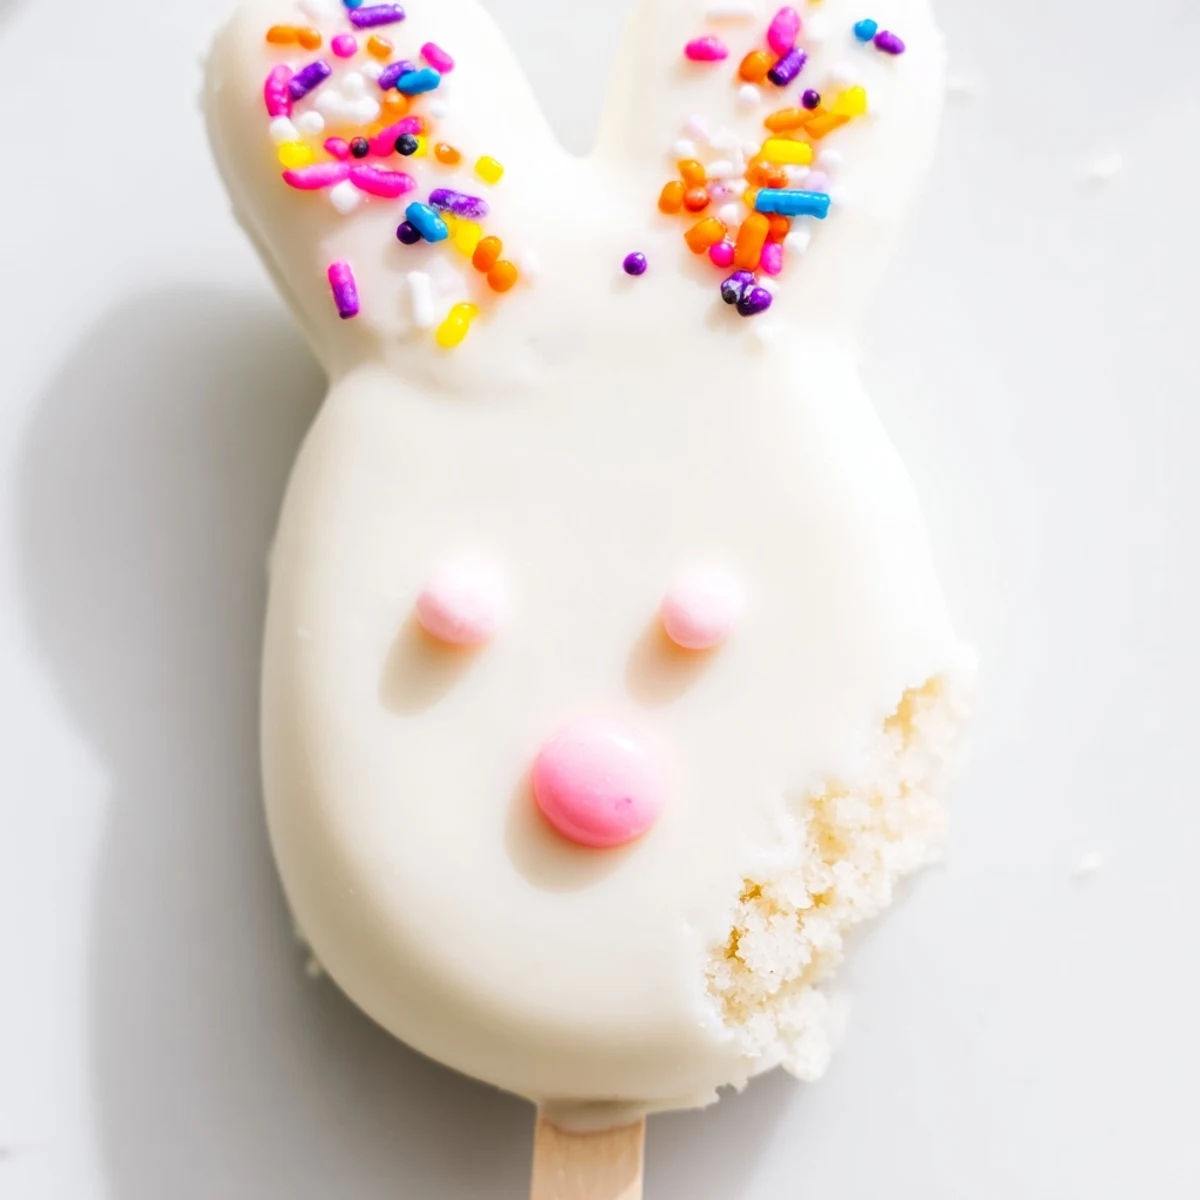
 These whimsical treats have become my favorite way to celebrate spring and they bring such joy to everyone who sees them. Happy Easter baking.
Recipe Q&A
- → How far in advance can I make these bunny cakesicles?
-
You can prepare these treats up to 3 days in advance. Store them in an airtight container in the refrigerator to maintain freshness. The chocolate coating stays firm, and the cake remains moist when properly stored.
- → Can I use different cake flavors besides vanilla?
-
Absolutely! Chocolate cake, lemon, red velvet, or funfetti crumbs work wonderfully. The cream cheese mixture binds any crumb type perfectly. Just ensure your cake is completely cooled before crumbling to prevent the dough from becoming too sticky.
- → What if I don't have a cakesicle mold?
-
No problem! Simply shape the mixture by hand into flattened ovals or bunny face shapes. The dough holds together well, making free-form shaping easy. Insert the stick carefully and chill thoroughly before coating to help the shape maintain its structure during dipping.
- → How do I prevent the chocolate from seizing when melting?
-
Melt white chocolate in 30-second intervals, stirring thoroughly between each burst. Avoid getting any moisture into the chocolate—even a drop of water can cause seizing. If the chocolate becomes too thick, add 1 teaspoon of vegetable oil to smooth it out.
- → What decorations work best for bunny faces?
-
Candy eyes, pink sprinkles or confetti for noses, and fondant or modeling chocolate for ears create adorable bunny faces. You can also use food coloring pens to draw details after the chocolate sets. Pretzel sticks make great whiskers, and pink heart sprinkles work perfectly as noses.
- → Can I freeze these treats for later?
-
Yes, these freeze well for up to 1 month. Wrap each individually in plastic wrap, then place in a freezer-safe container. Thaw in the refrigerator overnight. Note that some decorations might sweat slightly upon thawing, so add delicate decorations after freezing if possible.
