 Save to feedthepins
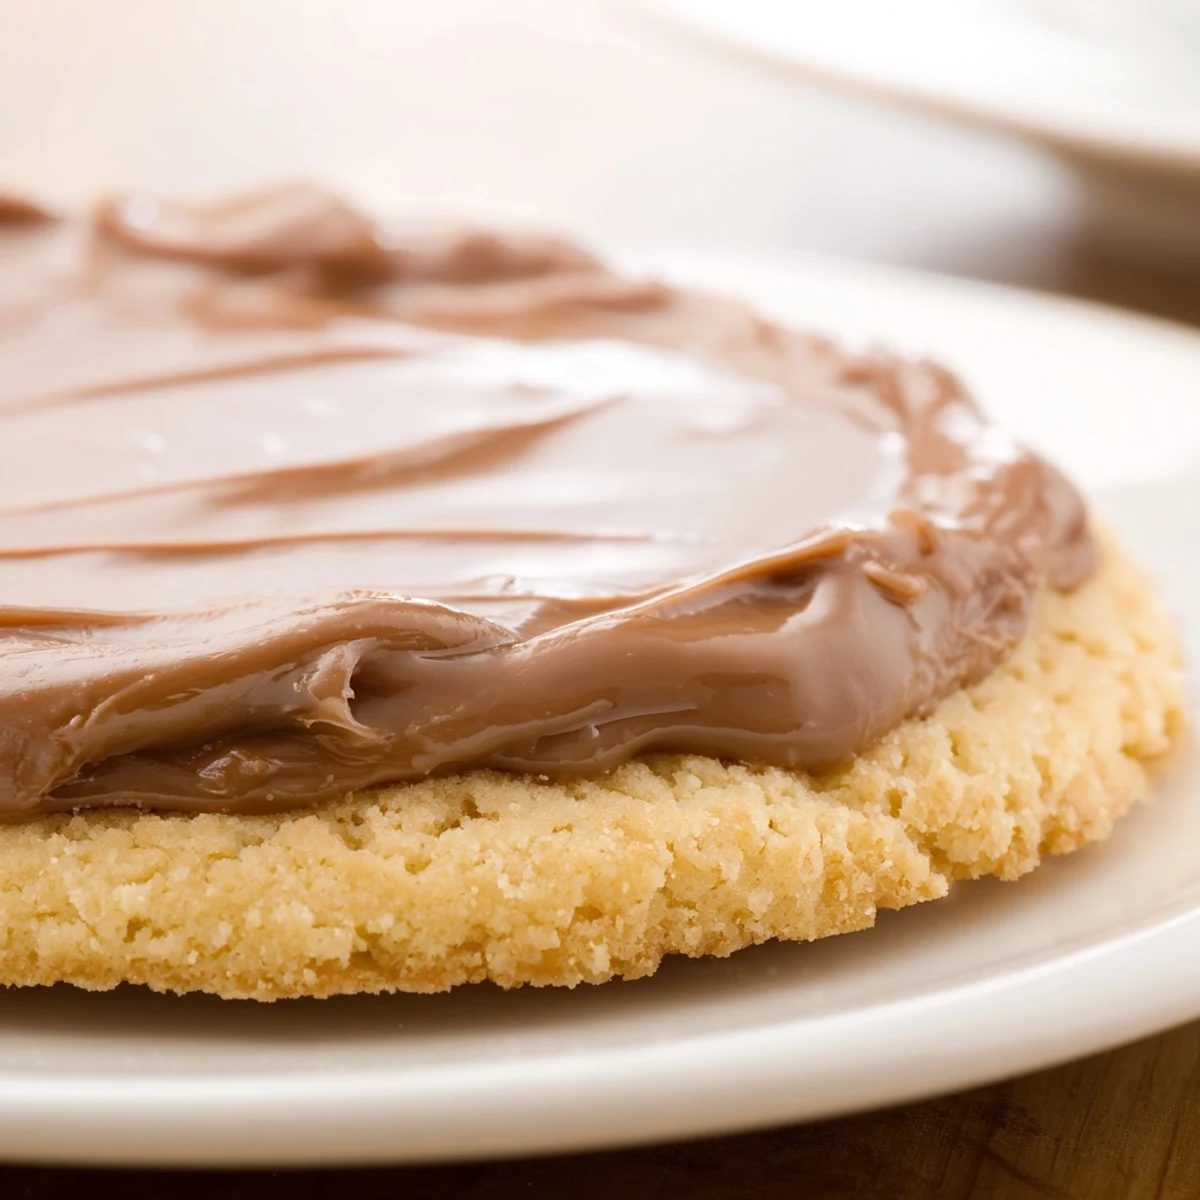
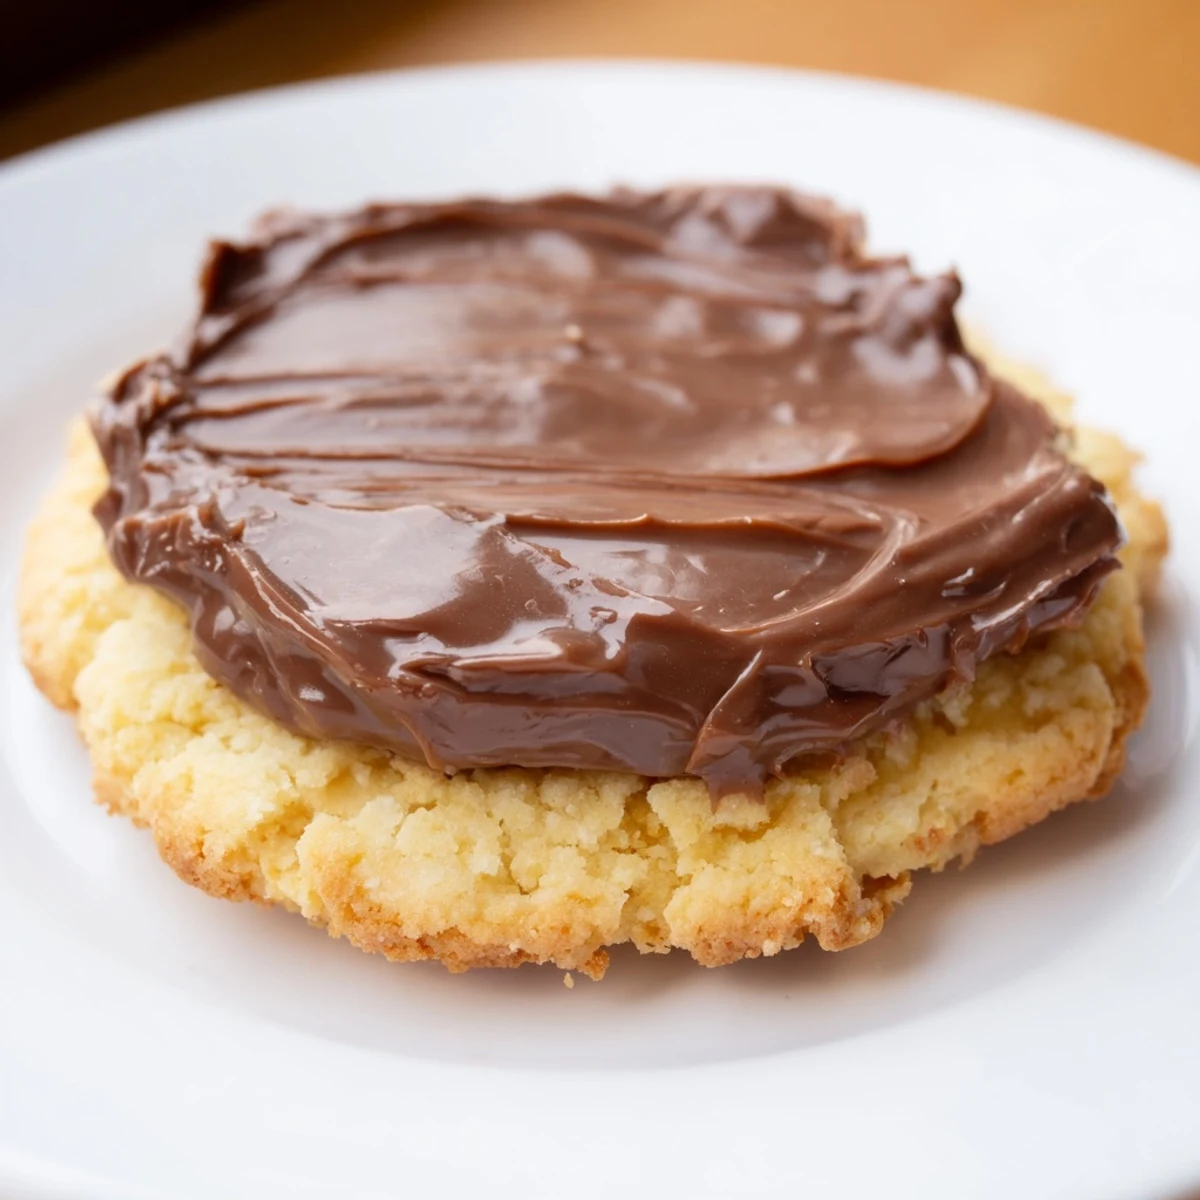
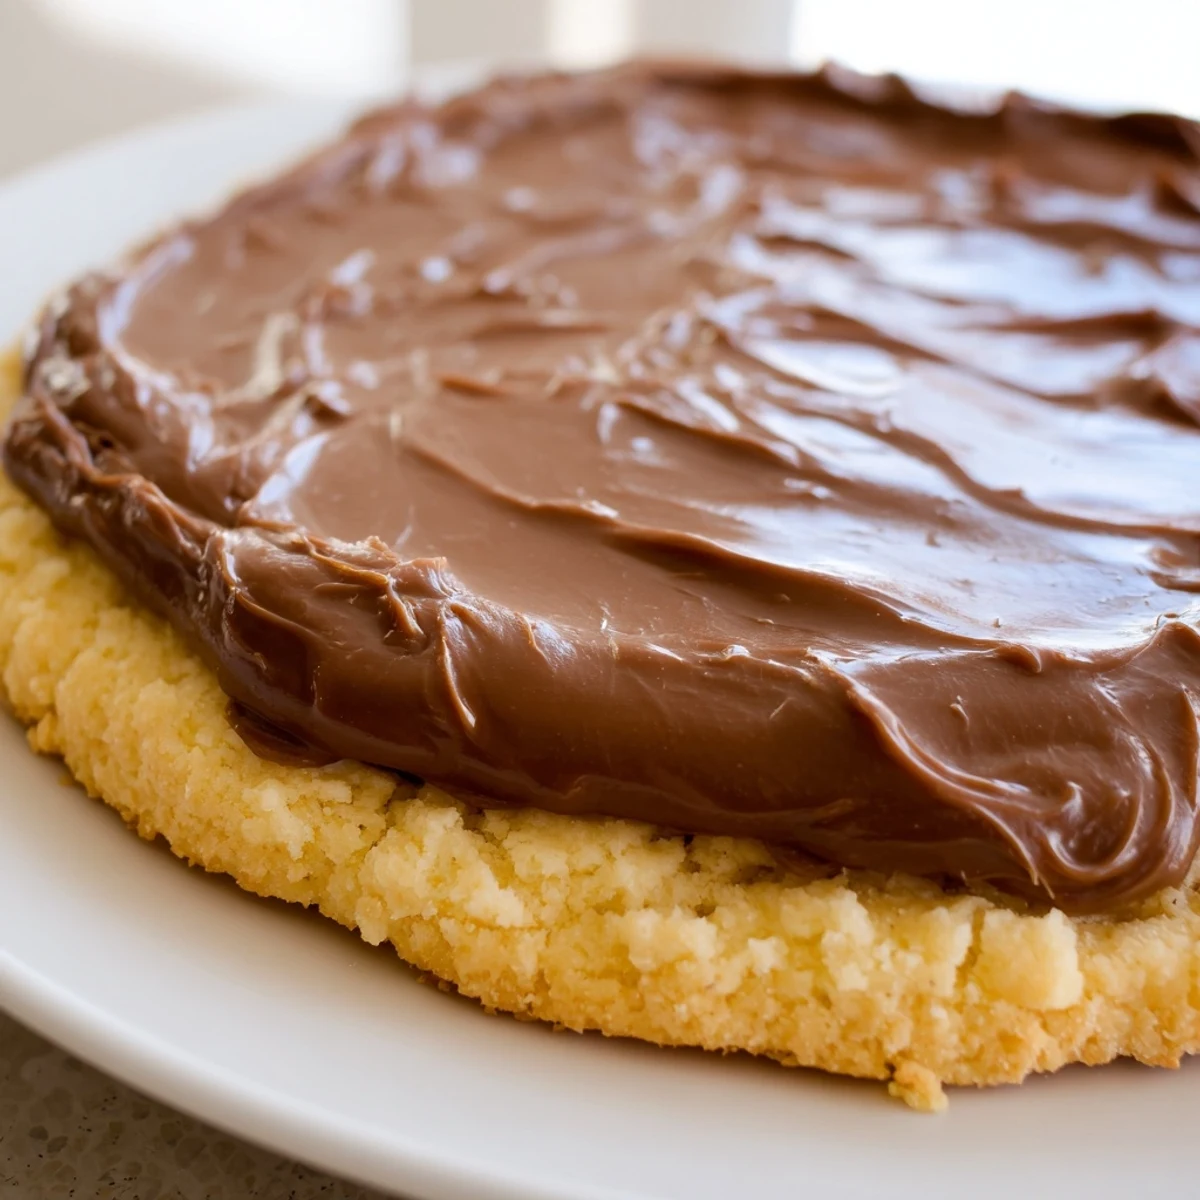
 This indulgent treat features a crisp buttery shortbread base topped with a smooth, creamy caramel layer and finished with a rich milk chocolate coating. The dough is made by creaming softened butter and sugar, then combining it with vanilla, flour, and a touch of salt. After baking, the shortbread cools before receiving a caramel spread that is chilled to set. Finally, a melted blend of milk chocolate and butter is spread atop and chilled again, resulting in a decadent layered confection perfect for celebrations or satisfying sweet cravings.
The smell of buttery shortbread fresh from the oven takes me back to my apartment on a rainy Sunday afternoon. I had been craving something sweet but substantial, not just another chocolate chip cookie. My roommate walked in mid-bake and immediately asked what kind of magic was happening in our tiny kitchen. Those first batches were messy and imperfect, but the combination of tender cookie, gooey caramel, and chocolate coating was absolutely worth the dishes.
I brought a platter to my book club meeting and watched three people's eyes light up after the first bite. Someone immediately asked for the recipe, while another quietly took two more cookies 'for later.' Now they are my go-to contribution whenever I need a dessert that feels like a treat but still tastes like something made with real ingredients.
Ingredients
- Unsalted butter: Use truly softened butter for the shortbread layer to get that perfect melt in your mouth texture
- Granulated sugar: Just enough to sweeten the shortbread without overpowering the caramel and chocolate layers
- All-purpose flour: The structure that holds everything together, so measure carefully for the right crumb
- Salt: A tiny amount balances all the sweetness and makes the flavors pop
- Vanilla extract: Pure vanilla adds warmth that pairs beautifully with the caramel
- Thick caramel sauce or dulce de leche: This is the star of the show, so choose a brand you love or take the time to make your own
- Milk chocolate: Chopped into small pieces so it melts evenly and coats every cookie perfectly
Instructions
- Prepare your oven and pans:
- Preheat the oven to 350°F and line two baking sheets with parchment paper, which prevents sticking and makes cleanup effortless
- Cream the butter and sugar:
- Beat the butter and sugar together until the mixture looks pale and fluffy, then mix in the vanilla
- Form the dough:
- Add the flour and salt, mixing just until everything comes together into a soft, workable dough
- Shape the cookies:
- Roll the dough into 1-inch balls and space them 2 inches apart on the prepared baking sheets
- Flatten gently:
- Press each ball with your palm or the bottom of a glass until they are about 1/2 inch thick
- Bake to golden perfection:
- Bake for 12 to 15 minutes until the edges are just beginning to turn golden, then let them cool completely on wire racks
- Add the caramel layer:
- Spread 1 to 2 teaspoons of caramel onto each cooled cookie and chill for 30 minutes so the caramel sets up nicely
- Melt the chocolate:
- Melt the chocolate and butter together over a double boiler, stirring until you have a smooth, glossy mixture
- Finish with chocolate:
- Spoon or spread the melted chocolate over the caramel layer on each cookie
- Chill until set:
- Chill the cookies for another 15 minutes until the chocolate is firm, then serve them at room temperature for the best texture
 Save to feedthepins
 My sister-in-law now requests these for every birthday instead of cake, and I have to admit, she might be onto something. There is something about the three distinct layers that makes each bite feel like a proper indulgence, not just another cookie.
Making The Caramel Layer Even Better
Store-bought caramel works beautifully, but melting soft caramels with a splash of heavy cream gives you a firmer layer that holds its shape beautifully. This small step takes extra effort but makes a noticeable difference in the final presentation.
Chocolate Choices And Tempering
Milk chocolate is classic Twix, but dark chocolate adds sophistication and cuts through some of the sweetness. If you want a snappy chocolate coating that stays shiny at room temperature, consider tempering your chocolate before dipping.
Storage And Make-Ahead Tips
These cookies actually improve after a day, as the flavors meld together and the textures soften slightly. Store them in an airtight container at cool room temperature for up to five days, or freeze the undipped cookies for up to a month.
- Layer cookies between parchment paper to prevent them from sticking together
- Let frozen cookies thaw overnight in the refrigerator before dipping
- Bring chilled cookies to room temperature for about 15 minutes before serving
 Save to feedthepins
 Every time I make these, I remember that rainy afternoon and how something so simple brought so much joy to my tiny kitchen. Happy baking.
