 Save to feedthepins
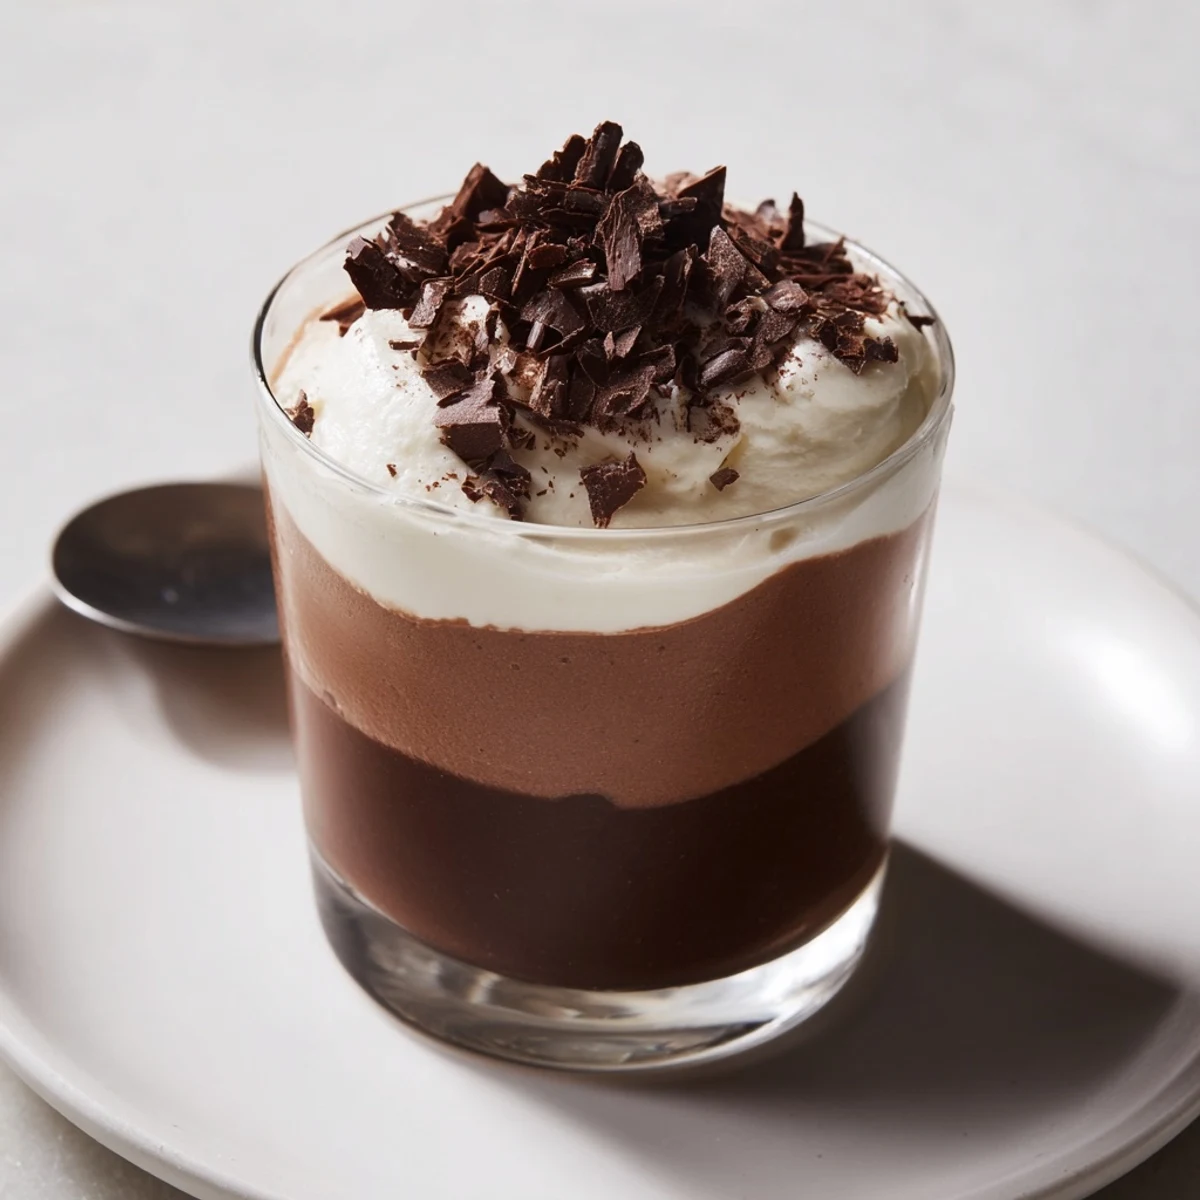
 Layer three mousses—dark, milk and white—by melting each chocolate, folding it into a whipped egg-yolk-and-sugar base, then gently incorporating softly whipped cream. Spoon or pipe layers into six small cups, chilling briefly between additions to set. Finish chilled until firm (about 1 hour). Serves 6; total time about 2 hours including chilling. Use good-quality chocolate and garnish with shavings or a dusting of cocoa.
Some desserts announce their arrival before you even see them: the delicate scent of melting chocolate drifting from the kitchen tends to stop conversations mid-sentence. Triple Chocolate Mousse Cups made their debut in my home on a rainy afternoon when I craved something with drama and comfort in every spoonful. There&s a certain quiet thrill in watching three shades of chocolate swirl into distinct, elegant layers. My hands were a bit shaky the first time I piped the final mousse, but that excitement still bubbles up every time I make these.
Once, I served these cups after a family dinner when everyone said they were 'too full' for dessert—until I brought out the tray and suddenly the room filled with laughter and spoons tapping glass. Even my notoriously reserved uncle asked for a second cup, swirling a bit of cream onto his mustache without noticing. These memories paint the edges of this recipe every time I line up the serving glasses.
Ingredients
- Dark chocolate (100 g, minimum 60% cocoa): Choose a bar with a deep cocoa flavor for a mousse that really pops through the layers—melting it gently preserves its glossiness.
- Egg yolks (3, large): They lend the mousses richness and stability; be sure to separate eggs while cold for less fuss.
- Sugar (4 ½ tbsp): Whipping yolks with sugar creates a creamy base for each mousse—don't skip the 'pale and fluffy' stage.
- Heavy cream (300 ml, cold): Cold cream whips faster and holds peaks that trap all the chocolatey air—chill your bowl if you like.
- Milk chocolate (100 g): Melts faster than dark chocolate, but watch closely since it can seize if overheated—gentle heat is key.
- White chocolate (100 g): Sweet and creamy, white chocolate needs a light hand—if it's too hot, it will clump, so let it cool a little before mixing.
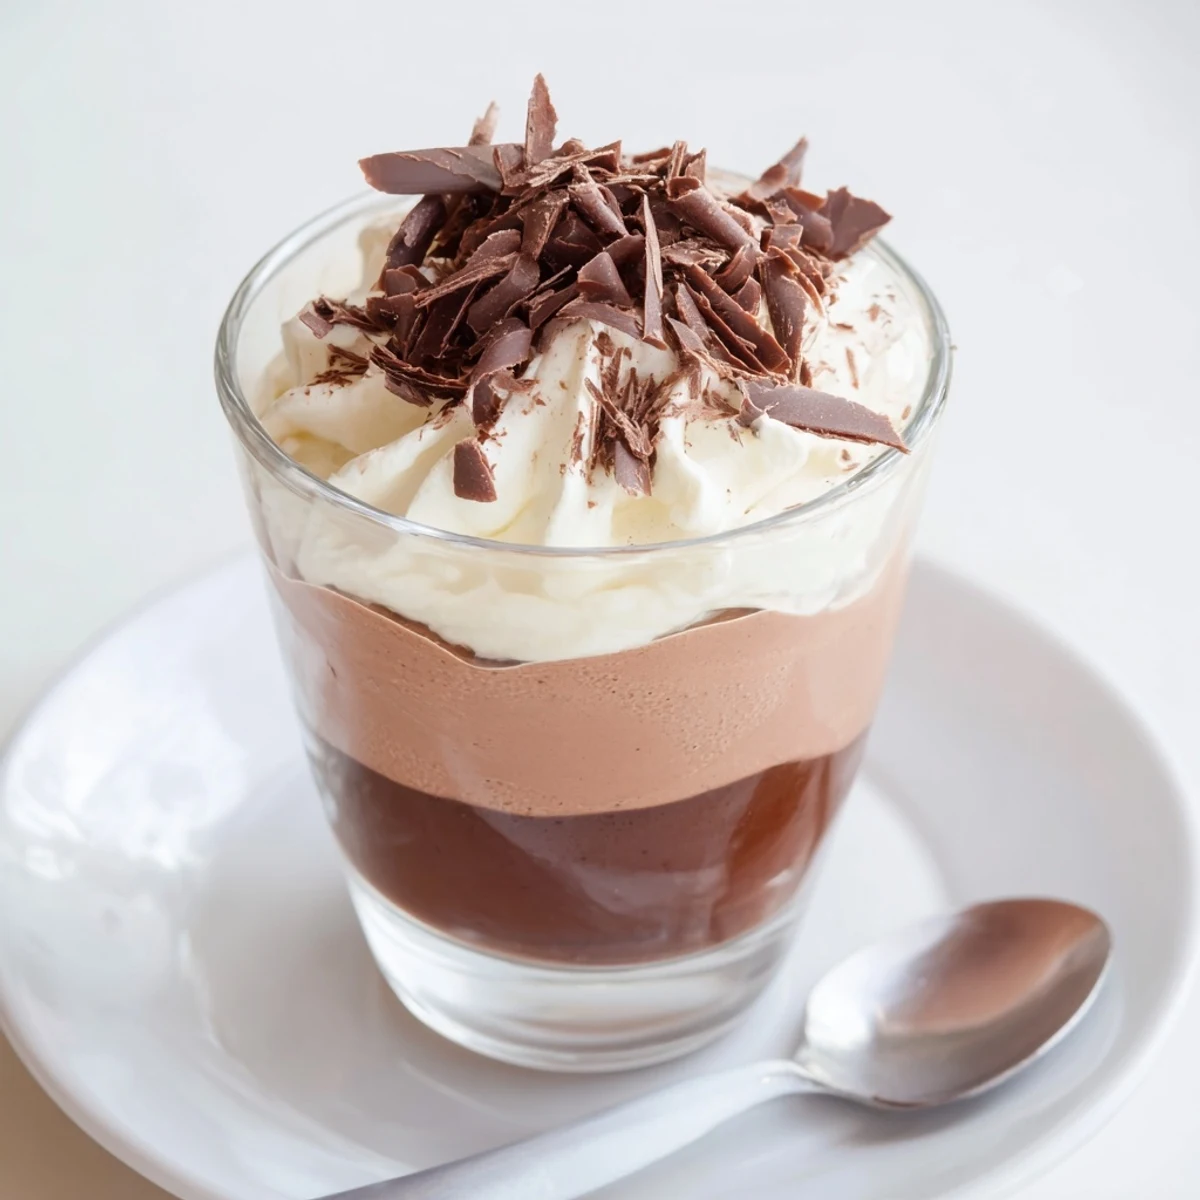
- Shaved chocolate or cocoa powder (for garnish): A quick flourish of shavings, or even a cocoa dusting, makes the cups look as good as they taste—use a vegetable peeler for easy chocolate curls.
Instructions
- Prepare the dark chocolate mousse:
- Start by melting the dark chocolate over a bain-marie or in short microwaved bursts, letting its aroma fill your kitchen. Whisk the egg yolk with sugar until it turns pale and foamy, then fold in the glossy, melted chocolate before gently stirring in softly whipped heavy cream—spoon this mixture into the bottom of your cups, then chill.
- Layer on the milk chocolate mousse:
- Melt the milk chocolate, whisk your egg yolk and sugar until creamy, and fold together for a lighter, sweeter layer—add your whipped cream, then spoon delicately over the chilled dark chocolate. The trick here is to pour gently so the layers stay distinct, then return to the fridge.
- Finish with the white chocolate mousse:
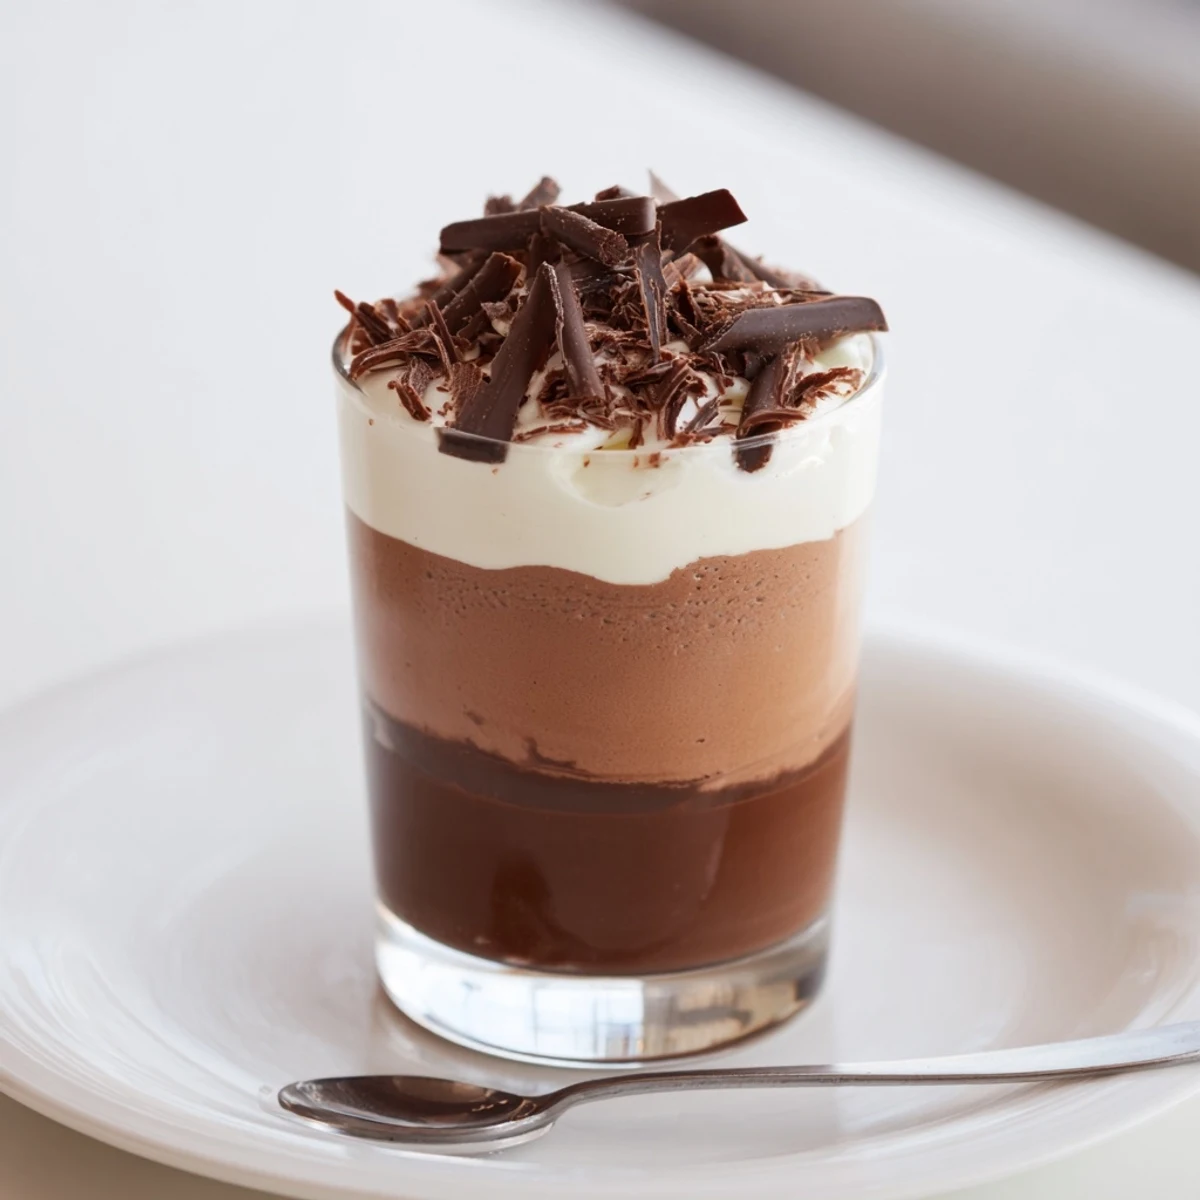
- Repeat the steps with chopped white chocolate—whisk, melt, fold, and add your cream. Pipe or spoon over the milk chocolate layer, enjoying how the colors stripe against the glass, then chill again until set.
- Garnish and serve:
- Right before serving, top each cup with chocolate shavings or a whisper of cocoa powder—listen for the oohs and aahs when you present them.
 Save to feedthepins
 When my friend Julia visited on her birthday, we dug into these chilled mousse cups laughing about our failed soufflés from last winter. Between mouthfuls, she declared this would be our new tradition, each layer a celebration of our minor kitchen victories and near-misses. It was the first time a dessert felt less like a performance and more like an inside joke shared among friends.
Chocolate Choices: What Matters Most
One late night experiment taught me that quality chocolate is everything in this recipe. That bargain bar in the back of your pantry won&t melt smoothly or taste as deeply, so use the best you can find—even just for the darkest layer, it&s worth it.
Making the Layers Look Flawless
I once tried to rush the process and the layers marbled together; now, I chill each stage until just firm before carefully adding the next. A steady hand and a small spoon—or piping bag—help the mousses stack up impressively without mingling.
When Things Go Sideways (and How to Recover)
If your mousse turns runny, don&t despair: a few extra minutes in the fridge almost always helps it set. Sometimes, I swirl the top intentionally for a marbled effect instead of perfect stripes, and nobody minds at all.
- Always let your melted chocolate cool before folding in cream—rushing here leads to lumps.
- Use room temperature eggs for easier whipping and smoother texture.
- Remember: a little patience makes for the prettiest presentations.
 Save to feedthepins
 Every spoonful of these mousse cups feels celebratory, no occasion required. However you serve them, they invite delight and a little kitchen pride.
Recipe Q&A
- → Can I prepare the cups ahead of time?
-
Yes. Fully assembled cups can be chilled for 24–48 hours if well covered to prevent a skin from forming. For best texture, avoid very long storage and keep refrigerated until serving.
- → How do I keep the mousse light and stable?
-
Whip the cream to soft peaks and fold gently to retain air. Make sure melted chocolate is cool but still fluid before folding into the egg-sugar mixture to avoid deflating the mousse.
- → Are there safe alternatives to using raw egg yolks?
-
Yes. Use pasteurized egg yolks, cook the yolk-sugar mixture over gentle heat to form a sabayon, or stabilize with a small amount of gelatin. Aquafaba or silken tofu can be used for vegan variations.
- → Can I change the chocolate proportions or types?
-
Absolutely. Adjust cocoa percentages to taste—higher cocoa yields a more intense dark layer, while lower percentages soften bitterness. Balance sweetness across layers to avoid one dominating the palate.
- → How can I speed up setting between layers?
-
Chill cups in the freezer for 25–30 minutes between layers to firm them more quickly, then transfer to the refrigerator for final setting to avoid over-chilling or textural changes.
- → What are good garnish and serving ideas?
-
Top with shaved chocolate, a dusting of cocoa, a few fresh berries, or a sprig of mint. Serve chilled in small glasses for an elegant presentation and pair with coffee or a dessert wine.
