 Save to feedthepins
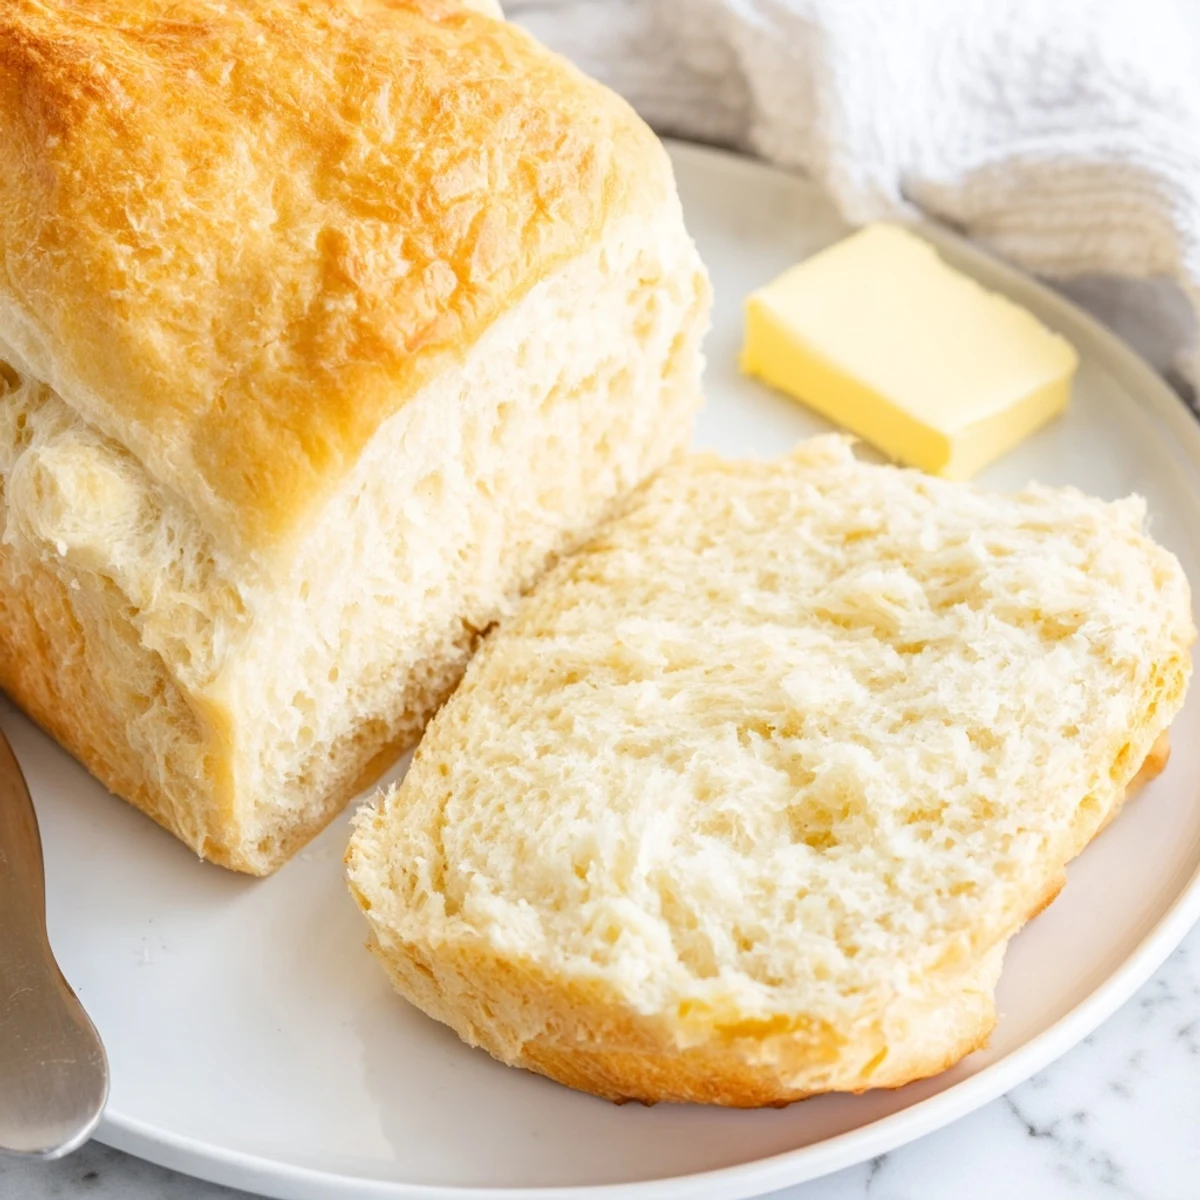
 This stovetop method delivers soft, fluffy bread without needing an oven. The dough combines flour, yeast, sugar, salt, olive oil, and warm water, requiring just 10 minutes of kneading before an hour-long rise. Cooked in a covered skillet over low heat, the bread develops a golden crust and airy interior. The technique works beautifully for any skill level, producing bakery-style results with minimal equipment. Each slice offers 140 calories with 4g of protein, making it a satisfying addition to any meal. Best served warm with butter or olive oil on the same day of baking.
The first time I made stovetop bread, I was visiting my sister in her tiny apartment where the oven had been broken for months. I was skeptical that anything resembling real bread could emerge from a skillet, but when that golden loaf hit the cooling rack and I heard that hollow thud, my entire understanding of bread making shifted. Now its my go to when the weather turns too hot to even think about turning on the oven, or when I just need warm bread in under an hour without the fuss.
Last winter during a power outage, I ended up making this bread on our gas stovetop while the house was freezing. Something about the ritual of kneading dough by hand and watching it rise in the dark made that simple loaf taste like the best bread Id ever had. My kids still talk about the night we ate warm bread by candlelight and pretended we were pioneers.
Ingredients
- All purpose flour: The structure builder here, bread flour would work too but all purpose gives a wonderfully tender crumb
- Instant yeast: No proofing needed, it goes straight into the flour and does its thing reliably
- Sugar: Just enough to feed the yeast and help with browning, not enough to make it sweet
- Salt: Dont skip this, its what brings all the flavors forward and keeps the bread from tasting flat
- Olive oil: Adds tenderness to the crumb and helps create that beautiful golden crust
- Warm water: Should feel like bath temperature, hot enough to wake the yeast but not kill it
Instructions
- Mix your dry base:
- Whisk together the flour, yeast, sugar, and salt in a large bowl until everything is evenly distributed
- Bring it together:
- Pour in the warm water and olive oil, stirring with a wooden spoon until you have a shaggy, sticky dough that holds together
- Knead until smooth:
- Turn onto a floured surface and knead for 8 to 10 minutes, feeling the dough transform from sticky to smooth and elastic under your hands
- Let it rise:
- Place in an oiled bowl, cover with a damp cloth, and leave in a warm spot for about an hour until it has doubled in size
- Shape your loaf:
- Gently punch down the risen dough and form it into a round ball, tucking the edges underneath to create tension on top
- Prepare the pan:
- Coat a heavy skillet with olive oil and nestle your dough inside, smooth side up
- First cook:
- Cover tightly with a lid and cook over the lowest heat setting for 15 minutes, peeking occasionally to prevent burning
- Flip and finish:
- Carefully turn the bread over, cover again, and cook for another 12 to 15 minutes until deeply golden and hollow when tapped
- Cool before slicing:
- Let the bread rest on a wire rack for at least 15 minutes, which is honestly the hardest part but essential for the texture to set
 Save to feedthepins
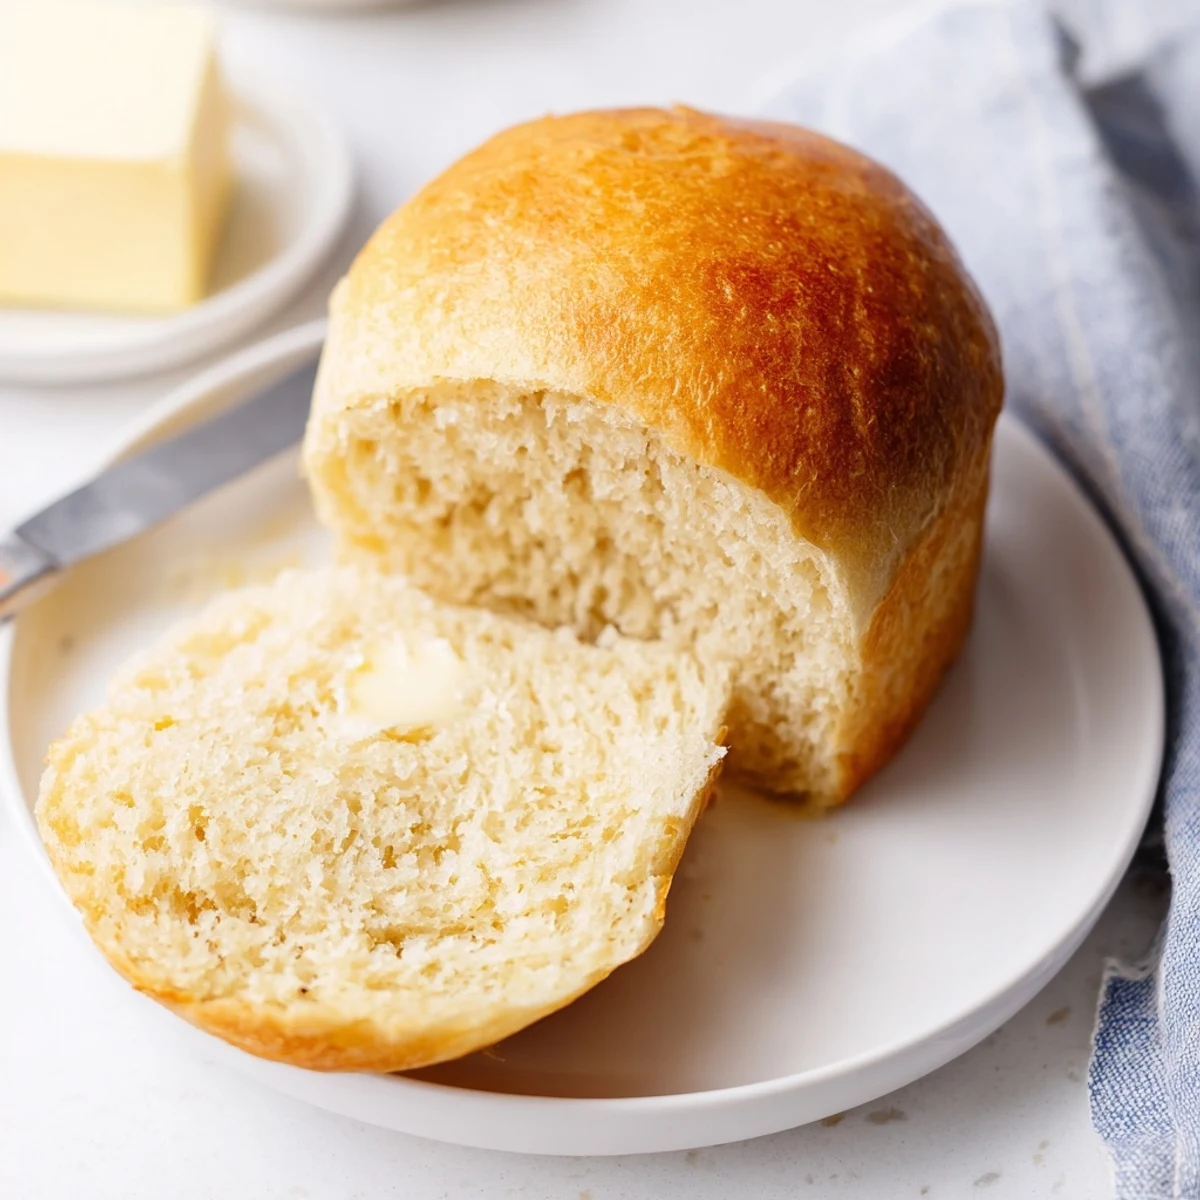
 This bread has become such a staple in my house that my three year old now asks if we are making pan bread whenever she sees me measuring flour. Something about watching it cook through the glass lid feels like magic every single time.
Getting The Right Skillet Temperature
I have learned that every stove is different, and what counts as low heat on my gas burner might be different on your electric range. Start with the lowest setting and after 5 minutes, carefully lift the lid to check the bottom. If it is pale gold, you are perfect, if it is already browning, reduce the heat immediately.
Adding Flavor Variations
Sometimes I stir in minced garlic and chopped rosemary into the dough before rising, other times I brush the top with melted garlic butter as soon as it comes out of the pan. My favorite variation is adding everything bagel seasoning to the outside before cooking for a breakfast bread that disappears in minutes.
Storage And Reheating
This bread is honestly best eaten within a few hours while still warm, but if you have leftovers they store beautifully in a paper bag on the counter for one day. To revive it, slice and toast in a buttered skillet until the edges are crispy and the inside is soft again.
- A lightly damp paper towel over the bread while reheating helps soften the crust
- Never store in plastic or the crust will get soggy and sad
- Leftovers make incredible panini style sandwiches the next day
 Save to feedthepins
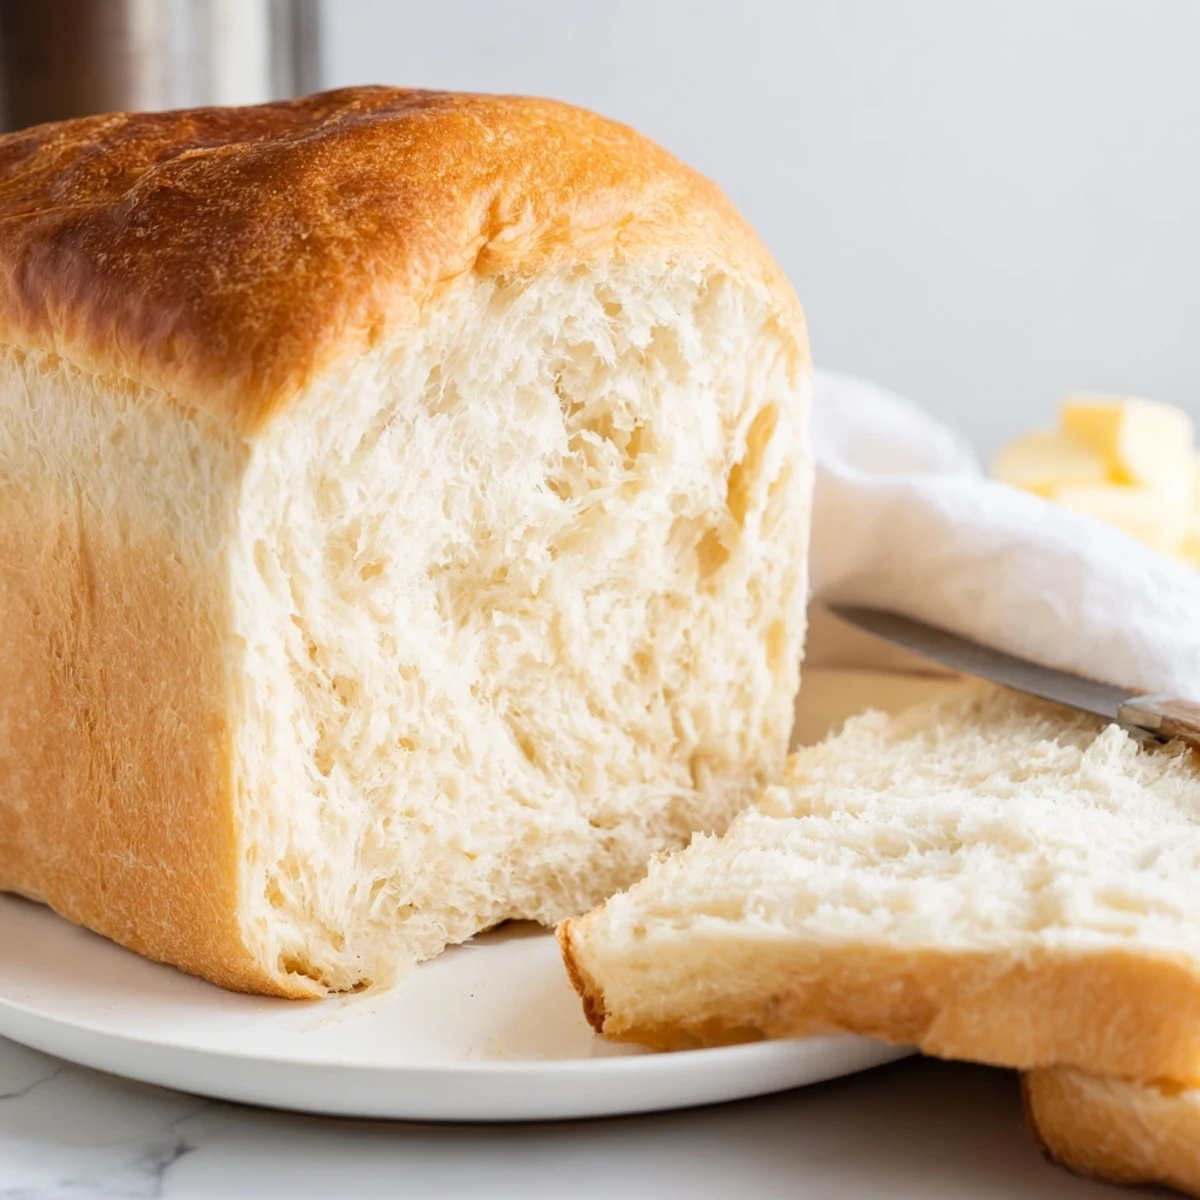
 There is something deeply satisfying about making bread without any special equipment, just your hands and a simple pan. I hope this recipe becomes as reliable and comforting in your kitchen as it has in mine.
Recipe Q&A
- → Can I use whole wheat flour instead of all-purpose?
-
Yes, though the texture will be denser. Try a 50/50 blend with all-purpose flour for lighter results while adding nutritional benefits.
- → What if I don't have a lid for my skillet?
-
A tight-fitting lid is essential for trapping steam. Use aluminum foil sealed around the pan edges or a baking sheet as an alternative cover.
- → How do I know when the bread is done cooking?
-
The bread should sound hollow when tapped on the bottom, and both sides should be golden brown. An instant thermometer inserted into the center should read 190-200°F.
- → Can I add mix-ins like cheese or garlic?
-
Absolutely. Fold in shredded cheese, minced garlic, or dried herbs during the kneading process. Avoid adding too many wet ingredients that might affect the dough consistency.
- → Why does my bread burn on the bottom?
-
Your heat might be too high. Use the lowest setting possible and check frequently. A heavy-bottomed pan distributes heat more evenly and prevents hot spots.
