 Save to feedthepins
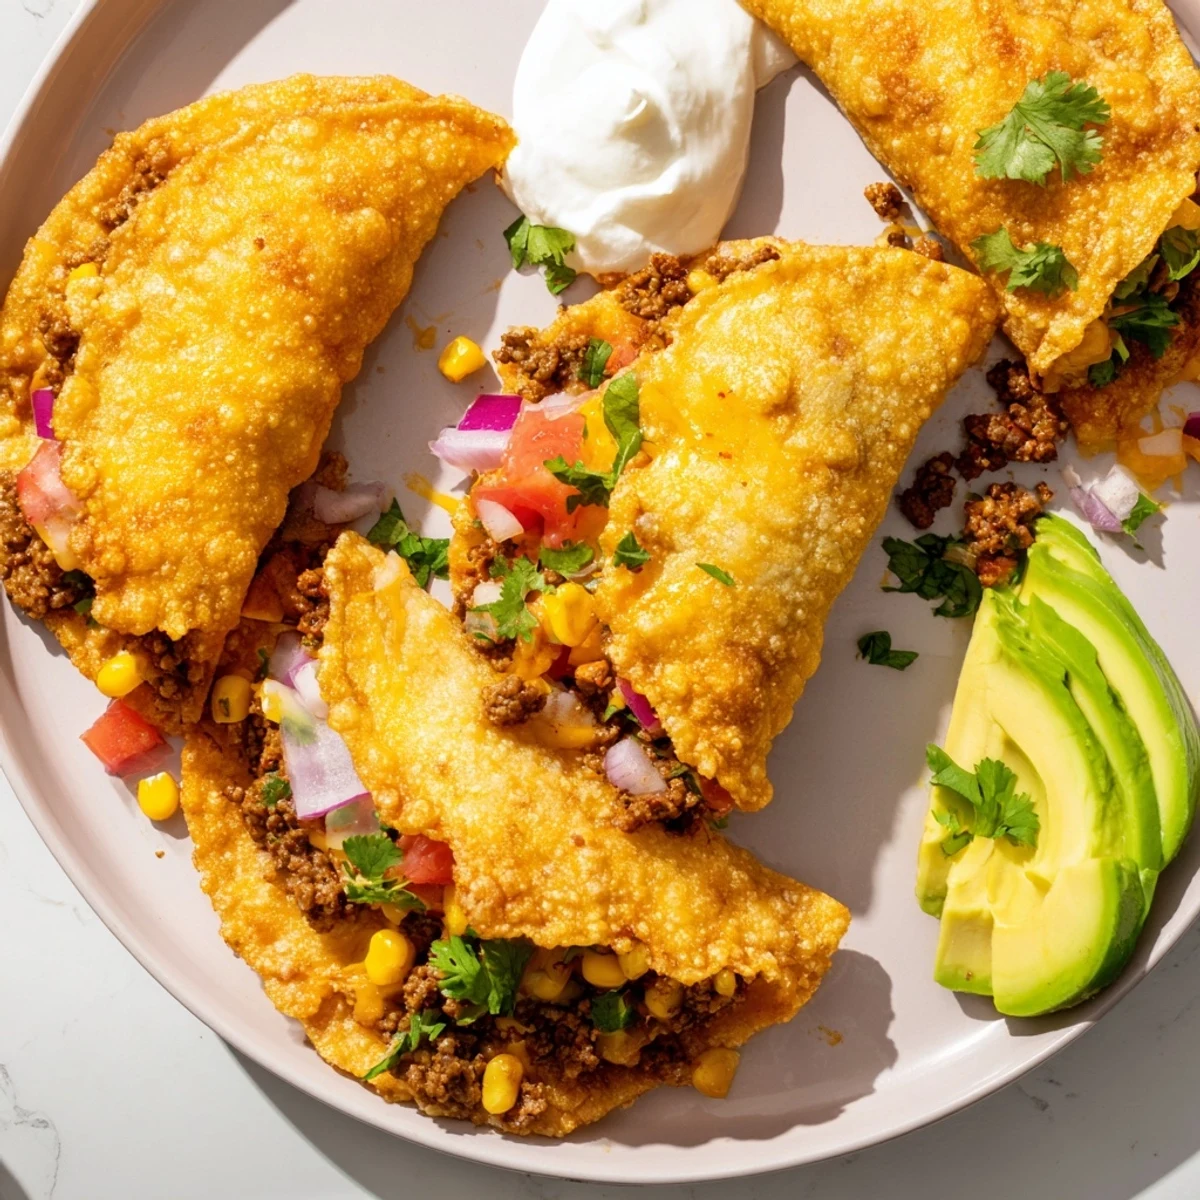
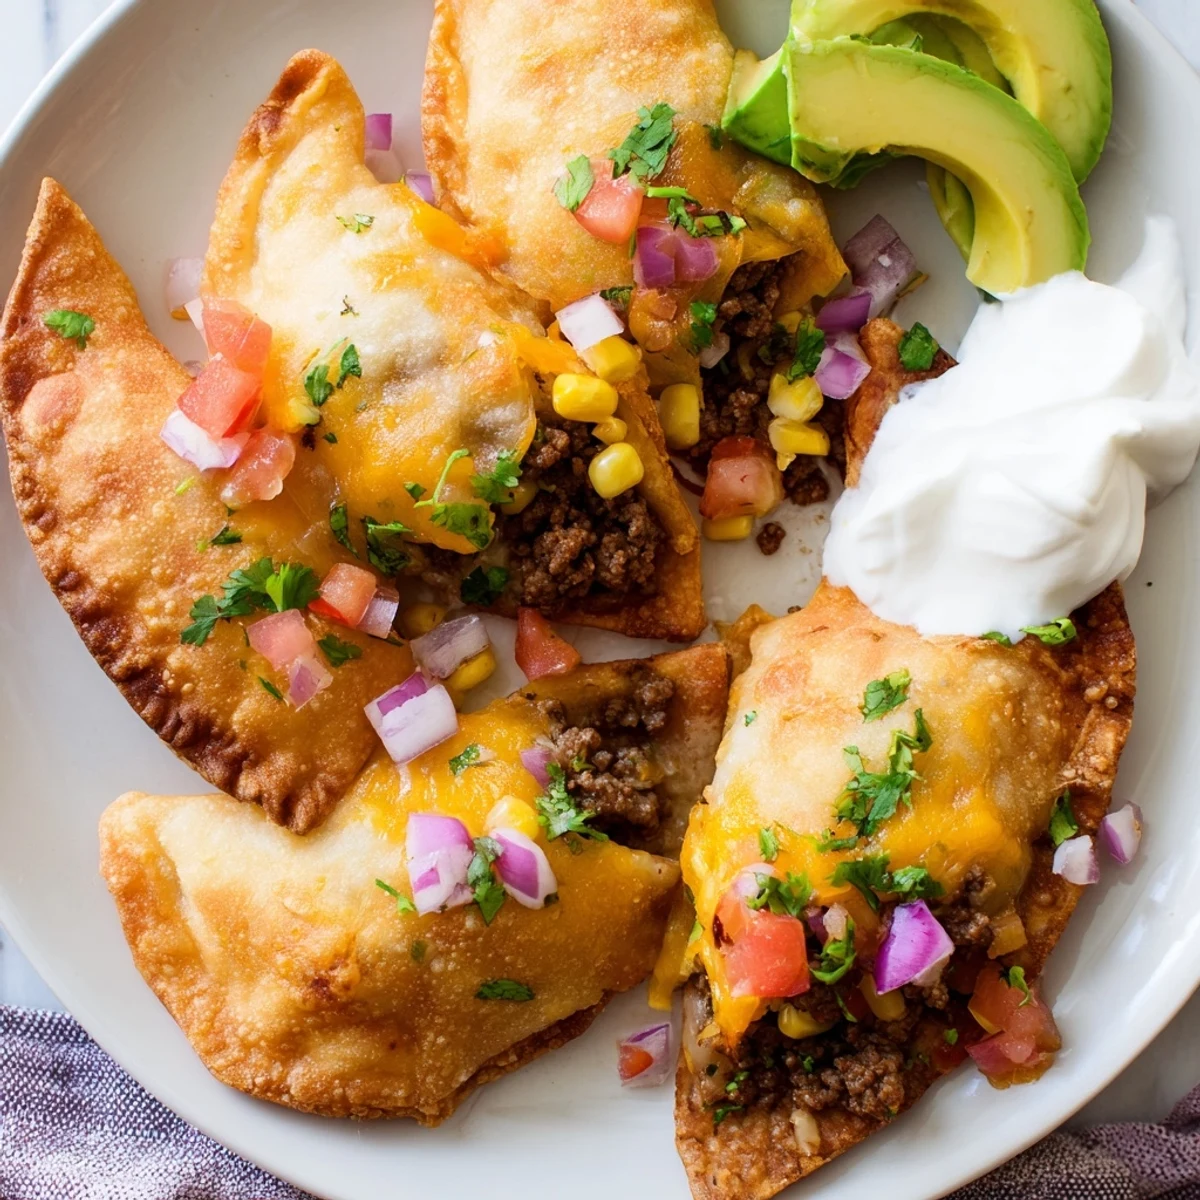
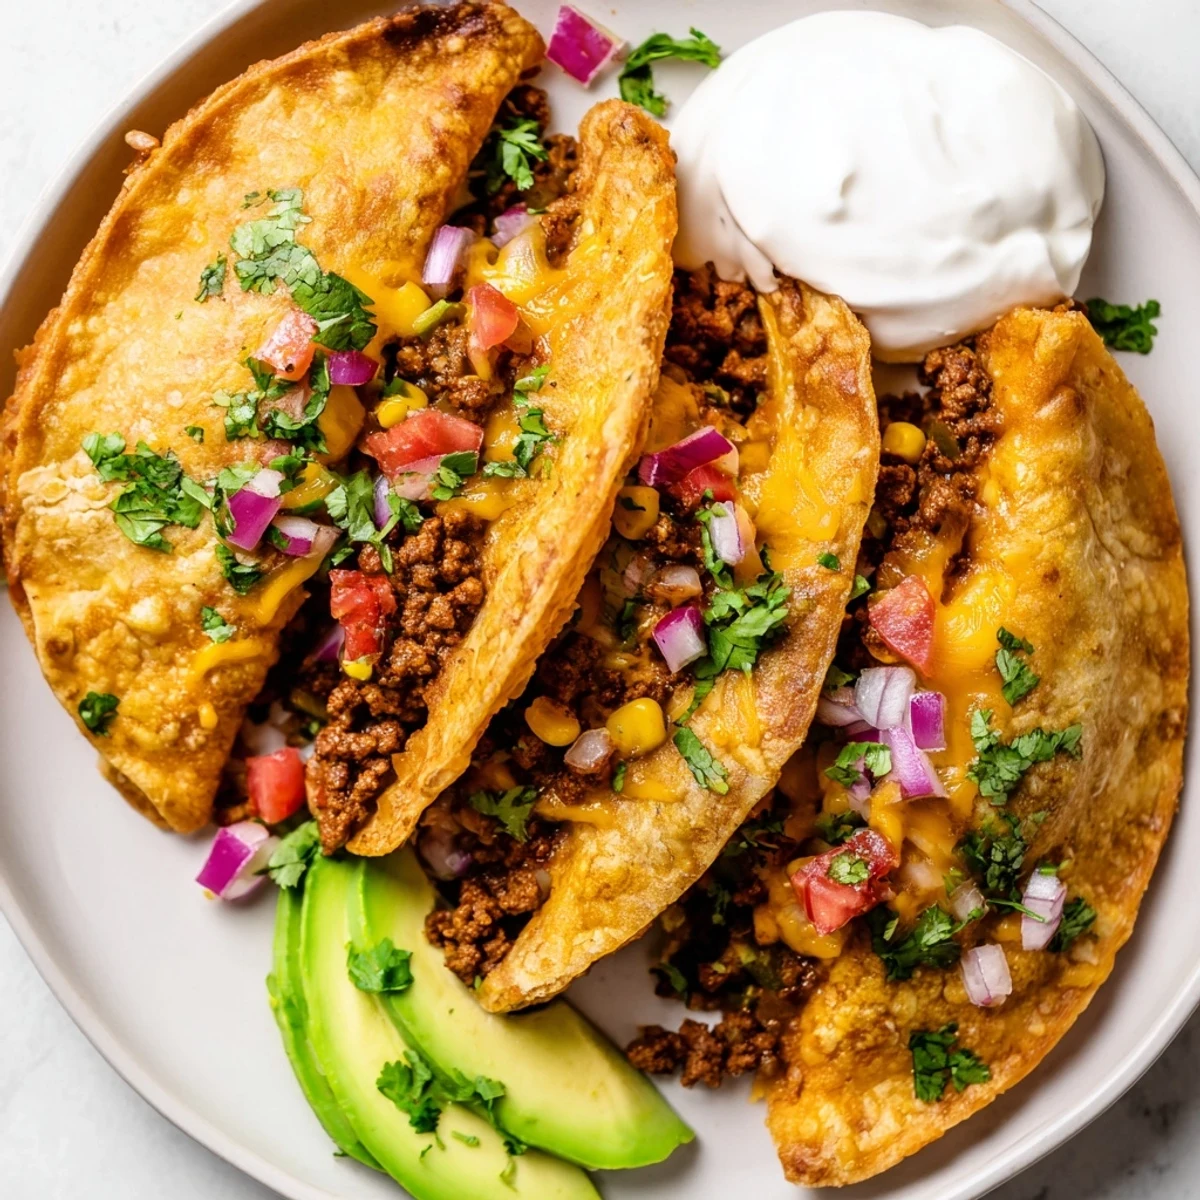
 These crispy golden pockets combine seasoned ground beef with melted cheddar, fresh corn, tomatoes, and aromatic spices like cumin and smoked paprika. Wrapped in flour tortillas and fried until perfectly crunchy, they deliver satisfying texture and bold Mexican flavors in every bite.
The first time I made these crispy taco pockets, my kitchen smelled like a taqueria and my roommate hovered around the stove asking if they were ready yet. I'd been craving something handheld and messy in the best way possible—the kind of food where you need extra napkins and nobody judges you for licking cheese off your fingers. Now they're my go-to when I want comfort food that feels like a treat but comes together faster than delivery would arrive.
Last summer I made a double batch for my sister's backyard birthday, and honestly, the platter disappeared faster than I've ever seen food vanish at a party. My dad stood by the serving tray pretending he was just helping set things up while casually eating his fourth pocket. Now whenever I visit home, someone casually asks if I'm bringing those taco things.
Ingredients
- Ground beef: The fat content here adds flavor and keeps the filling moist so dont drain too aggressively
- Red onion: Finely chopped so it cooks down and mingles with the spices instead of staying crunchy
- Jalapeño: Seeds removed for a gentle heat that lets other flavors shine through
- Canned corn: Adds little bursts of sweetness that balance the smoky spices perfectly
- Tomato: Provides just enough moisture without making the filling soggy
- Garlic: Minced fresh because nothing compares to that aromatic punch
- Fresh cilantro: Stirred in at the end so it stays bright and vibrant
- Ground cumin: The backbone flavor that makes everything taste distinctly Mexican
- Smoked paprika: Adds that subtle smoky depth without needing a grill
- Chili powder: Just enough warmth to make things interesting
- Ground coriander: The secret ingredient that rounds out all the spices
- Salt and black pepper: Taste as you go because the beef needs proper seasoning
- Cheddar cheese: Grated yourself melts better than the pre shredded stuff
- Small flour tortillas: The smaller size creates perfect portions and easier folding
- Vegetable oil: Needs to be deep enough to create that gorgeous golden crust
- Sour cream: The cool creamy element that tames the heat
- Sliced avocado: Buttery richness that makes each bite feel luxurious
- Lime wedges: A squeeze of acid cuts through the fried exterior and brightens everything
Instructions
- Brown the beef base:
- Cook the ground beef in a large skillet over medium heat until it's no longer pink, breaking it up with your spoon as it cooks. You want some nice browned bits for flavor but don't let it get too dark.
- Build the flavor foundation:
- Add the onion, jalapeño, garlic, tomato, corn, and all those beautiful spices to the pan. Let everything sauté together for 3 to 4 minutes until the vegetables soften and your kitchen smells incredible.
- Add the fresh finish:
- Remove the pan from heat and stir in the chopped cilantro while the mixture is still warm. Let it cool slightly so it's easier to handle when filling the tortillas.
- Assemble the pockets:
- Lay out your tortillas and pile about 2 heaping tablespoons of the beef mixture in the center of each. Top with a generous sprinkle of cheddar cheese and fold the edges over to create a sealed pocket shape.
- Fry to perfection:
- Heat oil in a large frying pan over medium high heat until it shimmers. Fry each taco pocket for 2 to 3 minutes per side until they're golden brown and irresistibly crispy.
- Drain and serve:
- Transfer the finished pockets to paper towels to drain any excess oil. Serve them hot while the cheese is still molten and let everyone add their favorite toppings.
 Save to feedthepins
 These became my daughters favorite school lunch after she discovered they reheat beautifully in the toaster oven. Now she requests them for her birthday dinner every year instead of cake.
Make Ahead Magic
I've learned through happy accident that you can assemble these pockets and freeze them raw on a baking sheet before transferring to a bag. When you need a quick dinner, just fry them straight from frozen, adding an extra minute per side. They taste just as good as freshly made.
Frying Wisdom
The oil temperature makes all the difference between perfectly crispy and sadly soggy. I keep a thermometer nearby now after ruining a batch by getting impatient with the heat. You want it around 350°F—that sweet spot where the exterior turns golden while the filling gets hot and melty.
Customize Your Filling
The beauty of these pockets is how forgiving they are with substitutions. My vegetarian sister swears by the black bean version with extra cheese and a sprinkle of nutritional yeast. Sometimes I add diced bell peppers or swap the cheddar for pepper jack when I want extra kick.
- Mix some refried beans into the beef for extra heartiness
- Add a layer of black beans to the vegetarian version
- Experiment with different cheese blends like Mexican blend or Monterey Jack
 Save to feedthepins
 There's something deeply satisfying about biting through that crispy shell into the warm cheesy center. These pockets have become my answer to almost every craving and gathering.
Recipe Q&A
- → Can I bake these instead of frying?
-
Yes, brush the pockets with oil and bake at 400°F (200°C) for 15-20 minutes, flipping halfway until golden and crispy.
- → How do I store leftovers?
-
Store cooled pockets in an airtight container in the refrigerator for up to 3 days. Reheat in a 350°F oven for 10 minutes to restore crispiness.
- → Can I make these ahead of time?
-
Prepare the filling up to 24 hours in advance and store refrigerated. Assemble and fry just before serving for best texture and flavor.
- → What other cheeses work well?
-
Pepper jack, Monterey jack, or a Mexican cheese blend all melt beautifully and complement the spiced beef filling.
- → Can I freeze uncooked pockets?
-
Yes, assemble pockets and freeze individually on a baking sheet before transferring to a freezer bag. Fry from frozen, adding 2-3 minutes to cooking time.
