 Save to feedthepins
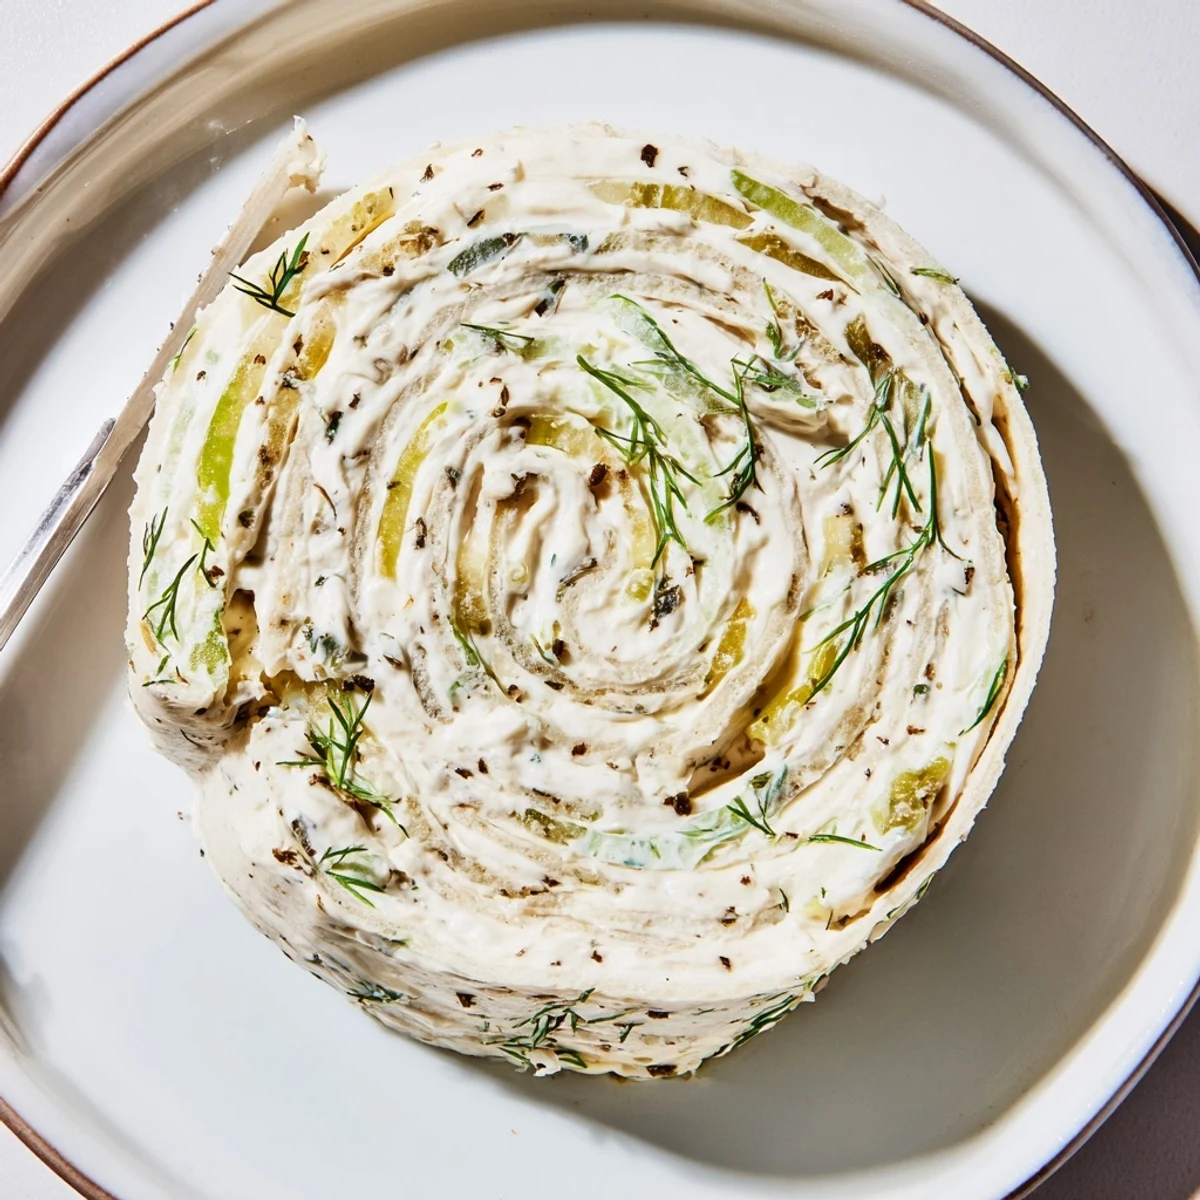
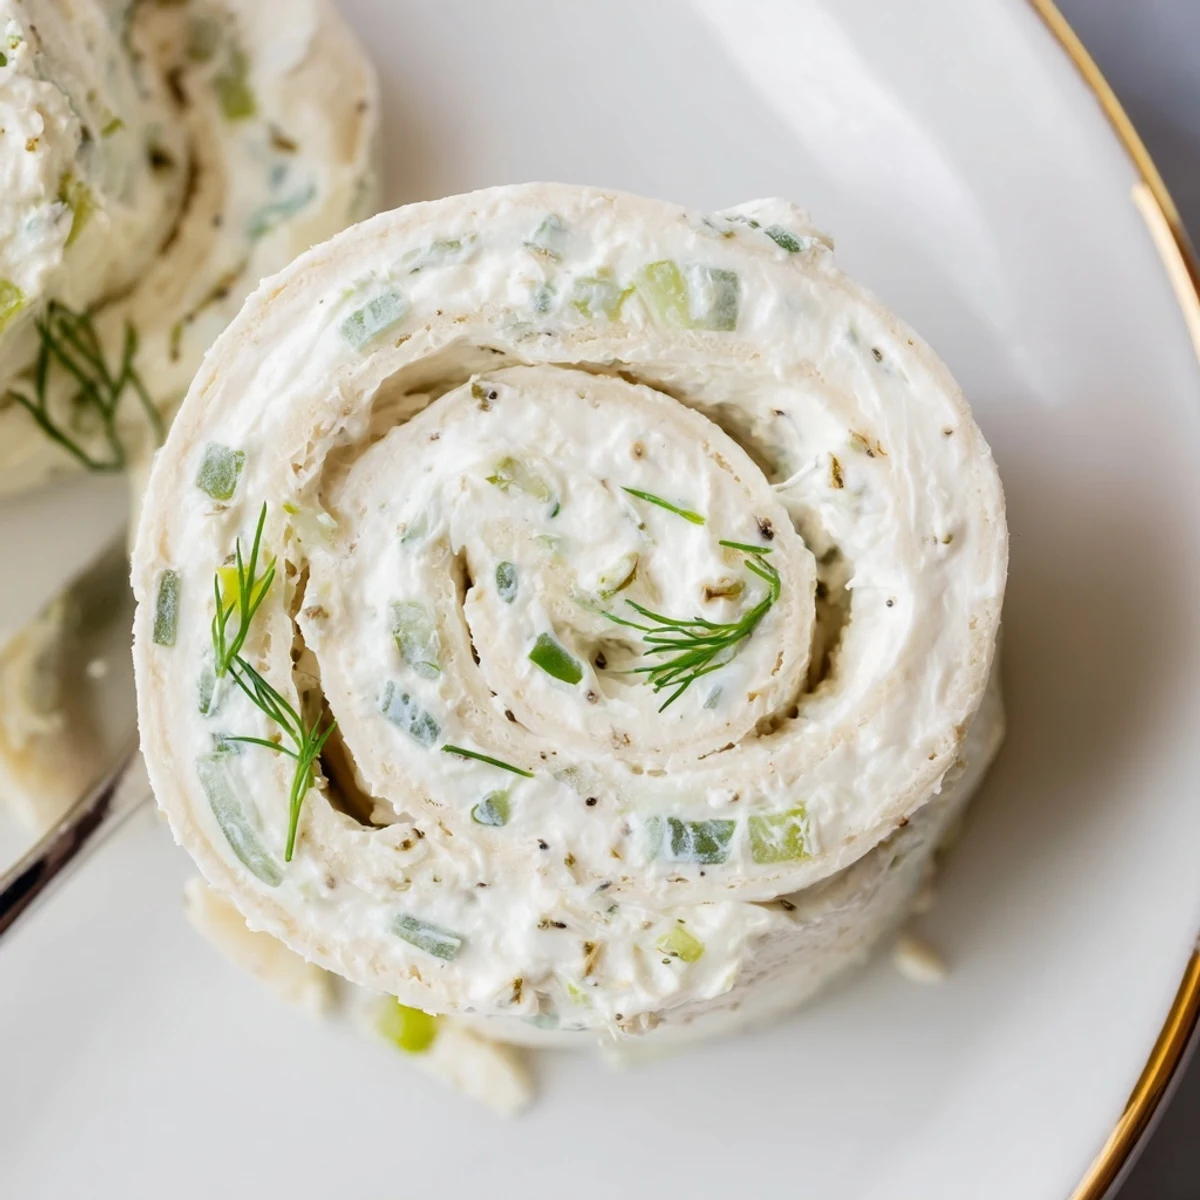
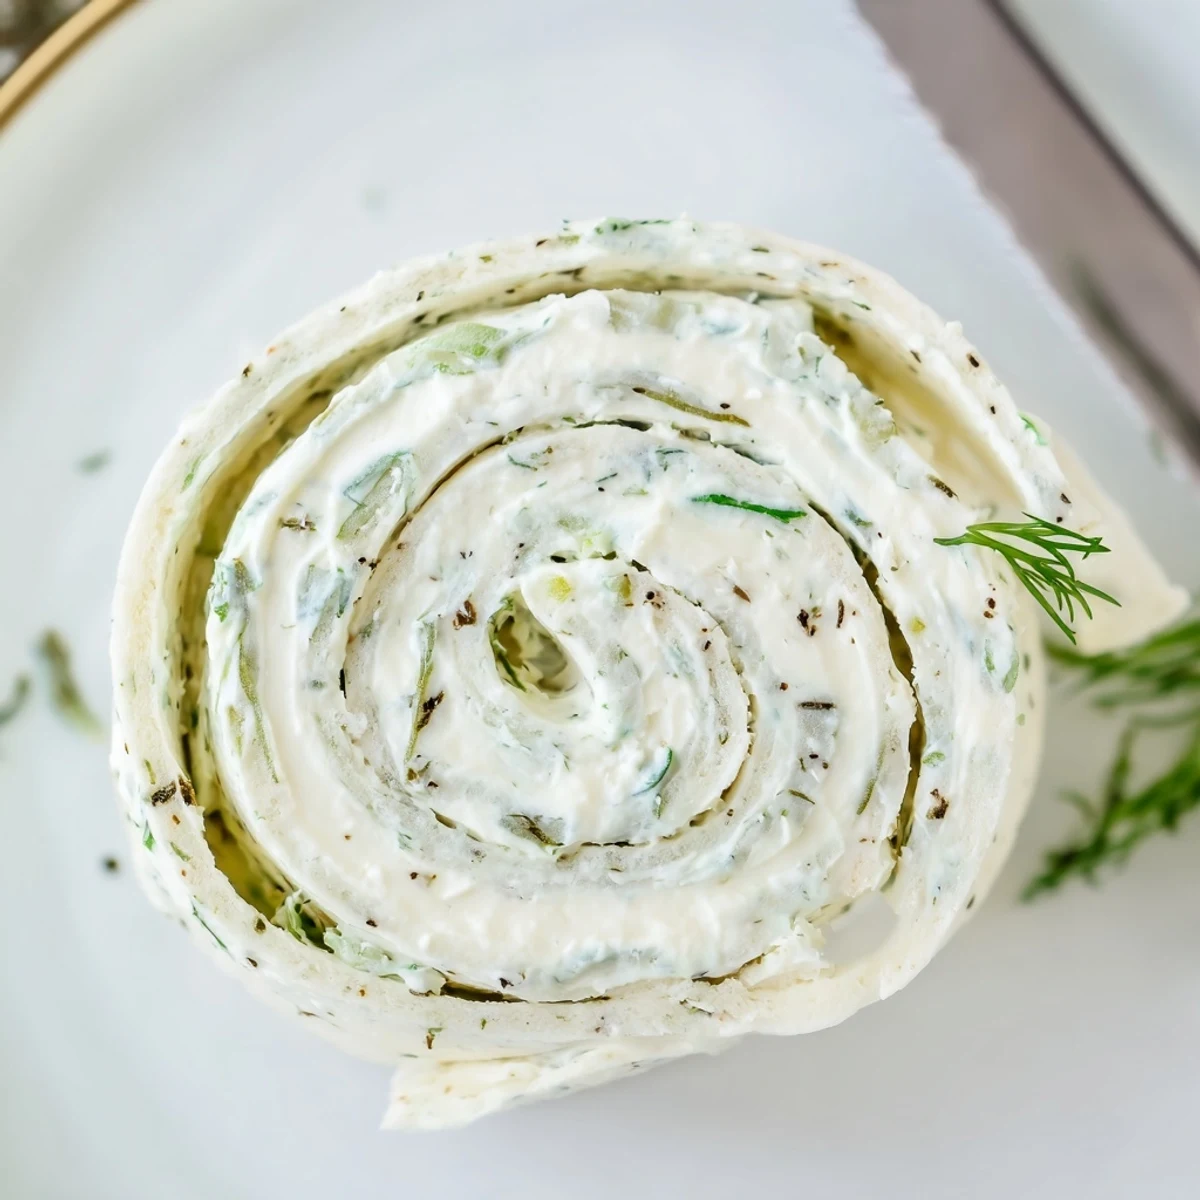
 Combine softened cream cheese and sour cream with chopped dill pickles, fresh or dried dill, green onions, and seasonings. Spread the mixture over large flour tortillas, roll tightly, and refrigerate for at least 1 hour to firm up. Unwrap and slice each roll into six pinwheels, arrange on a platter and serve chilled. Variations include adding chopped ham, grated cheese, or jalapeños and swapping in gluten-free wraps if needed.
The first time I tried making Pickle Dip Pinwheels, it was honestly out of sheer curiosity about what to bring to a last-minute game night. Somehow, ingredients I already had in the fridge came together in a way that got everyone hovering over the snack table. There’s something oddly satisfying about rolling up a bunch of creamy, tangy stuff and slicing it into little bites. The best part—nobody guessed how little effort it actually took.
I remember assembling these for my cousin’s potluck, chatting and laughing as we tried not to snack on the filling straight from the bowl. You could smell the fresh dill and pickles, and even the self-appointed critic in the family came back for more. I nearly missed out on a few pinwheels because they vanished so fast.
Ingredients
- Cream cheese: Softened cream cheese makes for a smoother, spreadable base—I always leave it out for 30 minutes before mixing.
- Sour cream: Cuts richness and loosens the mixture; don’t skip it or the filling won’t spread well.
- Dill pickles: Use crunchy, cold pickles for a snappier bite; pat dry so it doesn’t get watery.
- Fresh dill: Fresh is brighter, but dried is a legit swap if the fridge is empty; crush dried dill in your palm to wake up the flavor.
- Green onions: Add just the right oniony zing—be sure to slice them thin, so no one gets pungent mouthfuls.
- Garlic powder: More subtle than raw garlic, but still a kick in the dip.
- Onion powder: Bumps up the overall savoriness in a background way.
- Black pepper: It’s a small amount, but freshly cracked is best for a quick hint of heat.
- Flour tortillas: They must be soft and flexible or they’ll crack—microwave for a few seconds if they’re cold.
Instructions
- Blend the creamy base:
- Plop the cream cheese and sour cream into a mixing bowl and mash with a spatula until it turns fluffy and pale. You want no lumps—smear it like you mean it.
- Add the flavor:
- Stir in chopped pickles, bright dill, green onions, plus the garlic powder, onion powder, and black pepper. The mixture should smell fresh and tangy, with little green bits peeking through.
- Spread and roll:
- Lay out a tortilla and coat it with a generous layer of filling, right to the edge. Gently roll it up, tucking as you go so it stays tight and neat.
- Repeat and chill:
- Do the same for the rest of the tortillas and wrap each roll tightly in plastic wrap. The fridge firms everything up, making slicing much less messy.
- Slice and serve:
- Unwrap and cut each tortilla into six cheerful wheels—use a sharp knife and wipe between slices for best results. Stack them on a platter and serve cooled so they hold their shape and flavor.
 Save to feedthepins
 One afternoon, as I laid the pinwheels out for friends, someone declared these “the happiest bites I’ve had this week”—turns out, sometimes a silly snack can become the main event. Food doesn’t have to be complicated to jumpstart good memories.
An Easy Win for Busy Hosts
There’s no oven time or standing nervously over the stove, and that alone makes these pinwheels a lifesaver when you’re juggling a dozen other things. You can even prep them ahead, so when guests arrive, you’re tossing back laughs instead of fussing near the kitchen sink.
Personalizing Your Pinwheels
The best thing is how forgiving the recipe is. Swap in chives, try smoked paprika, or layer in thin turkey slices for extra oomph—no one ever complains about a little experimentation.
Serving and Storing Made Simple
Leftovers hold up surprisingly well in the fridge for a day, making them ideal for packed lunches or a snack attack the next night. Pinwheels also travel nicely to picnics or potlucks if you pop them into a container lined with paper towel.
- Don’t stack them too high or the bottom ones squish.
- Chill again after slicing for cleaner edges and firmer bites.
- They taste even better if you let them sit for an hour to let flavors mingle.
 Save to feedthepins
 However you fill or slice them, these Pickle Dip Pinwheels always seem to draw a crowd. They're proof that easy food can be delicious, fun, and memorable.
Recipe Q&A
- → How long should I chill the rolls before slicing?
-
Chill for at least 1 hour to firm the filling and get clean slices; refrigerating 2 hours gives even neater pinwheels.
- → Can these be made ahead of time?
-
Yes. Assemble and refrigerate whole rolls up to 24 hours ahead; slice just before serving or store sliced pinwheels in an airtight container for a few hours.
- → How can I prevent soggy pinwheels?
-
Pat pickles dry before chopping, avoid excess wet ingredients, spread a thin even layer of filling, and chill well before slicing to maintain structure.
- → What are good ingredient substitutions for dietary needs?
-
Use dairy-free cream cheese and a plant-based sour cream alternative, and swap flour tortillas for certified gluten-free wraps to accommodate allergies.
- → What additions improve flavor or texture?
-
Fold in chopped ham or turkey for protein, add grated cheese for richness, or stir in finely chopped jalapeños for heat. Fresh herbs brighten the filling.
- → How should I serve these pinwheels?
-
Arrange chilled pinwheels on a platter with toothpicks for easy serving. Pair with crisp vegetables, crackers, or a charcuterie spread for variety.
