 Save to feedthepins
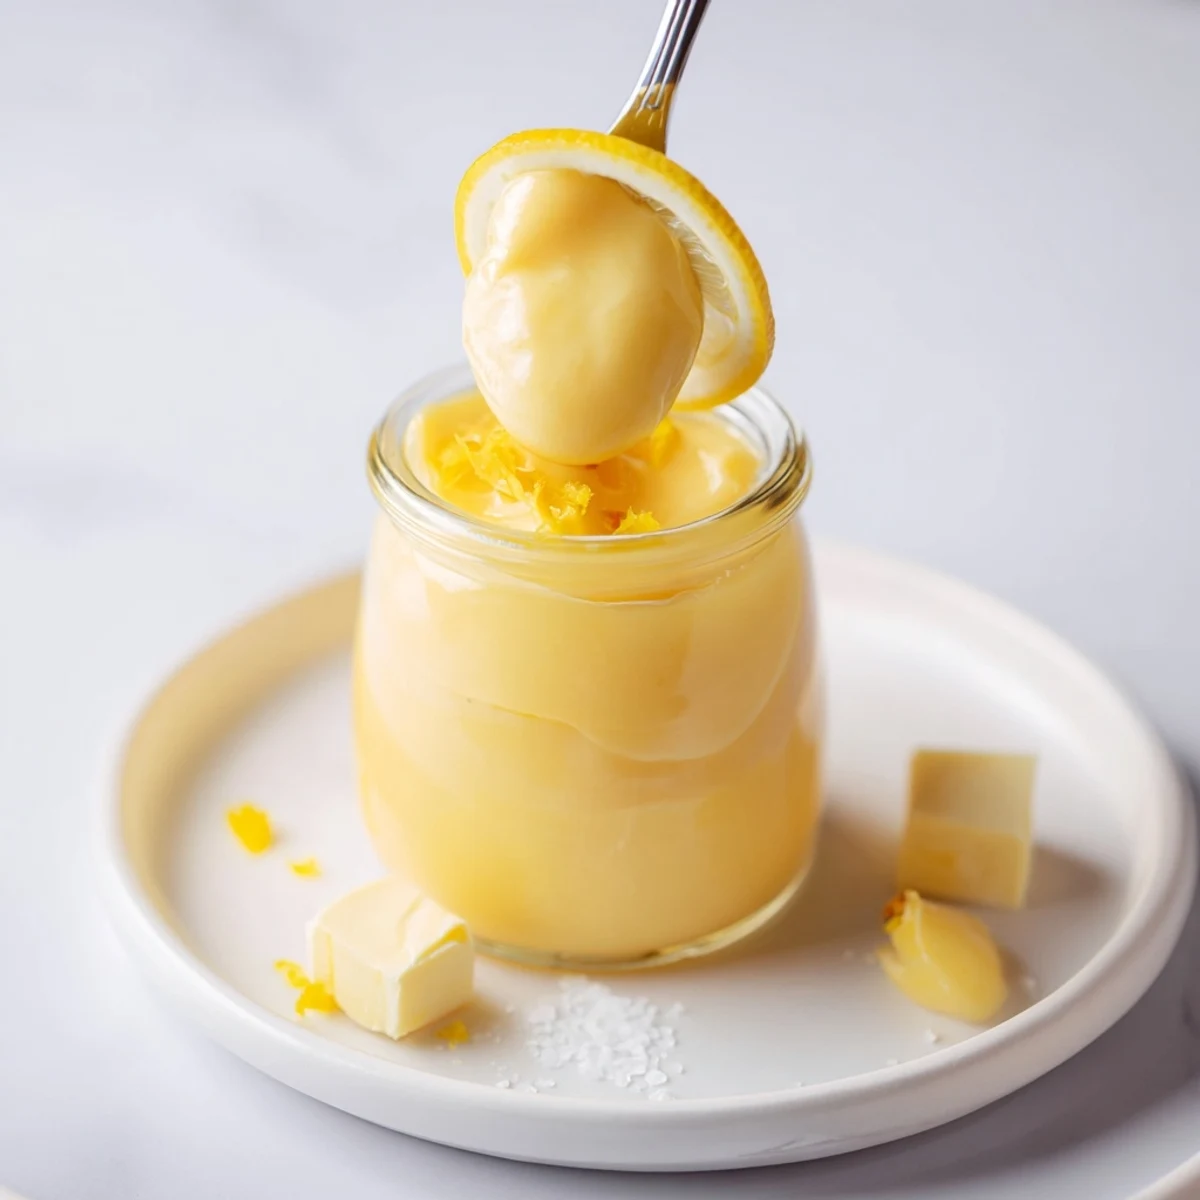
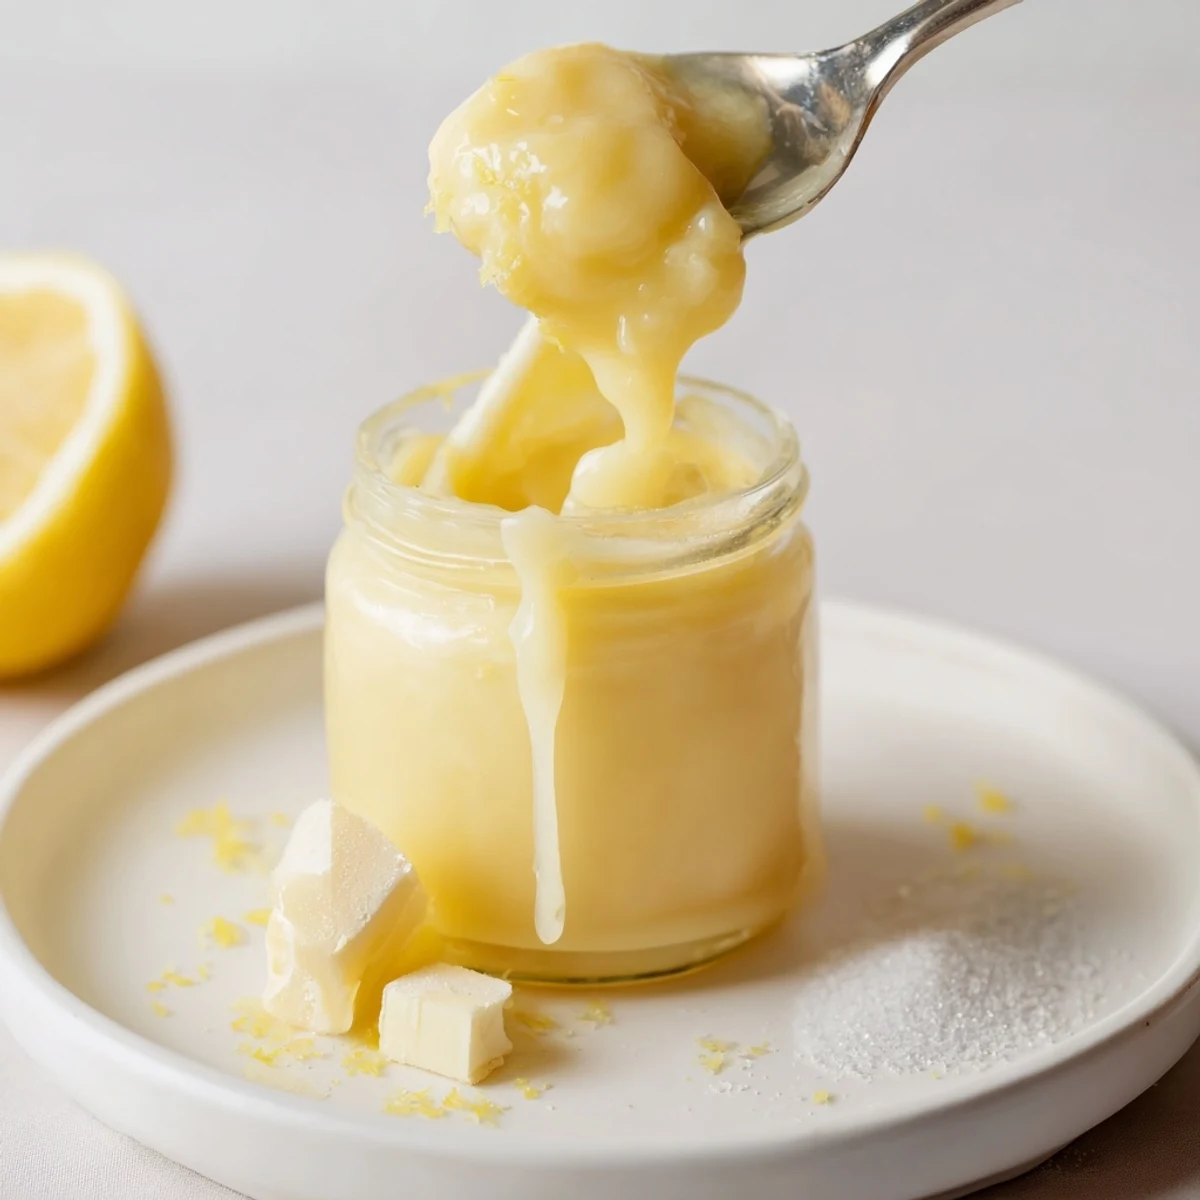
 Bright, silky lemon curd made by whisking eggs and sugar, adding lemon zest and juice, then cooking over a gentle simmer in a double boiler until it thickly coats a spoon (8-10 minutes). Off heat, whisk in butter, strain for extra-smooth texture, cool and jar. Keeps chilled up to two weeks; swap plant-based butter for a dairy-free version.
There was something almost theatrical about the first time I made lemon curd—the way the kitchen filled with the sharp, clean scent of lemon peel, and the eggy mixture transformed from pale yellow to a rich, satiny custard right before my eyes. I'd always seen lemon curd as something fancy, reserved for patisseries, so gently stirring my own over a double boiler felt like a tiny, giddy rebellion in a quiet afternoon. The soft plink of butter cubes dropping into the hot curd, followed by their slow, magical melt, still makes me smile every time. It's the kind of recipe that demands just enough focus to pull you fully into the moment, and I love that.
There was one rainy Sunday when friends dropped by unexpectedly, and I made scones on a whim—luckily, I had fresh lemon curd waiting in the fridge. We sat around the kitchen table, sipping tea and spooning curd onto piping hot pastries, swapping stories as the rain tapped the windows. I still get requests for that exact combination every time someone visits.
Ingredients
- 4 large eggs: Whisk well for a smooth texture—room temperature eggs blend best, so take them out ahead of time.
- 4 tablespoons unsalted butter, cubed: Adds creaminess and a glossy finish; stirring in butter while the curd is hot gives the silkiest results.
- 3 large lemons (zest and juice; about 1 tablespoon zest, 120 ml juice): Use fresh lemons for the brightest, freshest flavor—avoid bottled juice if you can, and zest before juicing to make life easier.
- 200 g (1 cup) granulated sugar: Keeps the curd just sweet enough to balance the lemon's tartness—superfine sugar dissolves a bit faster if you have it.
Instructions
- Start your base:
- Combine the eggs and sugar in a heatproof bowl, whisking until the mix looks pale and blended, making sure there are no stubborn sugar clumps lurking at the bottom.
- Add pure sunshine:
- Stir in the lemon zest and juice, breathing deeply as you do—the aroma wakes up your whole kitchen.
- Set up the double boiler:
- Place the bowl over a saucepan with gently simmering water, ensuring the bottom of the bowl stays above the waterline for slow, even cooking.
- Stir patiently:
- Keep whisking, gently but steadily, as the mixture thickens to a custard and starts to coat the back of your spoon (about 8–10 minutes)—don't rush this, or you'll get scrambled eggs.
- Enrich the curd:
- Take the bowl off the heat and drop in the butter cubes, whisking until the butter disappears and the curd becomes glossy and rich.
- Strain for extra smoothness:
- Pour the warm curd through a fine-mesh sieve into a clean bowl; this nabs any stubborn zest or egg bits for that pâtisserie finish.
- Cool and store:
- Let the curd cool completely, then transfer to sterilized jars; pop into the fridge and use within two weeks for best flavor.
 Save to feedthepins
 A friend once smuggled a little jar of this lemon curd into her lunch at work, spreading it on a just-warm scone, and texted me: Already dreaming of the next batch. It’s always heartening to see a homemade jar, half-empty and proudly displayed at someone’s breakfast table, knowing you brightened their morning.
Lemon Curd Swaps and Variations
When I was out of fresh lemons, I swapped in Meyer lemons for a softer, floral twist—delicious with shortbread. Sometimes, for a hint of warmth, I add a touch of vanilla bean or even a splash of orange juice to mingle with the lemons. The curd adapts beautifully, so don’t be afraid to play around with other citrus or infuse with herbs for something entirely new.
How to Serve and Enjoy
Besides smearing it on scones, my favorite surprise use is folding lemon curd into thick Greek yogurt or ripple it into whipped cream for a quick dessert. For celebrations, a thin layer between cake layers wakes up every crumb with a punch of brightness. And honestly, the simplest joy is dipping a spoon in for a tart, sweet treat late at night when everyone else is asleep.
Storing Tips and Make-Ahead Ideas
Jarring the curd is almost as satisfying as making it—watch the color deepen as it cools on your windowsill. Always let the curd cool completely before closing jars and refrigerating to avoid condensation inside the lids. Homemade curd is ideal for gifts, or you can stash a few jars in the back of your fridge for quick afternoon treats or emergency cake fillings.
- For longer freshness, sterilize your jars and lids before pouring in the curd.
- A quick taste-test before jarring ensures perfect sweet-tart balance every time.
- If you want to freeze the curd, leave a bit of space in the jar for expansion and thaw overnight in the fridge before serving.
 Save to feedthepins
 It’s amazing what a handful of lemons and a bit of patience can become. I hope this curd brings a little extra brightness and joy to your kitchen, just as it has to mine.
Recipe Q&A
- → How do I know when the curd is thick enough?
-
Whisk until the mixture thickly coats the back of a spoon and you can draw a line through it with your finger. That usually takes 8-10 minutes over a gentle simmer; it will continue to set as it cools.
- → How can I prevent the curd from curdling?
-
Keep the heat low with a double boiler and whisk continuously. Avoid boiling the mixture; remove from heat as soon as it thickens and finish by whisking in the butter. Straining also removes any cooked bits.
- → Can I make a dairy-free version?
-
Yes. Use a firm plant-based butter in the same proportion and follow the same method. Texture may be slightly different, so strain well and chill to help it set.
- → How should I store the curd and how long does it last?
-
Pour into sterilized jars once cooled and refrigerate. Properly stored, it keeps for up to two weeks. Use clean utensils to avoid contamination; you can also freeze portions in an airtight container for longer storage.
- → Are raw eggs a safety concern?
-
The eggs are cooked when the curd reaches the thick-coating stage in the double boiler, which reduces risk. If concerned, use pasteurized eggs or ensure the mixture reaches the proper thickness and temperature.
- → What are the best ways to use this lemon curd?
-
Use as a spread for scones or toast, a filling for cakes and tarts, or swirled into yogurt. It also pairs beautifully with Earl Grey or Darjeeling tea and fresh berries.
