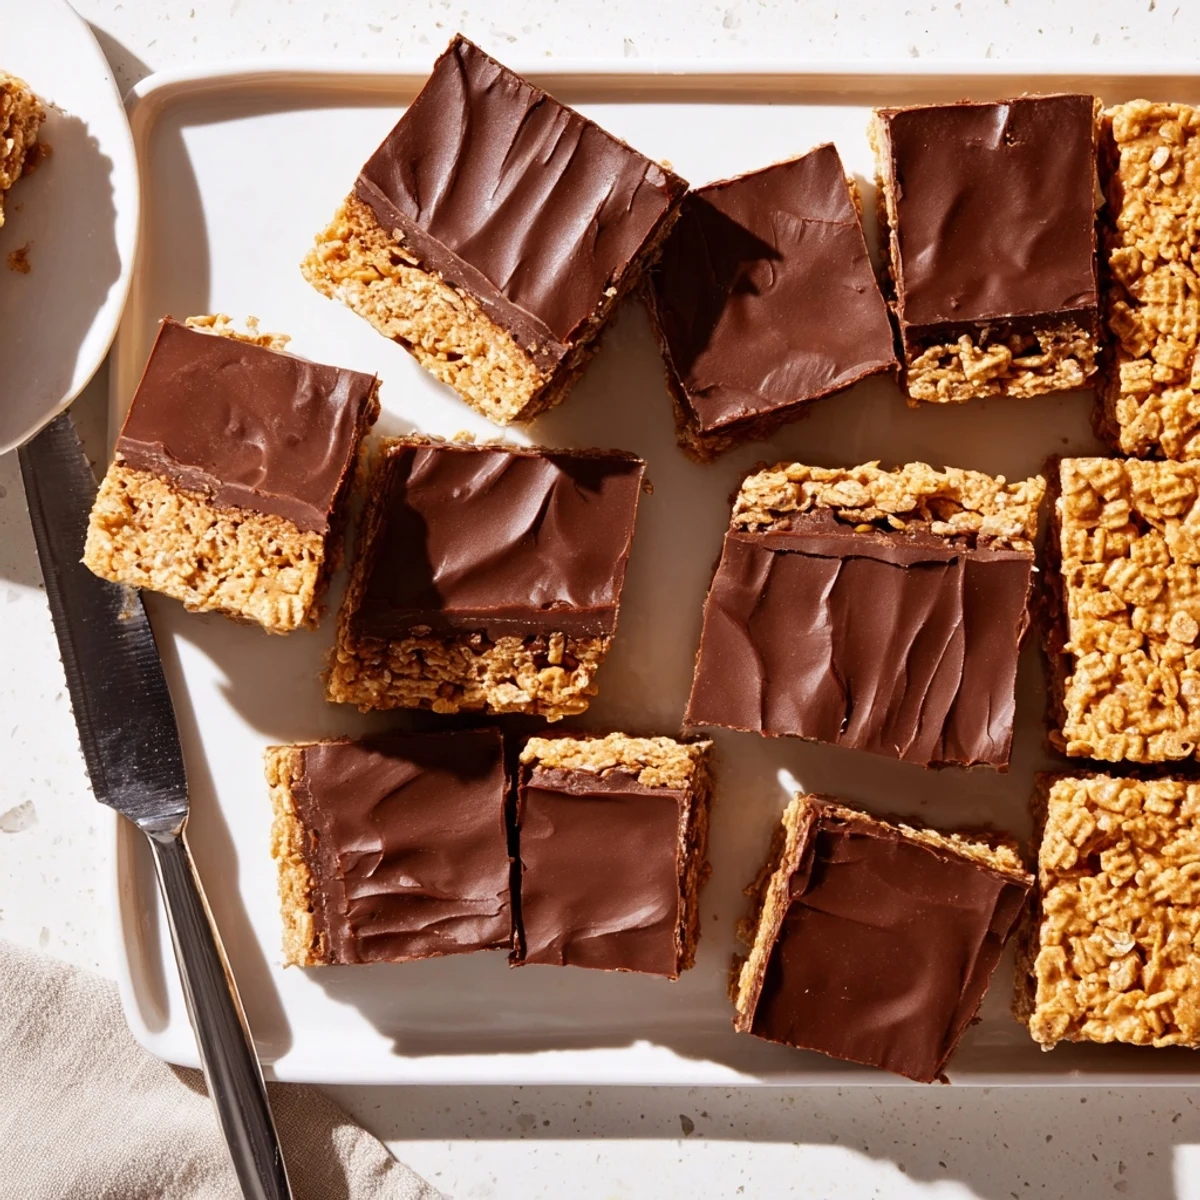
 Save to feedthepins
 These sweet and crunchy no-bake bars combine the crisp texture of gluten-free Honey Chex cereal with a rich coating of creamy peanut butter and honey. A smooth chocolate and peanut butter topping adds the perfect finishing touch. Ready in just 15 minutes of active preparation time, these bars only need an hour in the refrigerator to set completely.
The combination of honey's natural sweetness, peanut butter's creaminess, and the cereal's satisfying crunch creates an irresistible treat that's perfect for sharing at potlucks, packing in lunchboxes, or enjoying as an afternoon snack. Since they're no-bake, they're ideal for warm weather days when you want something sweet without heating up the kitchen.
The first time I made these was during a summer heatwave when turning on the oven felt like a punishment. My apartment was already stifling, and I was craving something sweet and substantial. I ended up stirring everything together on the stove while sweat trickled down my back, and the result was so ridiculously satisfying that I've never bothered looking for another no-bake recipe since.
I brought a batch to a friend's game night once, and people kept casually wandering into the kitchen to grab another square. By the end of the evening, the pan was empty and someone was already demanding the recipe. There's something about that salty-sweet combination that makes these disappear faster than anything else I bake.
Ingredients
- 4 cups gluten-free Honey Chex cereal: The honey flavor already baked into these cereal pieces adds depth you won't get from plain rice Chex, plus that airy crunch is essential for texture
- 1 cup creamy peanut butter: Don't use natural peanut butter that's separated and oily, you want the stable creamy kind for the right binding consistency
- 1/2 cup honey: Warm the jar slightly in the microwave first and it will pour so much easier instead of fighting that stubborn honey drip
- 1/4 cup unsalted butter: Salted butter throws off the balance with all the peanut butter going on, so stick with unsalted here
- 1 cup semisweet chocolate chips: Check the label carefully because not all chocolate chips are certified gluten-free despite what you might assume
- 2 tablespoons creamy peanut butter: This little trick keeps the chocolate layer soft enough to bite through instead of shattering into sharp shards
Instructions
- Prep your pan first:
- Line an 8x8-inch baking pan with parchment paper, letting the edges hang over like a little sling for easy lifting later
- Melt the sticky base:
- Combine the peanut butter, honey, and butter in a large saucepan over medium-low heat, stirring constantly until everything melts together into a glossy caramel-colored mixture
- Coat the cereal:
- Pour in the Honey Chex and gently fold until every piece is kissed with that peanut butter honey mixture, being careful not to crush the cereal into dust
- Press it down:
- Transfer the coated cereal to your prepared pan and press firmly into an even layer with the back of a spoon or spatula
- Melt the chocolate:
- Microwave the chocolate chips with the extra peanut butter in 30-second intervals, stirring between each round until you have something silky and smooth
- Spread and chill:
- Pour the chocolate over the cereal base, spread it into an even layer, and refrigerate for at least 1 hour until firm enough to cut clean squares
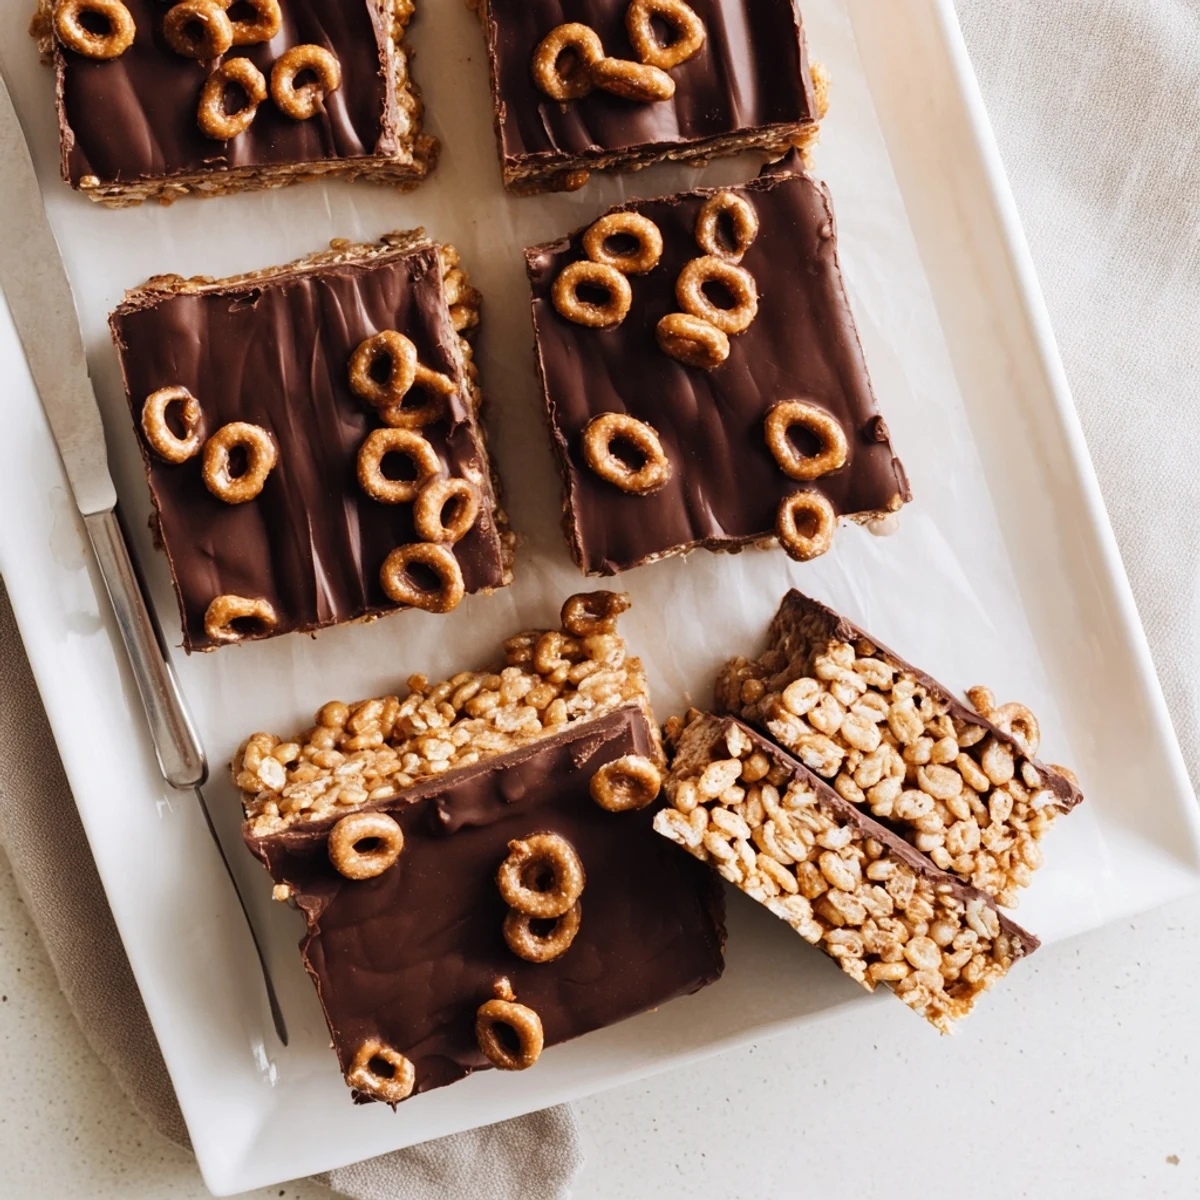 Save to feedthepins
 These have become my go-to when I need to bring something to a gathering but don't have the energy for an elaborate production. The best part is watching people's expressions change from polite curiosity to genuine delight after that first bite.
Making Them Your Own
Sometimes I swap in sunflower seed butter for a nut-free version that's just as delicious. The flavor shifts slightly more earthy, but that chocolate and honey balance carries it beautifully.
The Salt Factor
A sprinkle of flaky sea salt on top of the chocolate layer transforms these into something almost sophisticated. That hit of salt against the sweet chocolate makes these bars feel way fancier than they actually are.
Storage Strategy
Keep these tucked away in the refrigerator, where they'll stay perfectly firm for up to a week. The cold actually improves the texture, making that chocolate layer snap satisfyingly when you bite into it.
- Place a piece of wax paper between layers if you need to stack them
- Let them sit at room temperature for 5 minutes before serving for the best texture
- These freeze beautifully if you want to stash some for later
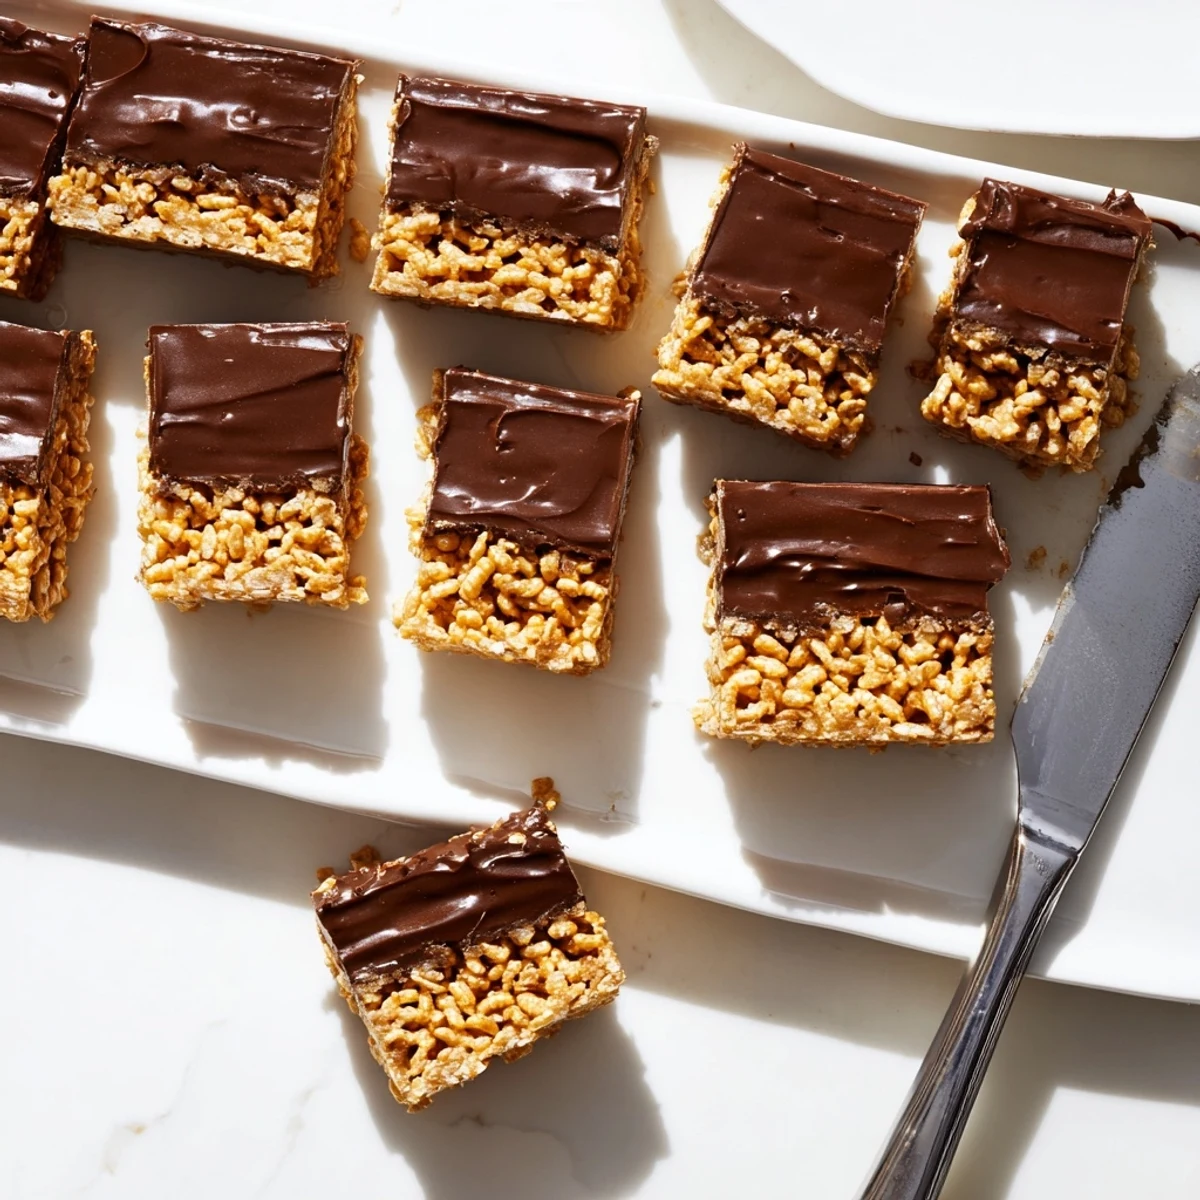 Save to feedthepins
 There's something deeply satisfying about a dessert that requires zero baking but still delivers that perfect contrast of textures and flavors. These bars have saved me more times than I can count.
Recipe Q&A
- → Can I make these bars dairy-free?
-
Yes, substitute the butter with coconut oil or a dairy-free butter alternative, and ensure your chocolate chips are dairy-free. Many dark chocolate chips are naturally dairy-free, but always check the label.
- → How should I store these bars?
-
Keep the bars stored in an airtight container in the refrigerator for up to 1 week. The cold temperature helps maintain the chocolate topping's firm texture and prevents the cereal from becoming soggy.
- → Can I use regular Chex instead of Honey Chex?
-
Yes, you can use plain rice Chex or corn Chex. You may want to add an extra tablespoon of honey to the base mixture to compensate for the missing sweetness if you prefer a sweeter bar.
- → What size pan should I use?
-
An 8x8-inch square baking pan works perfectly for this recipe. The parchment paper overhang makes it easy to lift the entire block out for clean, even cutting into 16 bars.
- → Can I freeze these bars?
-
Yes, these freeze beautifully. Wrap individual bars in plastic wrap and place in a freezer-safe container for up to 3 months. Thaw in the refrigerator for best texture before serving.
- → How do I prevent the chocolate from cracking when cutting?
-
Let the bars sit at room temperature for 5-10 minutes before cutting. Use a sharp knife warmed under hot water and wiped dry between cuts for clean slices through the chocolate layer.
