 Save to feedthepins
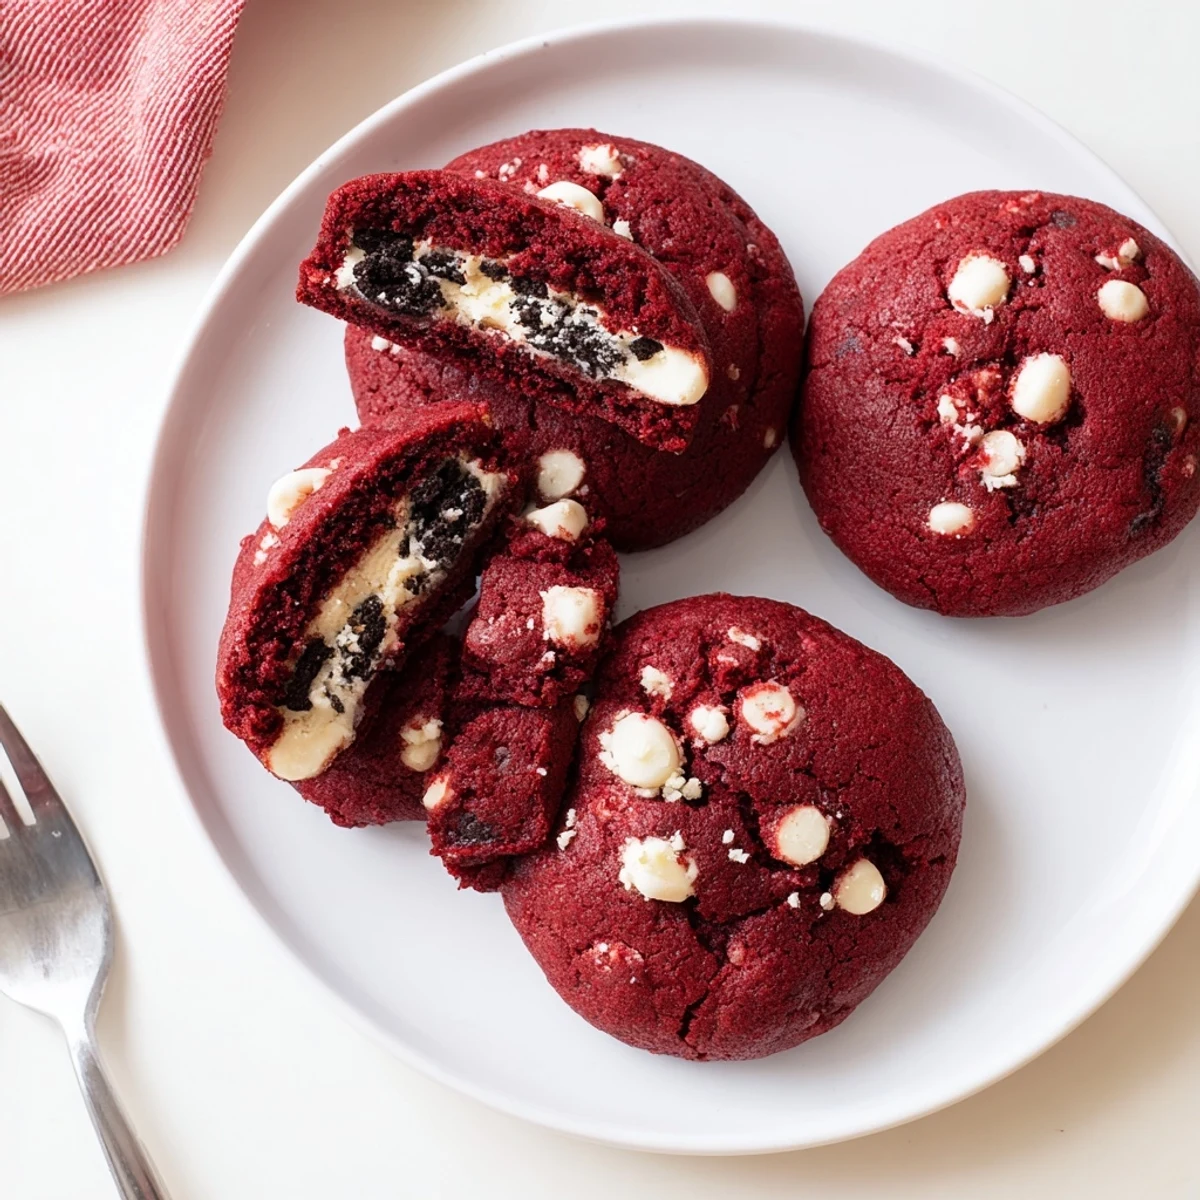
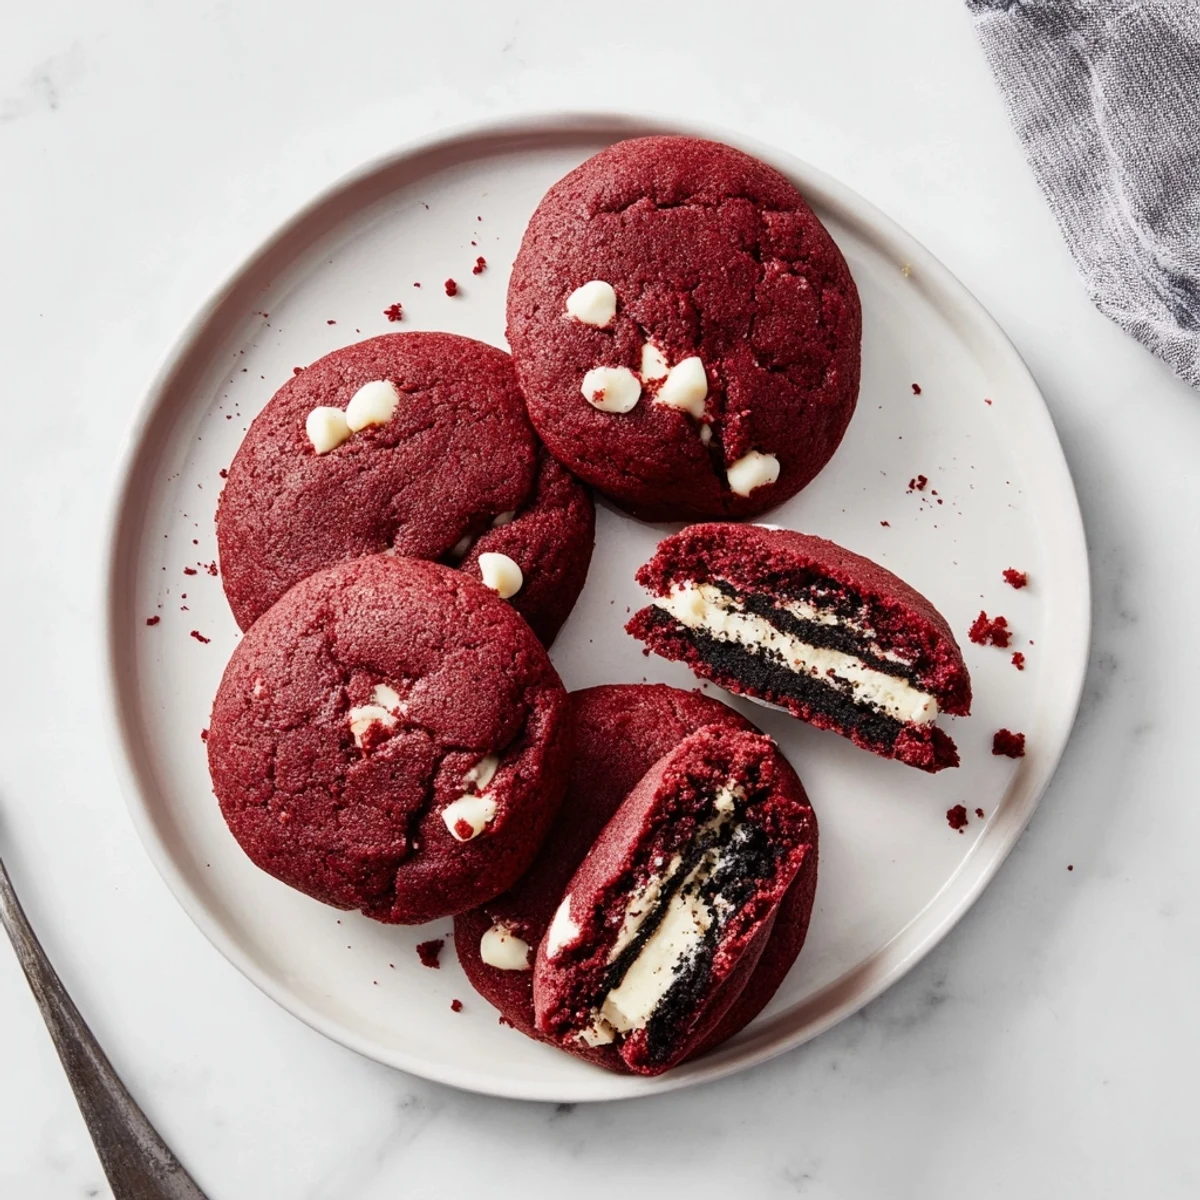
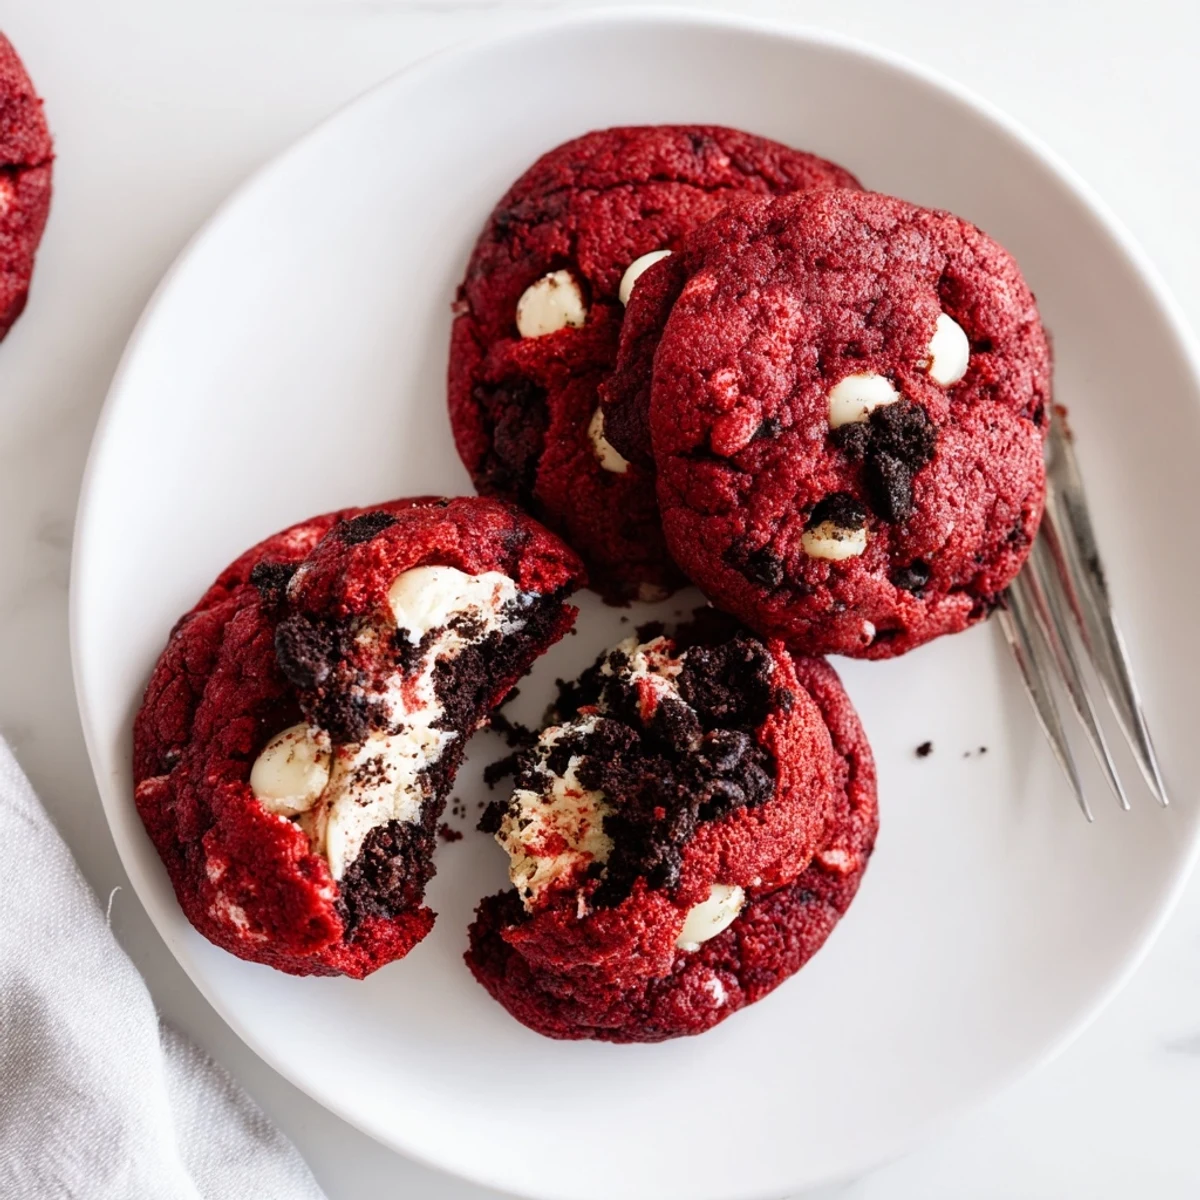
 These homemade red velvet Oreo cookies feature a soft, chewy dough infused with cocoa powder and vibrant red coloring, loaded with creamy white chocolate chips. Each cookie is hand-stuffed with a tangy Oreo cream cheese filling, creating a delicious surprise center. The result is a rich, indulgent treat combining classic red velvet flavor with the beloved crunch and creaminess of Oreos.
The first time I made these, my roommate walked in and asked why I was making cookies that looked like they belonged at a Valentine's Day bake sale. She didn't complain when she bit into one later that evening. Red velvet has this way of making everything feel like a special occasion, even a random Tuesday.
I brought a batch to my sister's baby shower last spring, and honestly, I think people were more excited about these cookies than the actual cake. My aunt asked for the recipe three times before she left, and I'm pretty sure she's still making them for every family gathering.
Ingredients
- All-purpose flour: The foundation that gives these cookies their structure without making them tough
- Unsweetened cocoa powder: Just enough to give that subtle chocolate depth red velvet is known for
- Baking soda: Helps the cookies spread into those perfect crinkled edges we all love
- Salt: Essential for balancing the sweetness and making all flavors pop
- Unsalted butter: Use it softened to room temperature for the creamiest dough base
- Granulated and brown sugar: The combination creates that chewy texture and crackly top
- Large egg: Binds everything together while adding richness
- Milk: Just a splash helps achieve the perfect dough consistency
- Vanilla extract: Don't skimp here—it amplifies all the other flavors
- Red food coloring: Gel coloring gives the most vibrant red without thinning the dough
- White chocolate chips: They add pockets of creamy sweetness that complement the cocoa
- Cream cheese: The secret to that tangy, lush Oreo-style filling
- Powdered sugar: Sift it first to avoid any lumps in your silky filling
- Crushed Oreo cookies: Folded into the cream filling for that unmistakable cookies-and-cream flavor
Instructions
- Get your oven ready:
- Preheat to 350°F and line your baking sheets with parchment paper so nothing sticks
- Whisk the dry ingredients:
- In a medium bowl, combine flour, cocoa powder, baking soda, and salt until well blended
- Cream the butter and sugars:
- Beat them together until the mixture turns pale and fluffy, about 2-3 minutes of patience
- Add the wet ingredients:
- Mix in the egg, milk, vanilla, and red food coloring until everything turns a gorgeous shade of red
- Combine it all:
- Gradually stir in the dry ingredients just until no flour streaks remain, then fold in those white chocolate chips
- Make the filling:
- Beat cream cheese and butter until smooth, then add powdered sugar and vanilla until creamy
- Add the Oreo crunch:
- Fold crushed Oreos into the filling and pop it in the fridge for 10 minutes to firm up
- Stuff the cookies:
- Flatten a scoop of dough, add a teaspoon of chilled filling, and wrap the dough around it like a little present
- Bake to perfection:
- Bake for 11-12 minutes until edges are set but centers still look soft and underbaked
- Let them rest:
- Cool on the baking sheet for 5 minutes before moving them to a wire rack
 Save to feedthepins
 These became my go-to contribution for potlucks after my coworker literally chased me down in the breakroom to ask what was in them. Now every time there's an office birthday, someone shoots me a text asking if 'those red ones' are coming.
Getting That Perfect Red Color
I've learned that gel food coloring gives the most vibrant results without thinning out your dough. Liquid coloring works too, but you might need to add a bit more flour to compensate for the extra moisture.
The Stuffing Technique
The first few times I made these, I struggled with the filling leaking out during baking. The trick is to make sure the dough completely seals around the filling, pinching the edges together like you're sealing a dumpling.
Make-Ahead Magic
You can scoop the dough balls and freeze them unbaked for up to three months. Just add an extra minute to the baking time when you're ready to bake them fresh.
- Roll the stuffed dough balls in extra crushed Oreos before baking for a bakery-style finish
- Store baked cookies in the fridge if the weather is warm—the filling stays firmer that way
- These actually taste better on day two when the flavors have had time to mingle
 Save to feedthepins
 There's something deeply satisfying about biting into a cookie and finding that surprise creamy center. These red velvet Oreo cookies have become the treat I make when I want to turn an ordinary day into something worth celebrating.
Recipe Q&A
- → Can I make the dough ahead of time?
-
Yes, you can refrigerate the cookie dough for up to 24 hours before baking. Let it sit at room temperature for 15 minutes before shaping and stuffing with the filling.
- → How do I store these stuffed cookies?
-
Store in an airtight container at room temperature for up to 3 days. For longer storage, freeze unfilled dough balls and bake fresh when desired.
- → Can I use gel food coloring instead of liquid?
-
Absolutely! Gel food coloring provides a more vibrant red hue with less liquid. Start with 1/2 teaspoon and add more as needed for your desired shade.
- → What if I don't have white chocolate chips?
-
You can substitute semi-sweet chocolate chips, milk chocolate chips, or even chopped dark chocolate. Each variation pairs beautifully with the Oreo filling.
- → Why do my cookies spread too much?
-
Ensure your butter is softened, not melted. Also, chill the stuffed dough balls for 15-20 minutes before baking if your kitchen is warm to help them hold their shape.
- → Can I make these without a stand mixer?
-
Yes, a hand mixer works perfectly fine. You can also mix by hand with a sturdy wooden spoon, though it will require more effort to cream the butter and sugars properly.
