 Save to feedthepins
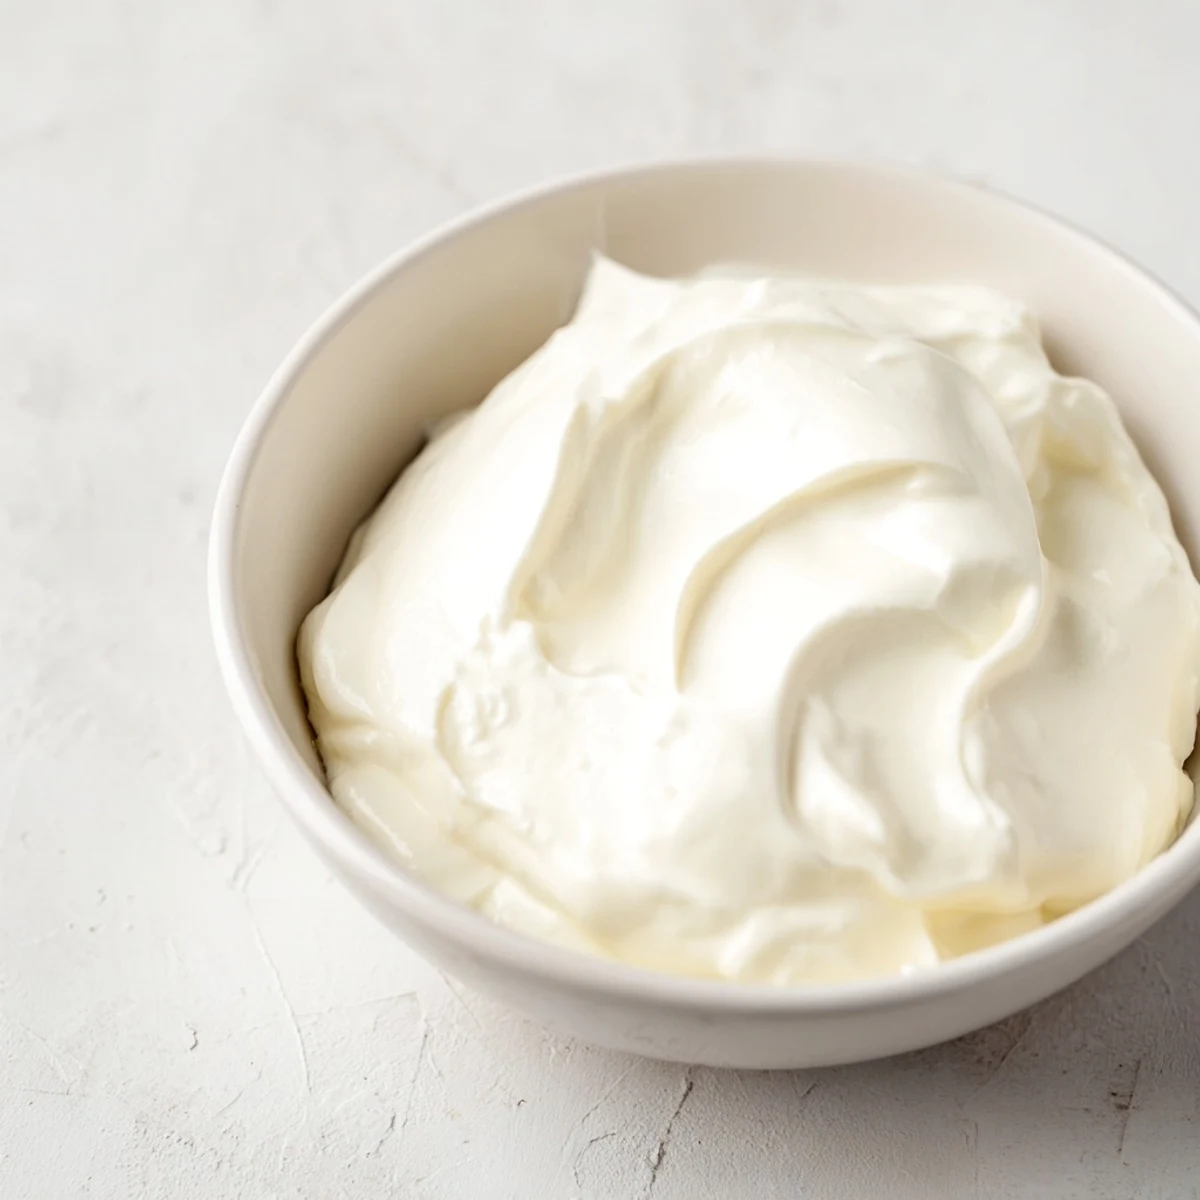
 Master the art of homemade Greek yogurt using whole milk and a starter culture. Heat milk to 180°F, cool to 110°F, then incubate for 6-8 hours in a warm environment. Strain through cheesecloth for that signature thick, creamy texture. The process requires minimal active time but delivers restaurant-quality results. Use the strained whey in smoothies or baking for zero waste. Customize with honey, fresh fruit, or nuts for serving. This versatile staple keeps well in the refrigerator for up to two weeks.
The smell of warm milk cooling on my counter takes me back to my grandmother’s kitchen, where she’d wrap a yogurt bowl in her favorite floral towel like she was tucking in a sleeping child.
I started making yogurt during a particularly frugal month, hoping to save money, but I kept going because the ritual of heating, cooling, and waiting became the most grounding part of my morning routine.
Ingredients
- Whole milk: The higher fat content creates that luxurious Greek yogurt texture, though Ive learned 2 percent works if youre watching calories.
- Plain yogurt with live cultures: Your starter is the magic bean, so choose a quality plain yogurt without added flavors or gelatin for the best results.
Instructions
- Heat the milk gently:
- Warm your milk in a saucepan over medium heat until it reaches 82°C (180°F), stirring now and then to prevent a scorched bottom.
- Let it cool down:
- Remove from heat and wait until the temperature drops to 43°C (110°F), which feels pleasantly warm to the touch like a baby bottle.
- Make your starter:
- Whisk 2 tablespoons of cooled milk with your yogurt starter in a small bowl until completely smooth.
- Combine everything:
- Pour the starter mixture back into your cooled milk and stir gently to incorporate without creating bubbles.
- Let it culture:
- Transfer to a clean container, cover, and wrap in a towel or place in a yogurt maker for 6 to 8 hours until set.
- Strain for thickness:
- Line a strainer with cheesecloth over a bowl, pour in your yogurt, and refrigerate 1 to 2 hours until it reaches your desired consistency.
- Store and enjoy:
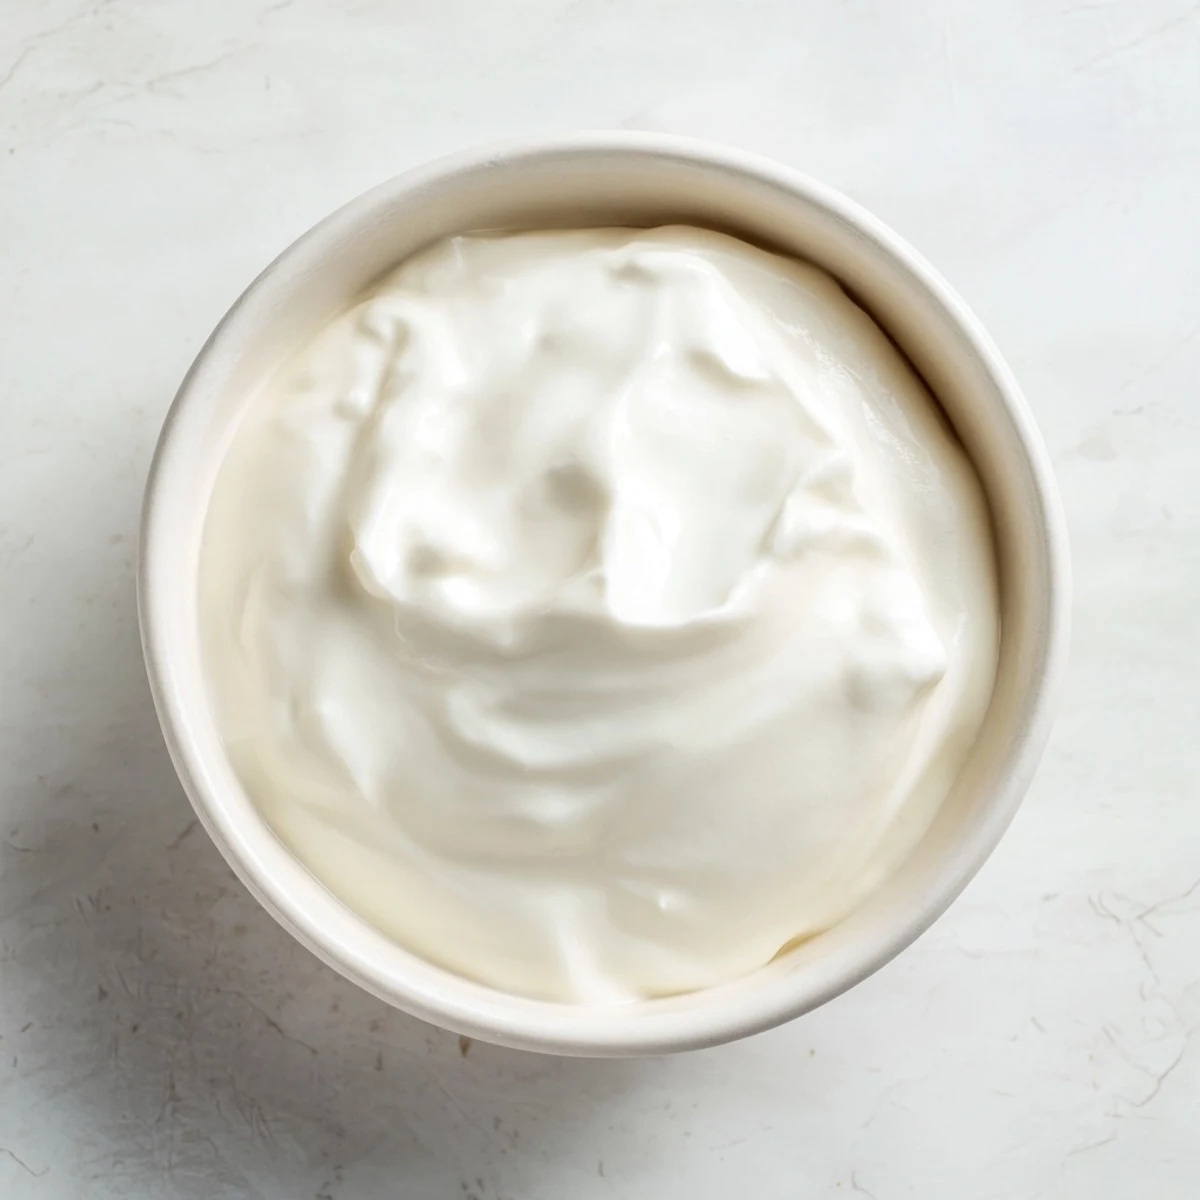
- Transfer your thickened Greek yogurt to a clean container and refrigerate until ready to serve.
 Save to feedthepins
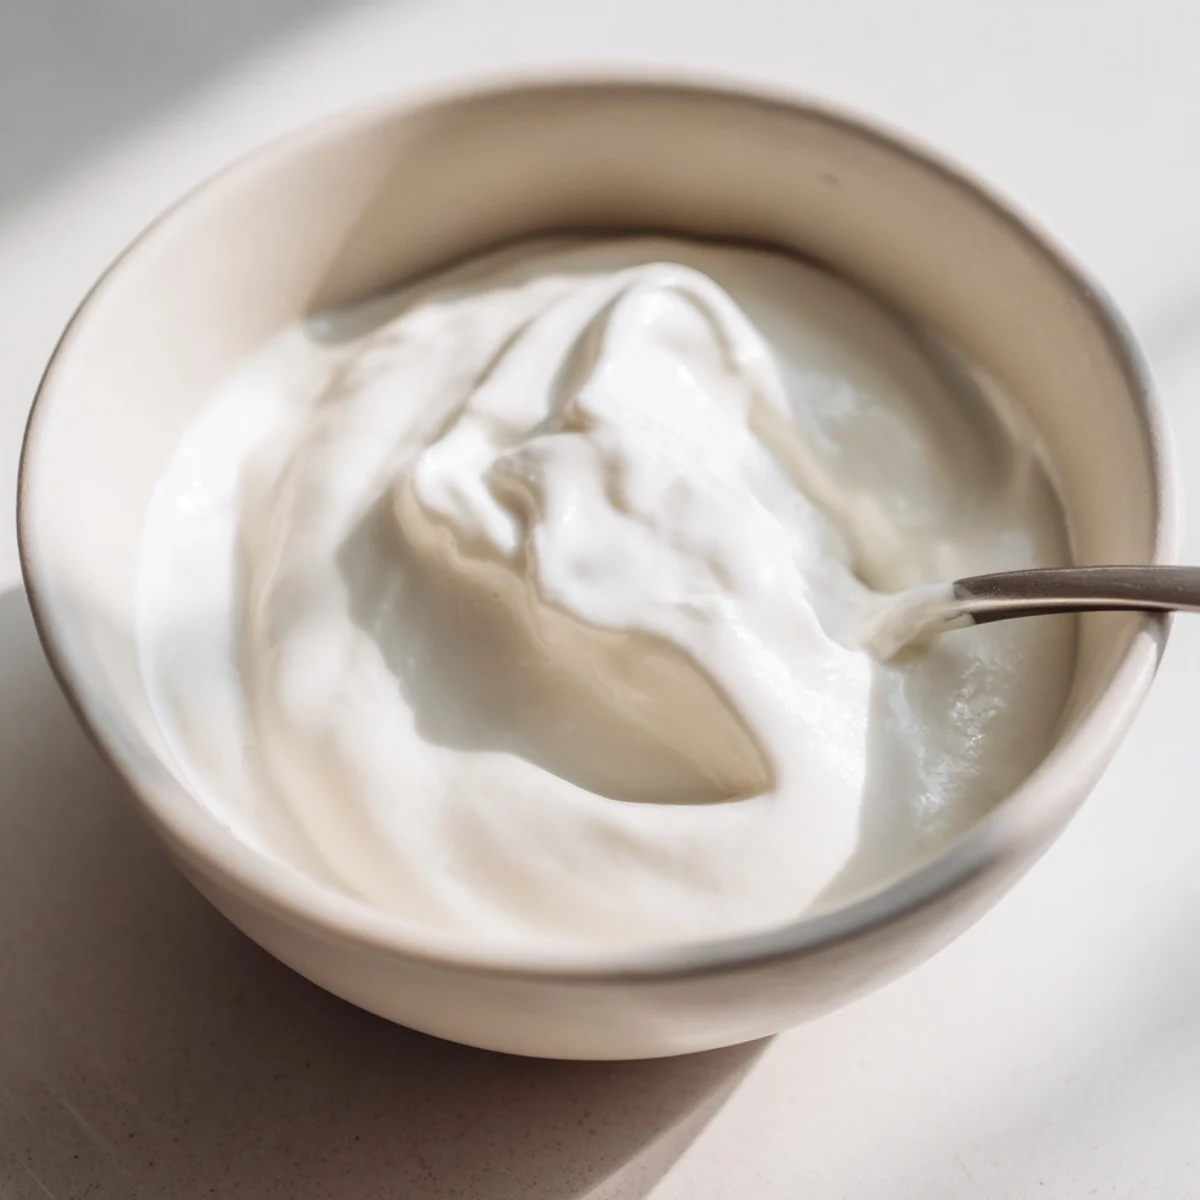
 My husband, who swore he hated yogurt, tried my homemade version with a drizzle of honey and now asks when Im making another batch before weve even finished the current one.
Getting The Right Texture
The difference between regular yogurt and Greek yogurt is simply patience during the straining step, where the whey separates and leaves behind that velvety thickness.
Flavor Variations
Ive discovered that adding vanilla bean paste or a spoonful of fruit preserves to the warm milk before culturing creates infused yogurt that feels infinitely special.
Using Your Whey
The liquid whey that strains out is packed with protein and probiotics, making it perfect for smoothies, pancake batter, or even as a starter for your next yogurt batch.
- Freeze whey in ice cube trays for easy portioning.
- Use it as a buttermilk substitute in baking recipes.
- Add it to soups for extra nutrition and tang.
 Save to feedthepins
 Theres something deeply satisfying about spooning into yogurt you made yourself, knowing exactly what went into it and seeing how simple ingredients transform into something extraordinary.
Recipe Q&A
- → What makes Greek yogurt different from regular yogurt?
-
Greek yogurt undergoes straining to remove whey, resulting in a thicker, creamier texture with higher protein content compared to regular varieties.
- → How long does homemade Greek yogurt last?
-
Properly stored in an airtight container, homemade Greek yogurt stays fresh for 1-2 weeks in the refrigerator.
- → Can I use low-fat milk instead of whole milk?
-
While possible, whole milk produces the creamiest texture. Low-fat alternatives yield thinner results that may require longer straining time.
- → What can I do with the leftover whey?
-
The strained whey adds protein to smoothies, works as a buttermilk substitute in baking, or nourishes plants when diluted.
- → Do I need a yogurt maker?
-
No. A warm spot like an oven with the light on, a wrapped container in towels, or even a slow cooker on low works perfectly for incubation.
- → Why must I heat the milk to 180°F?
-
Heating denatures milk proteins, allowing them to form a thicker gel structure during fermentation, essential for proper yogurt texture.
