 Save to feedthepins
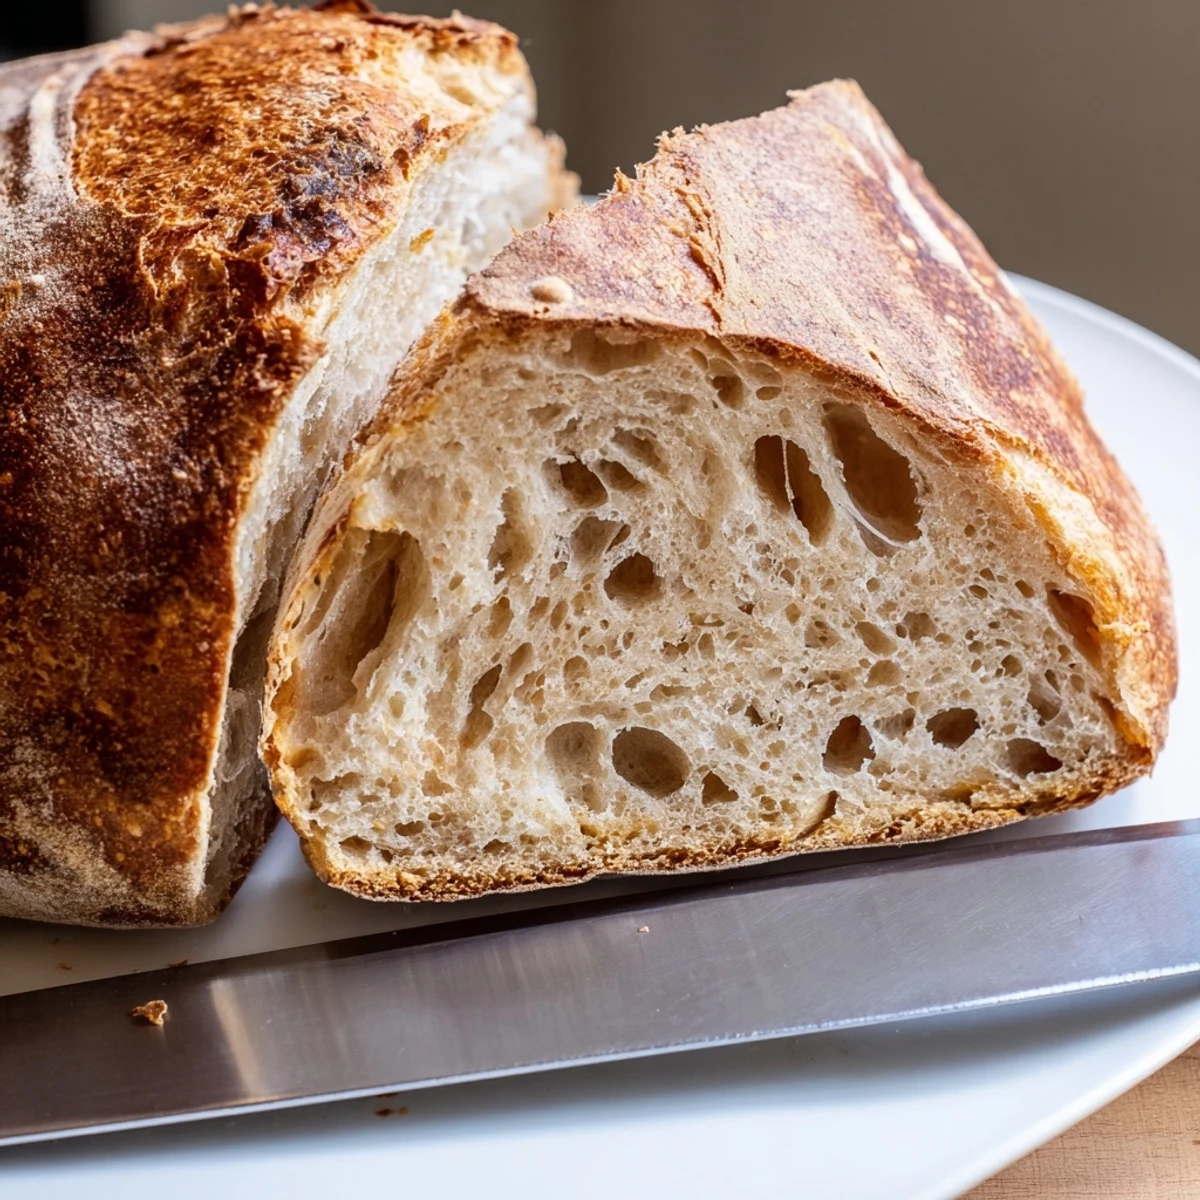
 Transform basic ingredients into stunning bakery-style bread with almost zero hands-on effort. This method relies on time and steam to develop deep flavor and a crackling crust without any kneading whatsoever. The dough comes together in minutes, then rests overnight while wild yeast activity creates complex tangy notes and exceptional structure. A hot Dutch oven creates professional steam injection, yielding that coveted caramelized exterior and tender airy crumb. Perfect for first-time bakers and seasoned bread enthusiasts alike.
The smell of bread baking transforms a house into a home. My first attempt at homemade bread ended in dense disappointment, but this recipe changed everything when I discovered that patience replaces kneading. Now I keep a container of flour on my counter just for the moments when I need that comforting aroma filling my kitchen.
Last winter, during a snowstorm that trapped us inside for three days, this bread became our daily ritual. My roommate and I took turns checking the rising dough, and something about watching those bubbles appear made the world outside feel less overwhelming. We ate it warm from the oven, slathered with butter we never kept in the house before.
Ingredients
- Bread flour: The higher protein content creates that satisfying chewy crumb, though all purpose works in a pinch
- Salt: Do not reduce this amount. It seems like a lot, but it balances the flavor and strengthens the gluten structure
- Instant yeast: No proofing needed. Just whisk it in and trust the process
- Lukewarm water: Test it on your wrist. Like a baby bottle, it should feel neither hot nor cold
- Extra flour for dusting: This prevents sticking and adds that rustic bakery look to your finished loaf
Instructions
- Mix the dough:
- Whisk the flour, salt and yeast in a large bowl until combined. Pour in the water and stir with a wooden spoon until you have a shaggy, sticky mess. Resist the urge to add more flour or knead it.
- Let it rise:
- Cover the bowl tightly with plastic wrap. Walk away for 12 to 18 hours. The dough should bubble up and double in size, developing a fermented aroma.
- Shape the loaf:
- Scrape the dough onto a floured surface. With floured hands, gently fold the edges toward the center to form a ball. Place it seam side down on parchment paper.
- Rest again:
- Cover the dough with a clean towel and let it relax for 30 to 60 minutes while you preheat your oven.
- Preheat with purpose:
- Put your Dutch oven and its lid in the oven and heat to 450 degrees. Let it get screaming hot for at least 30 minutes. This heat creates the crust.
- Bake covered:
- Carefully lift the parchment paper and lower the dough into the hot Dutch oven. Cover immediately and bake for 30 minutes. The steam creates the oven spring.
- Finish with color:
- Remove the lid and bake another 12 to 15 minutes until deep golden brown. The crust should sound hollow when tapped.
- Cool completely:
- Transfer to a wire rack and wait. Cutting warm bread ruins the texture. Let it cool for at least an hour before slicing.
 Save to feedthepins
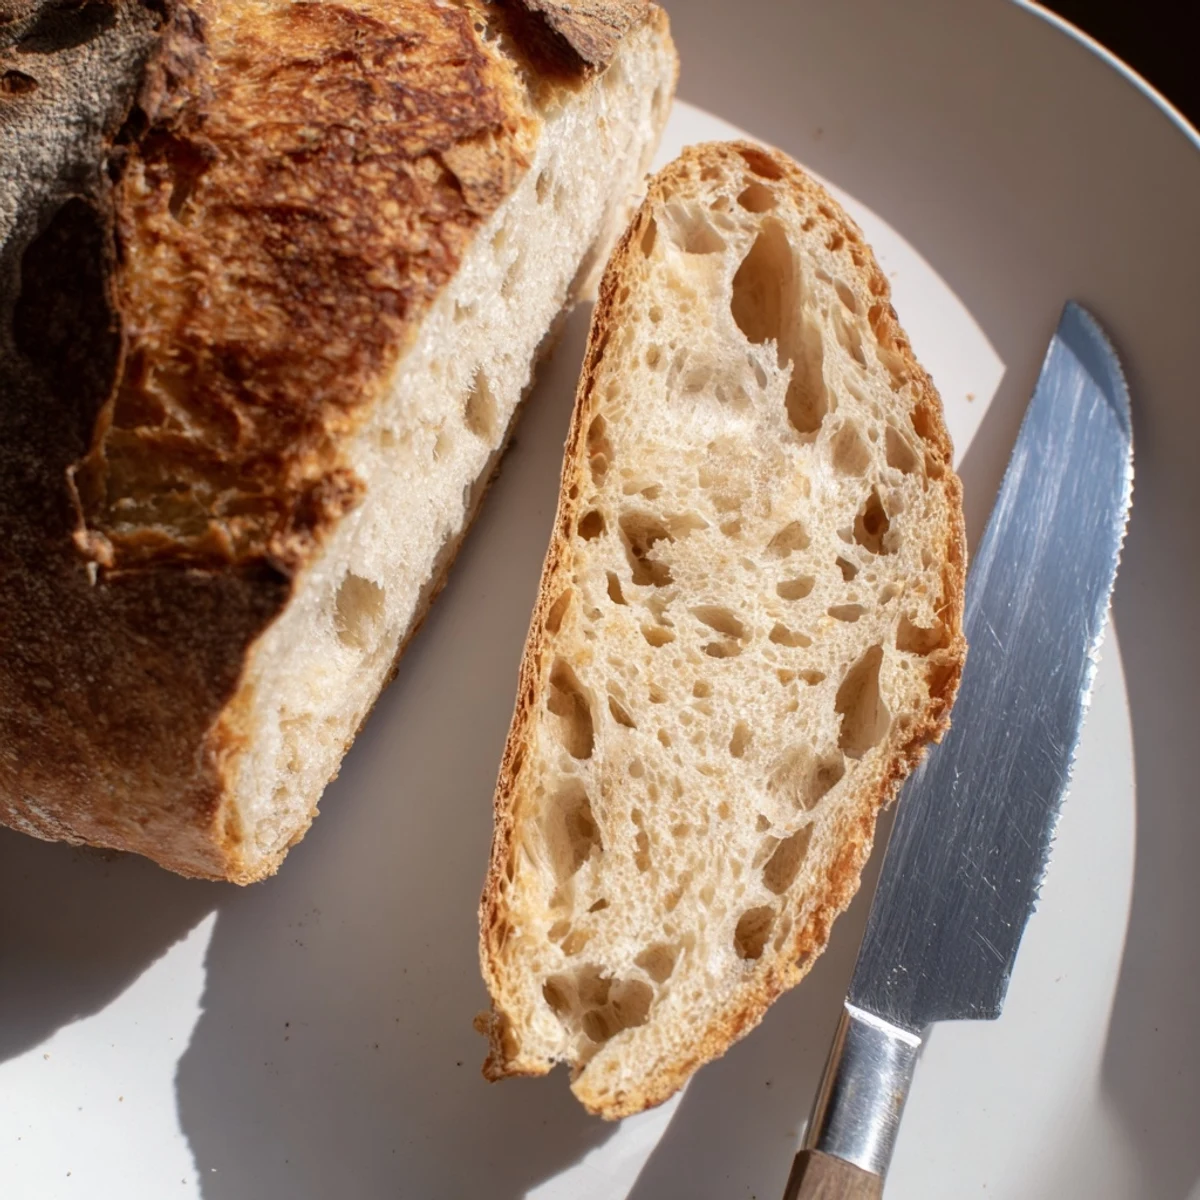
 My grandmother kept bread on her table constantly, and it took me years to understand that bread is not just food. It is an invitation to sit, to talk, to stay awhile. Now when friends visit, the first question is not how are you but is the bread ready.
Timing Your Bake
Mix the dough in the evening after dinner, let it rise overnight while you sleep, then bake fresh bread for breakfast. The timing works perfectly and fills your morning with the best possible alarm clock.
Storage Solutions
This bread keeps well wrapped in a clean kitchen towel for two days. After that, slice and freeze it. Toasted frozen bread tastes almost as good as fresh baked.
Flavor Variations
The basic recipe creates the perfect canvas for experimentation. I have added everything from roasted garlic to rosemary, cinnamon and raisins to chunks of cheddar. Keep the base ratios the same and let your cravings guide you.
- Add herbs or cheese during the initial mixing step
- Try whole wheat flour for up to one third of the white flour
- Experiment until you find your signature version
 Save to feedthepins
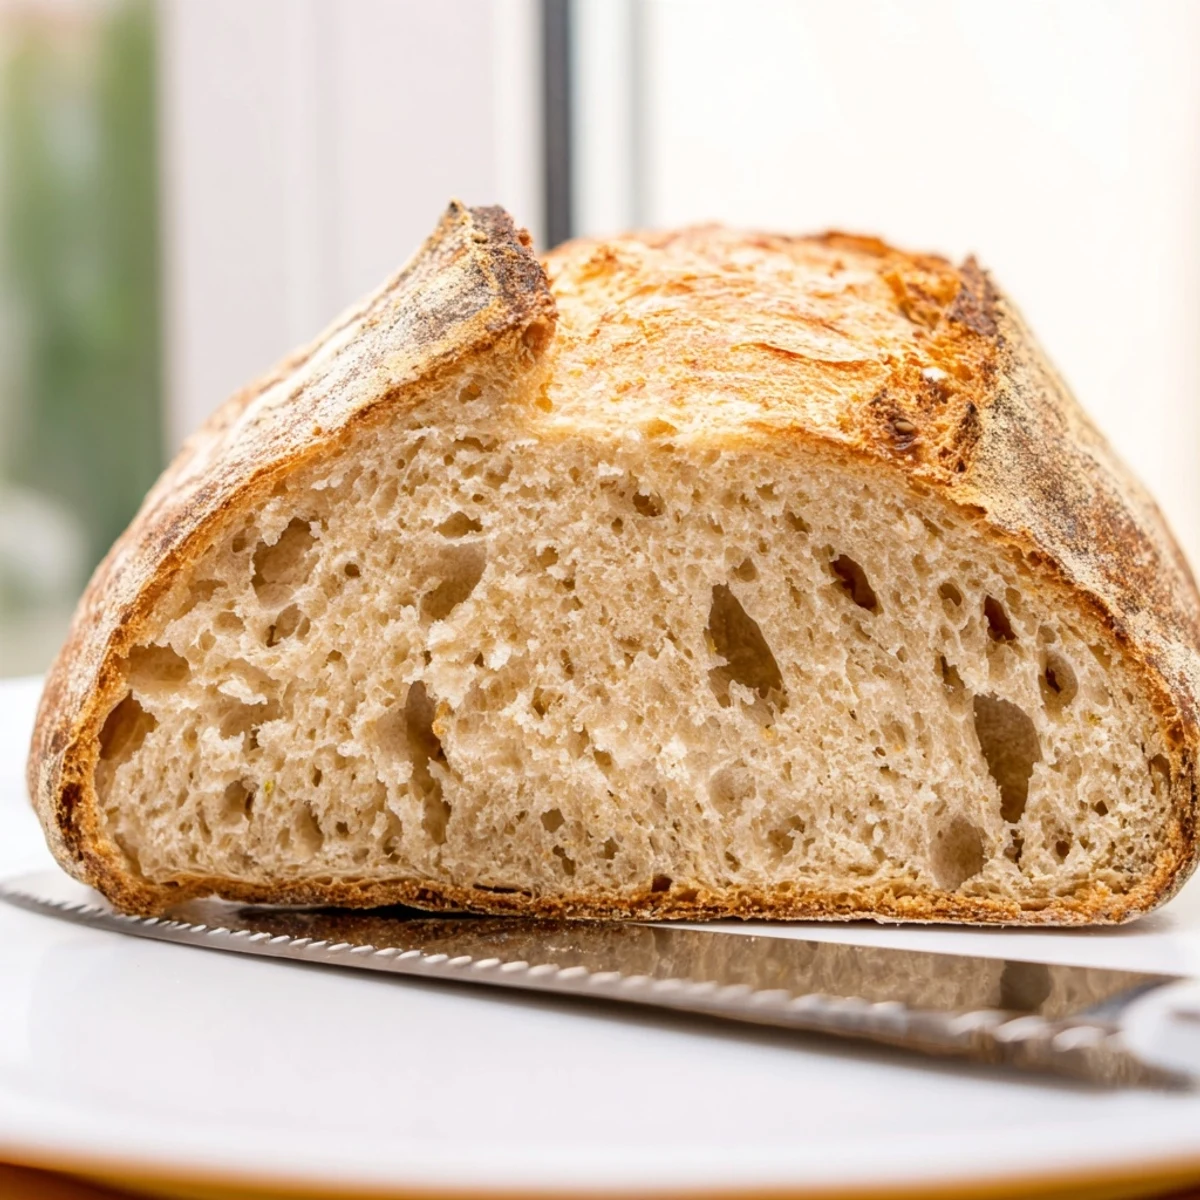
 There is something almost magical about transforming three simple ingredients into bread that rivals any bakery. Start this recipe today and wake up to something wonderful.
Recipe Q&A
- → Why does this bread require no kneading?
-
The extended fermentation period allows gluten strands to develop naturally through hydration and time. This gentle process creates a strong network that traps gas bubbles, resulting in that characteristic open crumb structure without aggressive manipulation.
- → Can I reduce the rising time?
-
The lengthy rise is essential for flavor development and texture. Shortening the fermentation will produce denser, less flavorful loaves. Plan ahead—most of the work happens passively while you sleep or go about your day.
- → What if I don't have a Dutch oven?
-
A heavy cast iron pot with a tight-fitting lid or even a sturdy baking dish with an inverted metal bowl can work. The key is creating a sealed steam environment during the initial bake phase for optimal crust formation.
- → How do I know when the dough has risen enough?
-
Look for visible bubbles on the surface and significant volume increase—typically doubled. The dough should look puffy and jiggly when you gently shake the bowl, indicating active fermentation.
- → Can I add mix-ins like herbs or cheese?
-
Absolutely. Incorporate dried herbs, grated cheese, roasted garlic, or caramelized onions during the initial mixing. For larger additions like nuts or olives, fold them in gently after the first rise while shaping.
- → Why must the pot be preheated?
-
A screaming-hot pot immediately begins cooking the bottom crust, creating oven spring—that dramatic rise when dough hits high heat. This initial burst of heat sets the structure before the loaf collapses under its own weight.
