 Save to feedthepins
 Craft a stunning crusty loaf with minimal effort and ingredients. This no-knead approach yields an airy crumb and perfectly golden crust, rivaling artisan bakery offerings. The hands-off method involves mixing flour, salt, yeast, and water, then letting time work its magic during a simple rise.
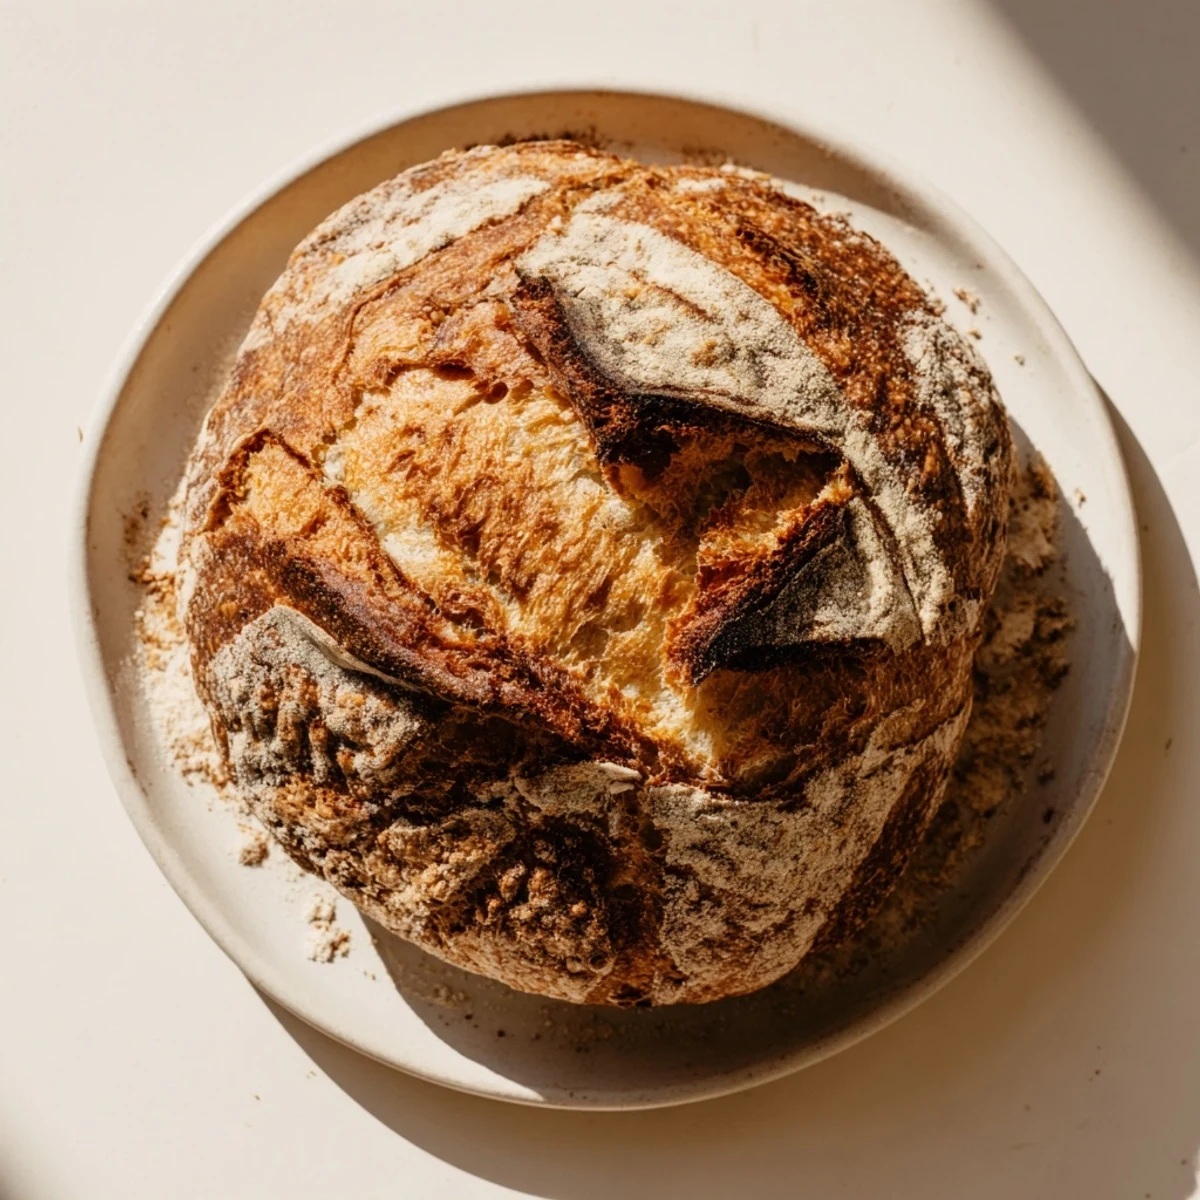
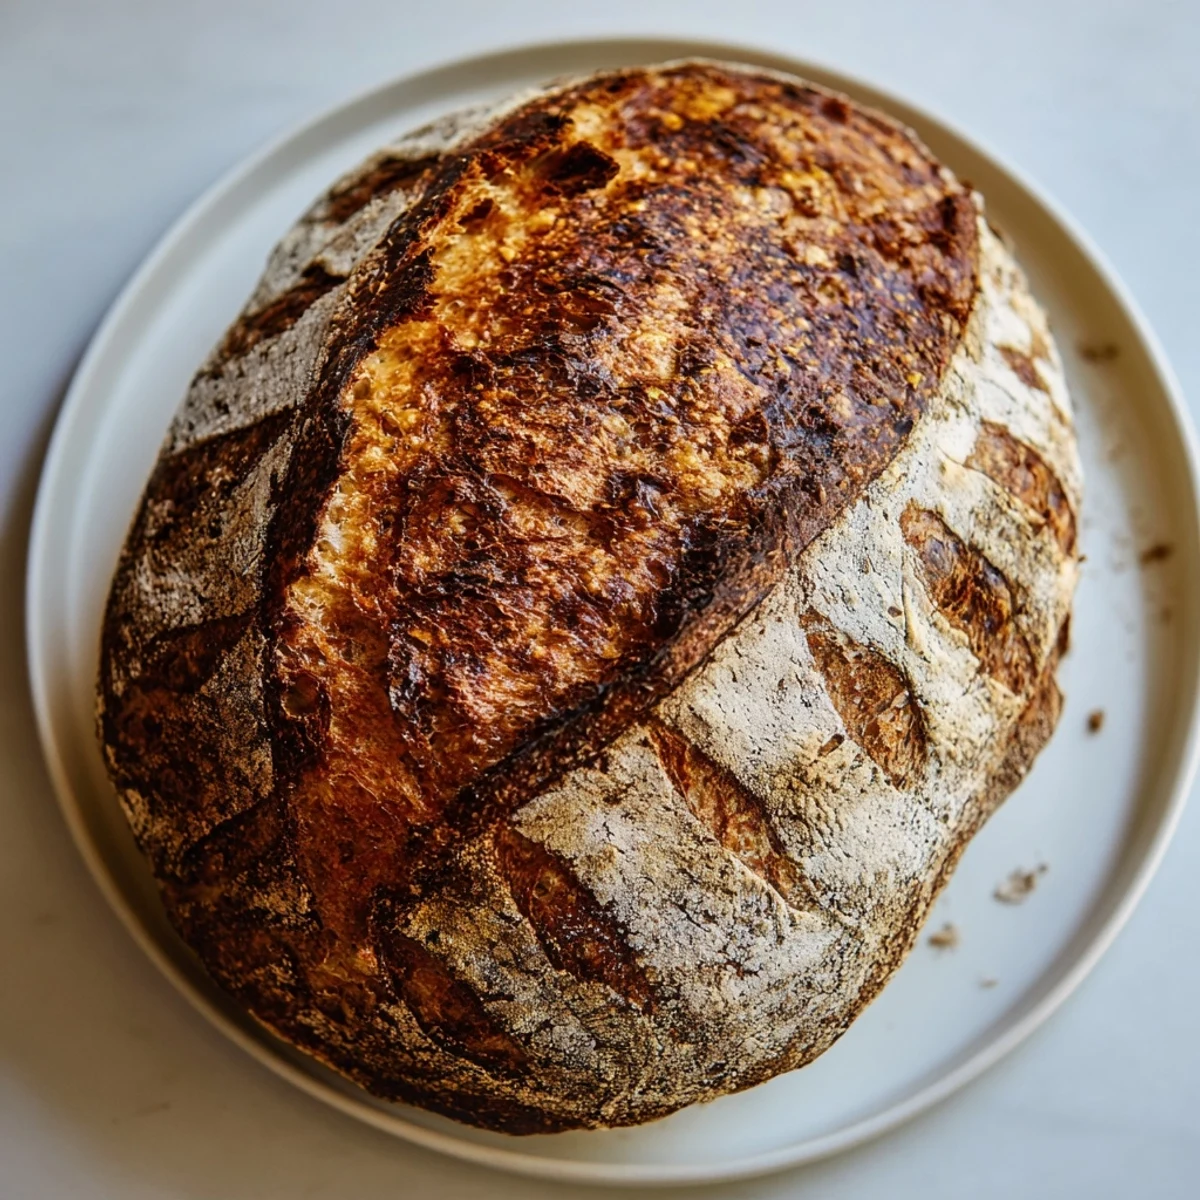
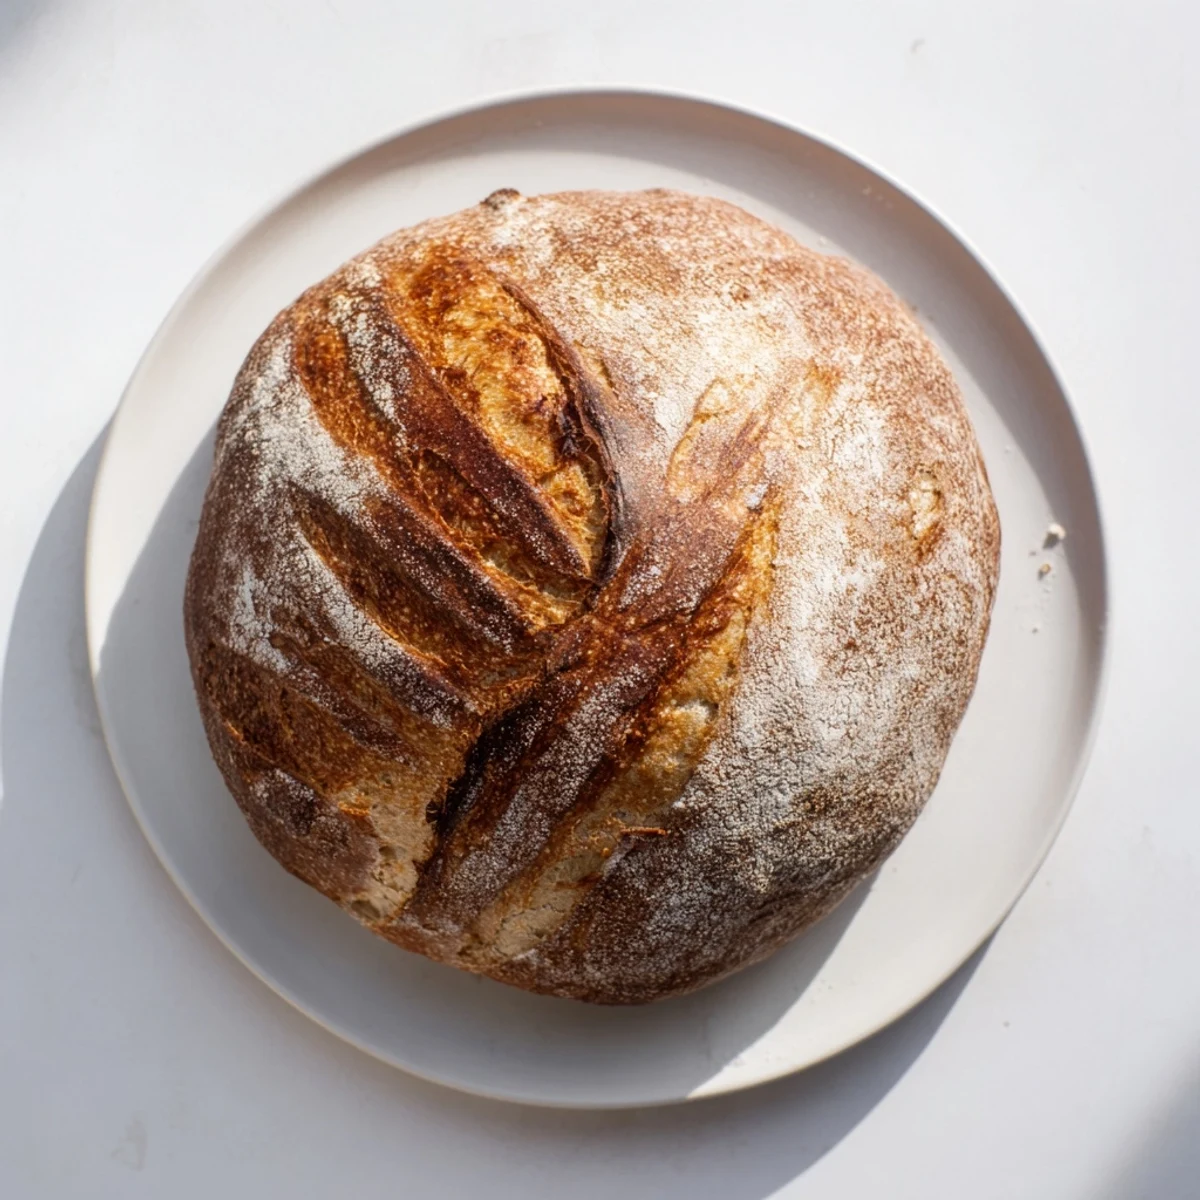
Bake in a Dutch oven for professional steam circulation, creating that signature crackly crust. The result is a beautifully bronzed, hollow-sounding loaf ready for slicing.
The first time I made bread, I expected a kitchen disaster, but instead, my tiny apartment filled with this incredible yeasty warmth that made it feel like home. I kept checking the oven every five minutes like an anxious parent, watching that shaggy, unimpressive dough transform into something with a real crust. Now this recipe is my weekend comfort food. There's nothing quite like pulling a golden loaf from the oven and hearing that hollow tap that tells you you nailed it.
Last winter, my neighbor smelled this baking and actually knocked on my door to ask what was happening in my kitchen. I ended up sharing slices straight from the cooling rack, still warm and dusted with flour, and we stood in the hallway eating bread and talking about how our grandmothers used to make similar loaves. Something about breaking bread with someone, even store bought bread, changes everything.
Ingredients
- Bread flour: The higher protein content creates that beautiful chewy crumb structure and helps the loaf develop strength
- Salt: Don't skip this, it enhances flavor and actually strengthens the gluten network
- Instant yeast: No proofing needed, it works like magic in the dough
- Lukewarm water: Think bathwater temperature, around 100°F activates yeast without killing it
- Cornmeal or semolina: This keeps the loaf from sticking and adds a subtle crunch to the bottom crust
Instructions
- Mix your foundation:
- Combine flour, salt, and yeast in a large bowl, stirring until everything looks evenly distributed
- Bring it together:
- Pour in the lukewarm water and stir with a wooden spoon until you have a shaggy, sticky dough that looks messy
- Let it work:
- Cover your bowl and walk away for 1 to 2 hours, letting the dough rise until it's doubled in size
- Shape with confidence:
- Turn the dough onto a floured surface and fold the edges underneath to create a rough ball shape
- Rest again:
- Place the dough seam side down on floured parchment paper and let it rest for 30 minutes
- Heat things up:
- Preheat your oven to 450°F with your Dutch oven inside if you're using one
- Score for success:
- Use a sharp knife to cut a slash across the top of the loaf, then transfer carefully into the hot Dutch oven
- First bake covered:
- Bake with the lid on for 25 minutes to create steam, which gives you that crackly crust
- Reveal and finish:
- Remove the lid and bake another 15 minutes until deep golden brown and hollow sounding when tapped
- Cool completely:
- Let the bread rest on a wire rack, slicing only after it has fully cooled to preserve the crumb structure
 Save to feedthepins
 My friend Sarah who claimed she couldn't cook anything made this recipe three times in one week. She sent me photos of each loaf like they were her children, and honestly, I understood completely. There is something deeply satisfying about transforming four simple ingredients into something that sustains people.
Choosing Your Equipment
A Dutch oven creates the perfect steam environment for crust development, but a heavy baking sheet works well too. The key is having something that holds heat well and can withstand high temperatures. Parchment paper is non negotiable for easy transfer.
Making It Your Own
Try mixing in rosemary, thyme, or roasted garlic into the dough before rising. A tablespoon of olive oil adds subtle richness and keeps the crust slightly softer. The variations are endless once you master the basic technique.
Timing Your Bake
Start this in the morning if you want fresh bread for lunch, or mix it up the night before and let it rise slowly in the refrigerator. Cold fermentation actually develops more complex flavors.
- Set a timer for each rise period so you do not forget about your dough
- Preheat your oven early so it is fully hot when your dough is ready
- Score the dough confidently but do not cut too deep into the loaf
 Save to feedthepins
 There is something profoundly grounding about making bread with your own hands, watching it transform from flour and water into something nourishing. Slice thick, slather with butter, and share with someone you love.
Recipe Q&A
- → What makes this loaf crusty?
-
Baking in a preheated Dutch oven creates steam, which develops a thick, crackly crust. The trapped moisture helps the exterior crisp while keeping the interior tender.
- → Can I make this without a Dutch oven?
-
Yes. Use a heavy baking sheet or pizza stone instead. While you won't get quite the same steam effect, you'll still achieve a good crust by baking at high temperature.
- → Why does the dough need to rise for 2 hours?
-
Extended fermentation develops flavor and creates the characteristic airy, chewy texture. The yeast needs time to produce carbon dioxide, which creates those beautiful air pockets throughout the crumb.
- → What does scoring the loaf do?
-
Scoring creates a controlled path for the dough to expand while baking. This prevents ugly tearing and gives you that classic artisan pattern on the finished loaf.
- → How do I know when it's done baking?
-
The crust should be deep golden brown. Tap the bottom—if it sounds hollow, it's finished. An instant thermometer inserted into the center should read 200°F (93°C).
- → Can I add mix-ins like herbs or cheese?
-
Absolutely. Incorporate fresh rosemary, thyme, roasted garlic, or shredded cheese during the initial mixing. Just keep additions to about 1/2 cup total to maintain proper dough structure.
