 Save to feedthepins
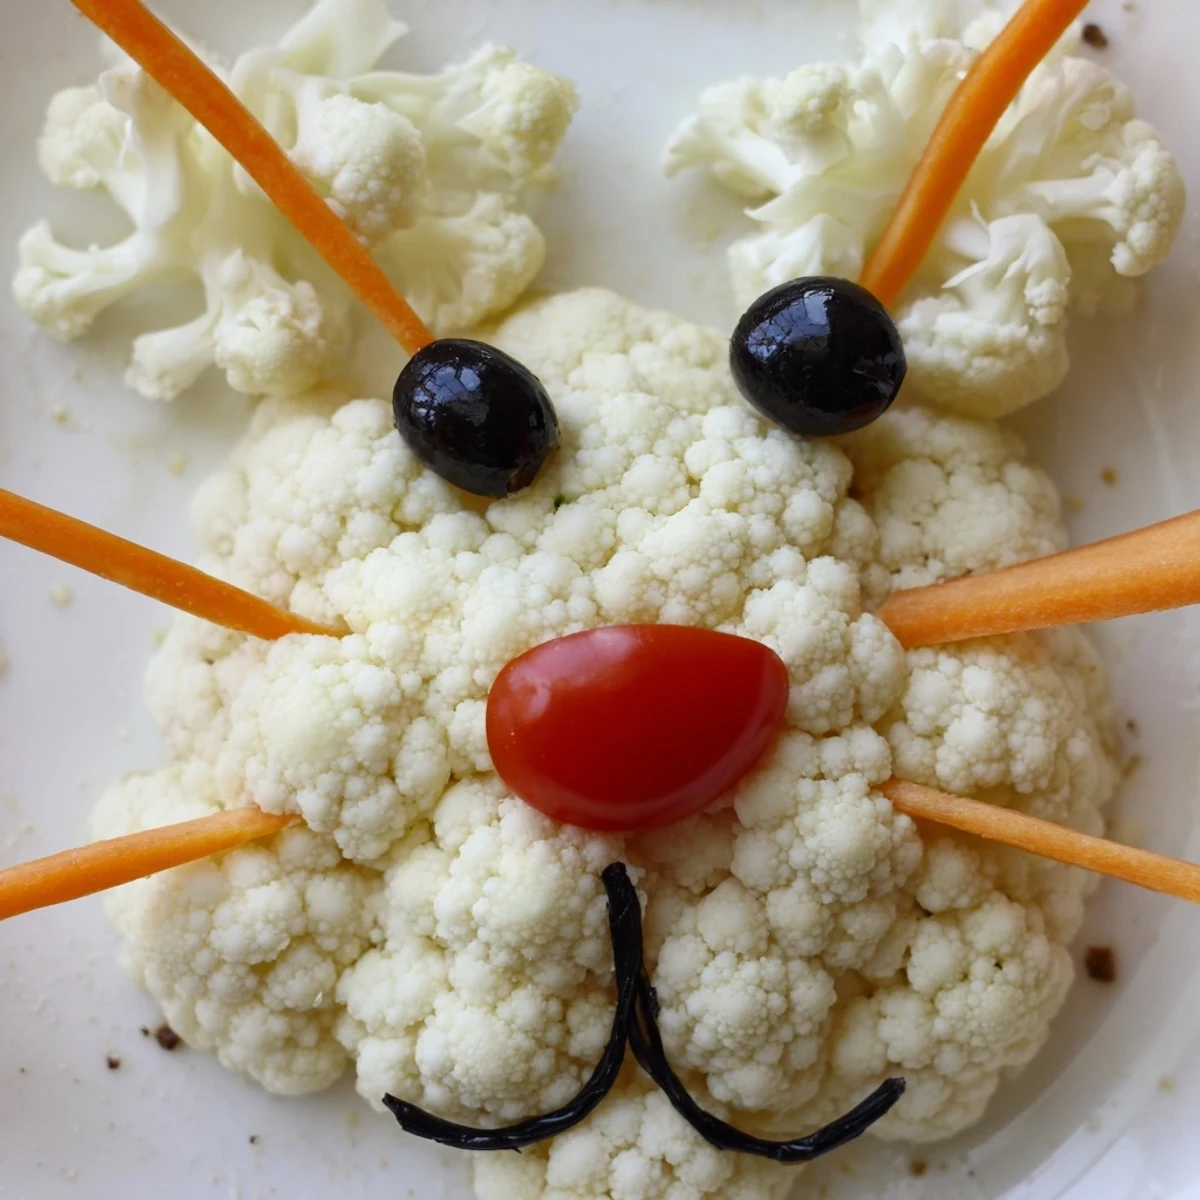
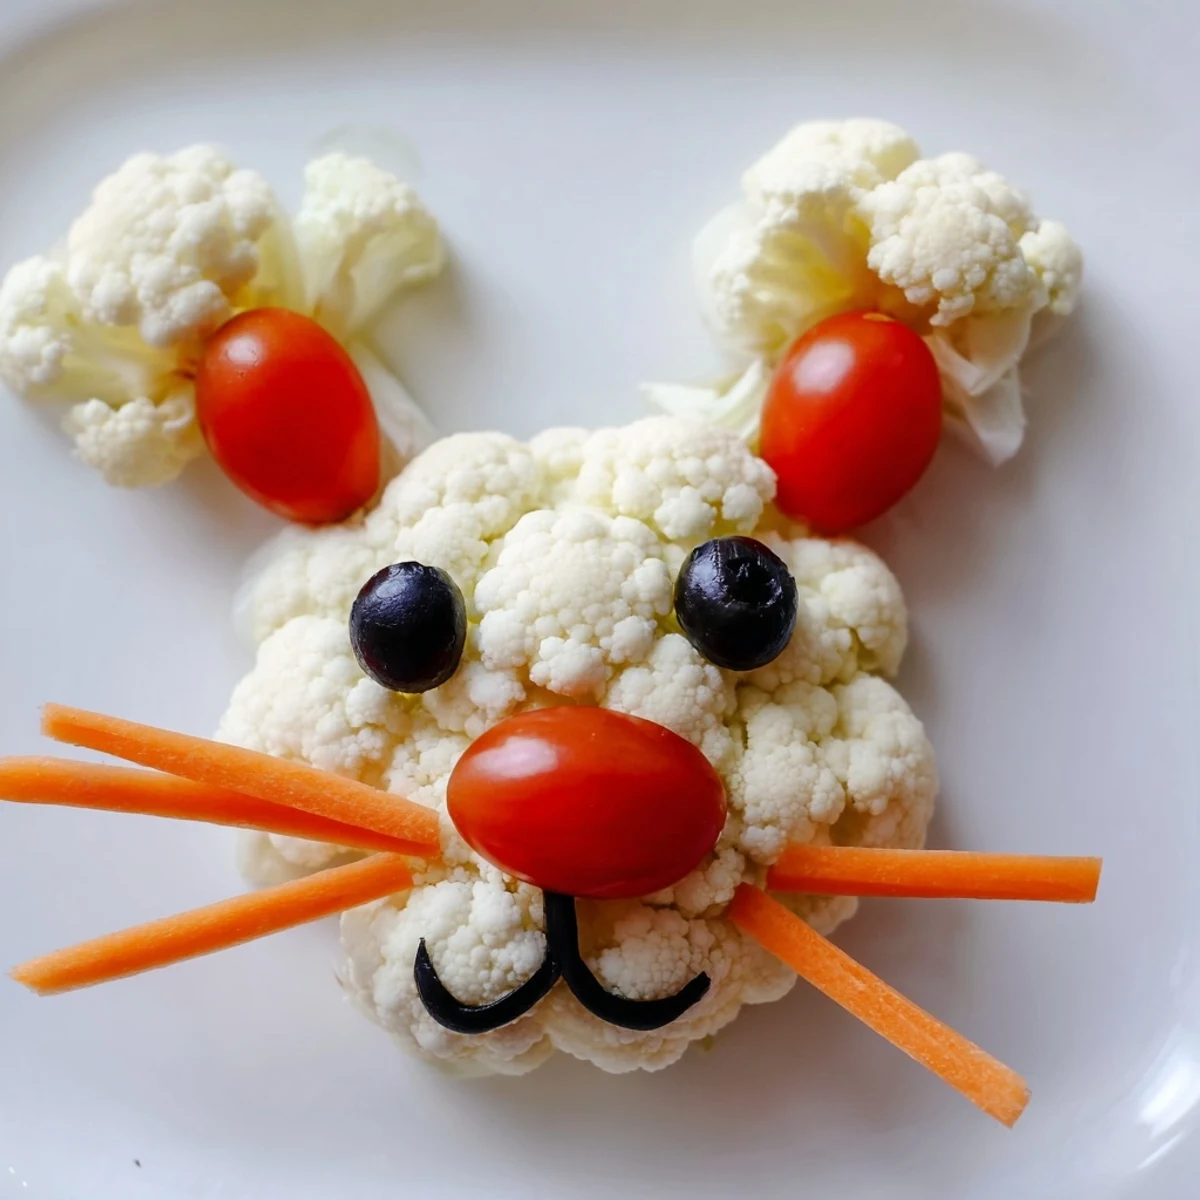
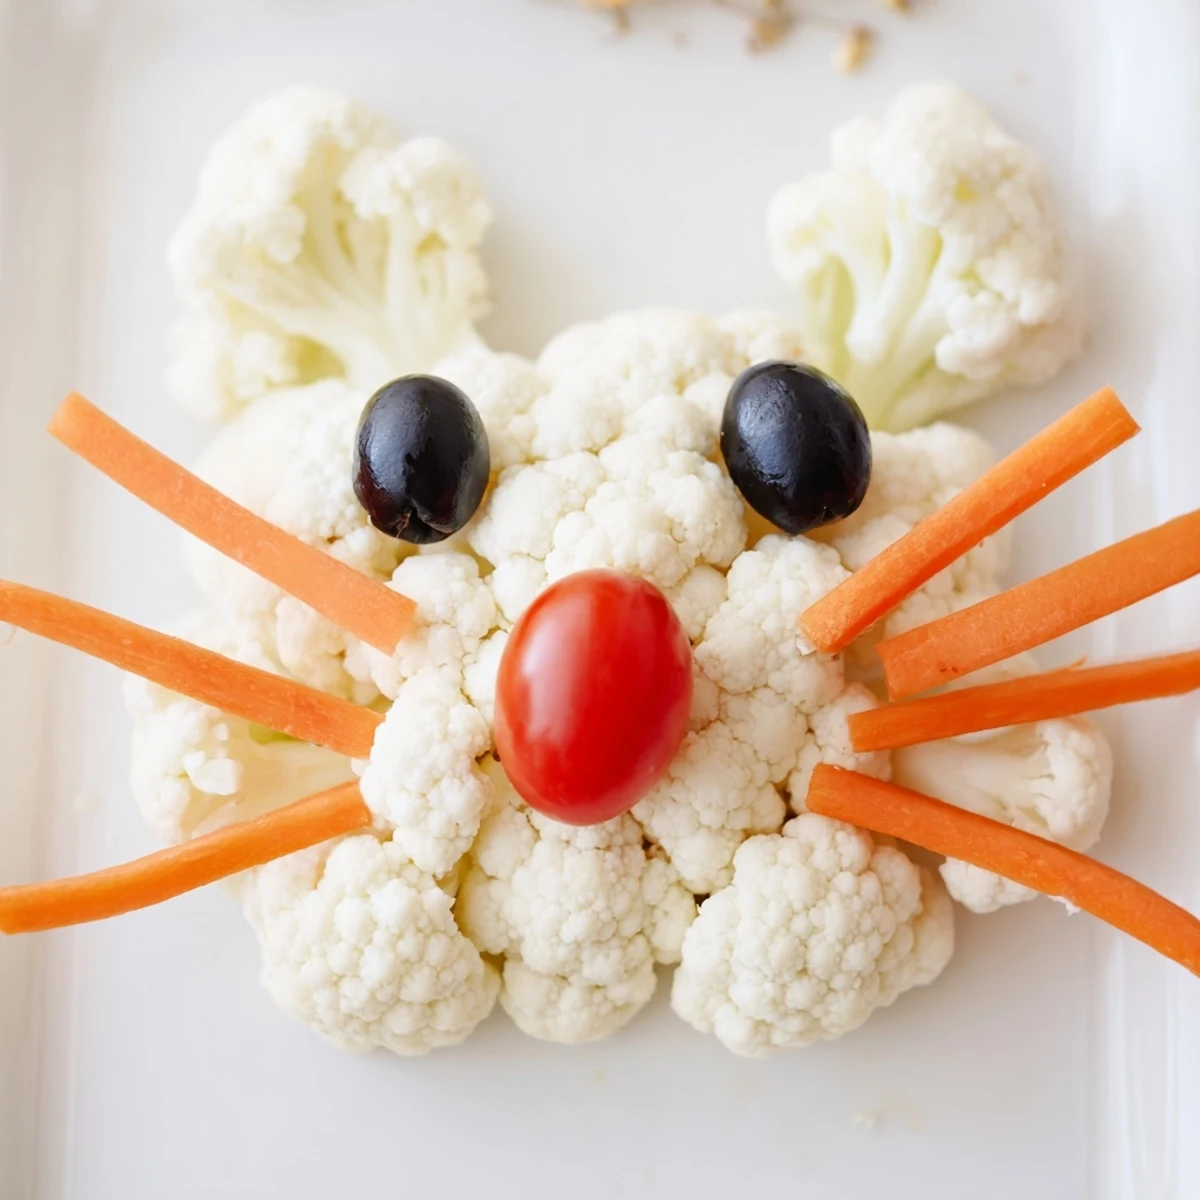
 Transform ordinary vegetables into an adorable Easter bunny centerpiece that will delight guests at your spring gathering. This creative arrangement combines crisp cauliflower, cucumbers, cherry tomatoes, bell peppers, and fresh veggies into a whimsical bunny shape. The platter comes together in just 30 minutes with no cooking required—simply wash, chop, and arrange. A small cluster of cauliflower forms the fluffy tail while sliced cucumbers create long ears accented with red pepper. Cherry tomatoes make rosy cheeks, and carrot sticks become playful whiskers. Serve alongside ranch or hummus for dipping. The display is naturally gluten-free and easily made vegan with plant-based dip options.
The year my youngest declared she was too old for egg dyeing but still wanted something festive, I grabbed whatever was in the crisper drawer and started arranging. Forty minutes later, a cauliflower bunny stared back at us, and honestly, it was the hit of the brunch table. Sometimes the most memorable holiday moments come from improvising with what you have rather than following some elaborate plan.
Last Easter, my neighbor brought over her version with purple cauliflower ears, and we ended up having an impromptu bunny platter competition in the middle of the driveway. The winning design had somehow incorporated radish flowers as bunny slippers, which I am still trying to figure out how she managed.
Ingredients
- 1 large head cauliflower: The natural texture creates perfect fluffy fur, and white cauliflower contrasts beautifully with colorful vegetables
- 2 large cucumbers: English or garden cucumbers work best for long, sturdy ears that hold their shape
- 1 pint cherry tomatoes: Choose uniformly sized tomatoes for the cheeks so the bunny face looks symmetrical
- 1 large red bell pepper: The bright interior adds dimension to the ears and creates a perfect nose
- 2 large carrots: Peel them completely so the orange color pops against the lighter vegetables
- 1 bunch celery: Use both stalks and leaves for creating texture and depth around the outline
- 1 cup sugar snap peas: These add fresh crunch and seasonal green color that shouts spring
- 2 black olives: Pitted work best since you can flatten them slightly against the cauliflower
- 1 cup ranch or hummus dip: Place this strategically where it looks like the bunny is holding a bowl
Instructions
- Prep your vegetable palette:
- Wash everything thoroughly and keep similar vegetables grouped together on your cutting board so you can see what you are working with before assembly begins
- Build the bunny foundation:
- Arrange cauliflower florets in a generous oval shape for the face and create a small separate cluster for the fluffy tail
- Frame those signature ears:
- Slice cucumbers lengthwise into long planks and position them above the face, then tuck red bell pepper strips inside for that classic Easter bunny look
- Add personality to the face:
- Place cherry tomatoes as rosy cheeks on the lower face, position black olives for eyes, and add a small triangle of red pepper for the nose
- Create whiskers and finish:
- Arrange carrot sticks as whiskers radiating outward, fill gaps with celery and snap peas, then nestle the dip bowl somewhere near your bunny creation
 Save to feedthepins
 My sister now texts me photos of her vegetable creations for every holiday, and the Halloween skeleton made from bell peppers and mushroom bones still lives rent-free in my head as a masterpiece of whimsical food art.
Making It Your Own
Once you have the basic bunny shape down, the variations are endless depending on what looks fresh at the market or what needs to be used from your refrigerator. Broccoli florets can create a furry green bunny, or try purple cauliflower for something unexpected and striking.
Timing Your Assembly
I learned the hard way that vegetables oxidize and look sad if assembled too far ahead, so now I wash and cut everything the night before but store each vegetable in separate containers. The actual arranging takes about fifteen minutes, which is perfect for right before guests arrive.
Platter Presentation Tips
Round platters work best for this particular design, but I have used rectangular cutting boards for a more modern look. Consider placing the dip bowl where the bunny paws would be, or use a small bowl for each paw if feeding a crowd.
- Line your serving tray with parchment or lettuce leaves for an instant grassy meadow effect
- Have extra vegetables ready to replenish the most popular areas once guests start grazing
- Take a photo immediately after assembly because vegetable art is fleeting and beautiful
 Save to feedthepins
 There is something genuinely delightful about watching adults and children alike gravitate toward vegetables simply because they are arranged into something playful and unexpected.
Recipe Q&A
- → How far ahead can I prepare this veggie tray?
-
You can wash and cut all vegetables up to 24 hours in advance. Store each type separately in airtight containers or bags with damp paper towels to maintain freshness. Arrange the bunny shape on the tray 2-4 hours before serving, cover loosely with plastic wrap, and refrigerate. Add the dip just before serving.
- → What other vegetables work well for this arrangement?
-
Broccoli florets can substitute for cauliflower. Baby carrots work beautifully for whiskers or decoration. Radishes add bright color, while sugar snap peas or snow peas provide lovely green accents. Yellow bell peppers create cheerful contrast. Lettuce leaves or kale make a perfect grassy bed beneath your bunny creation.
- → How do I keep the vegetables crisp until serving?
-
Keep cut vegetables chilled until the last possible moment. Store prepared veggies in the refrigerator with moisture—either damp paper towels or a splash of water in the container. For the arranged tray, mist lightly with water and cover with plastic wrap. Avoid over-refrigeration as some vegetables may become limp after 24 hours.
- → Can I make this tray vegan-friendly?
-
Absolutely. Simply choose a plant-based dip such as hummus, vegan ranch, or baba ganoush instead of dairy-based ranch. All vegetables used are naturally vegan. This makes the tray suitable for guests following plant-based diets while maintaining the same charming appearance and crunch.
- → What size serving tray do I need?
-
A large rectangular or oval platter measuring approximately 16-18 inches works best. This provides enough space for the bunny face, ears, tail, and surrounding decorative vegetables. If serving a larger crowd, consider using two smaller trays or extending the vegetable border around your bunny creation.
- → How many people does this tray serve?
-
This vegetable arrangement yields approximately 8 servings as an appetizer. For larger parties, consider doubling the vegetables and creating a bigger bunny, or making multiple smaller bunnies on separate trays. Each serving offers about 60 calories of fresh, crunchy vegetables.
