 Save to feedthepins
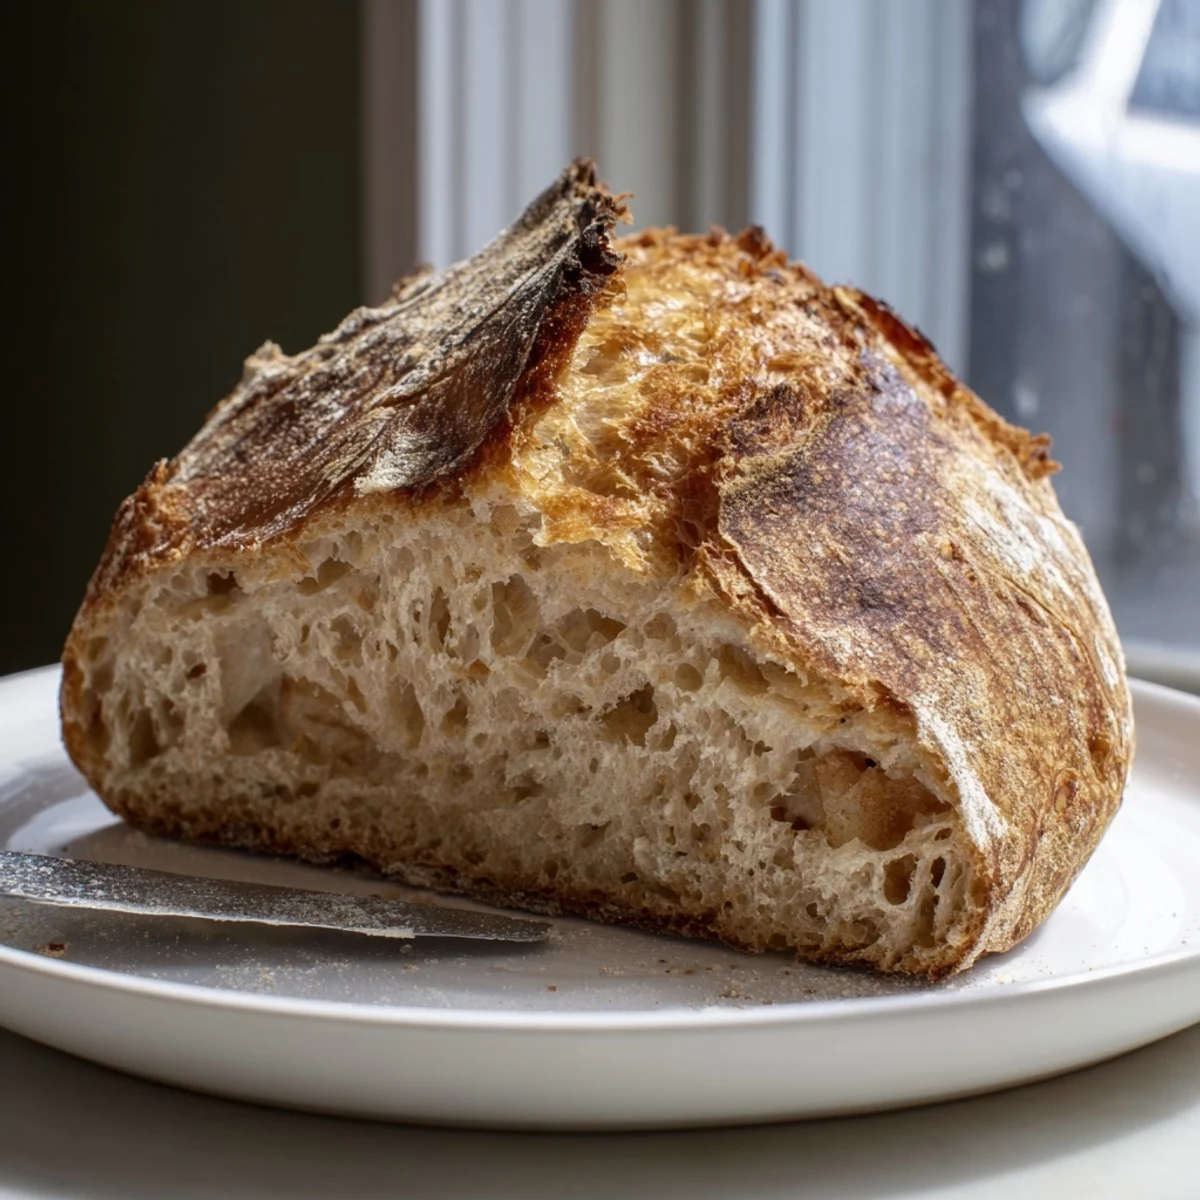
 This artisan bread delivers everything you love about bakery loaves: a deep golden crust that shatters when you bite, revealing a tender, airy interior with those signature irregular holes. The Dutch oven creates professional steam trapping, giving you that blistered, crackling crust without any special equipment or technique.
The dough requires just four ingredients and almost no kneading—simply mix, let it rest overnight, and bake. The long fermentation develops complex flavor and improves digestibility. Customizing is effortless; fold in olives, roasted garlic, or fresh herbs to make it your own.
Slice it warm with melting butter, use it for hearty sandwiches, or serve alongside soups and stews. The loaf keeps beautifully for two days and can be refreshed in the oven to restore that freshly-baked crunch.
The smell of this bread baking is what first convinced me that making my own bread wasn't some mysterious skill reserved for professionals. I mixed up the dough on a Tuesday evening, practically forgot about it overnight, and woke up to something bubbling away that looked impossibly alive. Now my apartment fills with that bakery aroma at least once a week, and I've learned that the hardest part is simply waiting.
I made this during a snowstorm last winter when we were snowed in for days. Something about bread baking while the world outside is quiet feels right. My roommate kept wandering into the kitchen, drawn by the smell, and we ended up eating half the loaf straight from the rack with nothing but butter and salt.
Ingredients
- All-purpose flour: Bread flour works too, but AP gives a wonderfully tender crumb while still developing great structure
- Salt: Don't skip it or reduce it—salt is what keeps the flavor from being bland and helps control the fermentation
- Instant yeast: No need to proof it first, just mix it right in with the dry ingredients
- Lukewarm water: Think bathwater temperature—too hot kills the yeast, too cold slows everything down
Instructions
- Mix your dough:
- Combine flour, salt, and yeast in a large bowl, then pour in the water and stir until everything comes together into a shaggy, sticky mass. Don't worry about making it smooth yet.
- Let it rest:
- Cover the bowl and walk away for 12 to 18 hours. The dough will bubble, rise, and develop incredible flavor all on its own.
- Shape the loaf:
- Turn the dough onto a floured surface, fold the edges toward the center to create tension, and form it into a rough ball.
- Second rise:
- Place the dough on parchment paper, cover loosely, and let it rest while you preheat your oven with a Dutch oven inside.
- Bake with steam:
- Carefully transfer the dough into the screaming hot pot, cover, and bake for 30 minutes before uncovering to finish that golden crust.
 Save to feedthepins
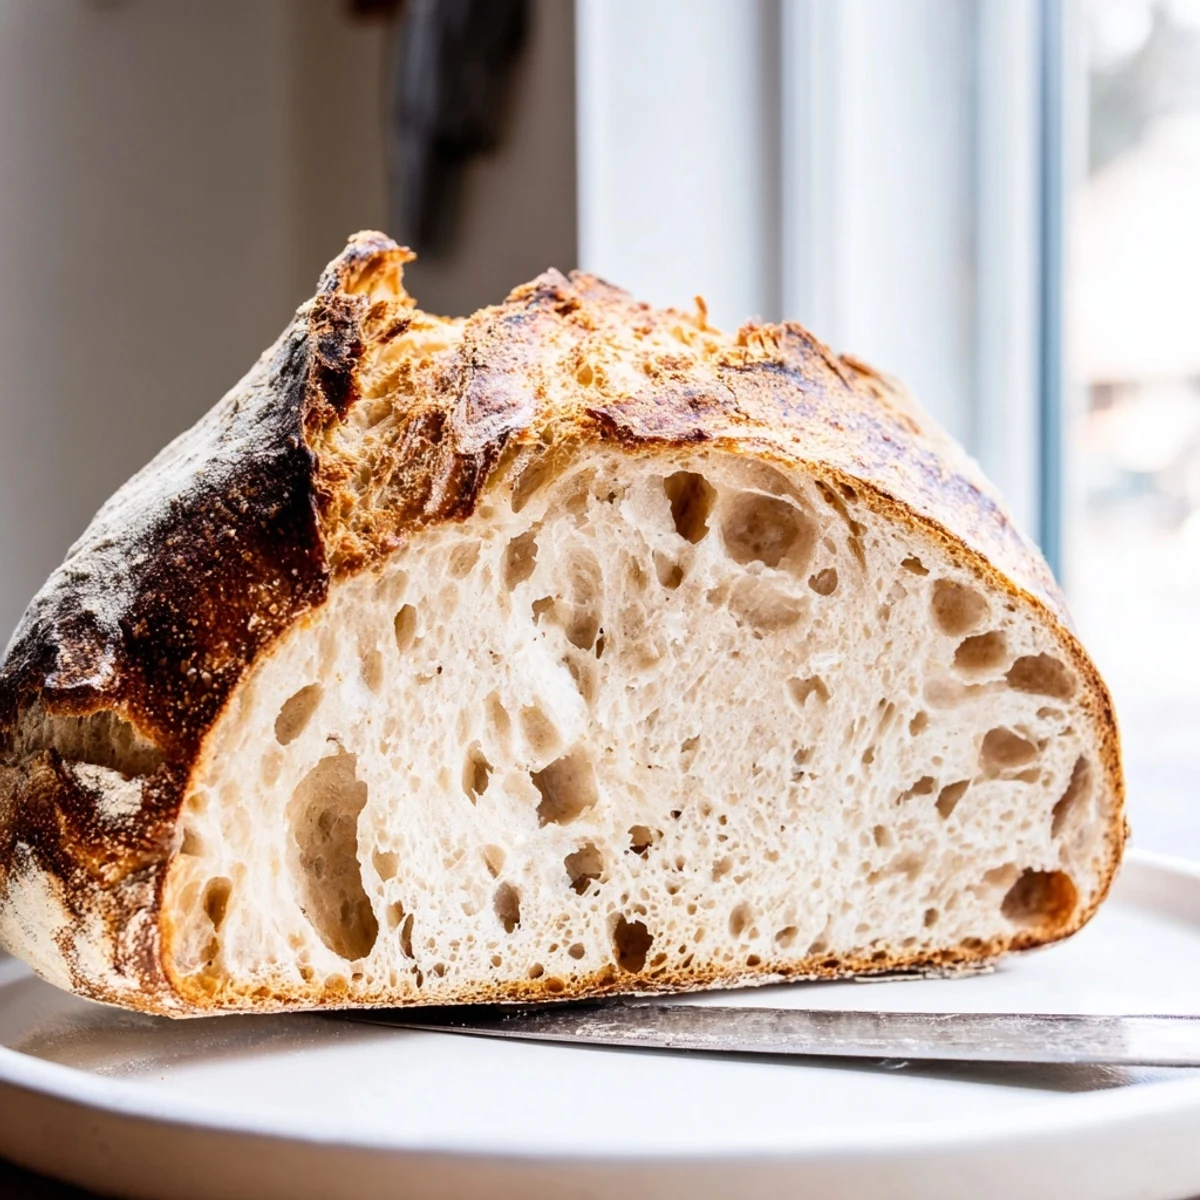
 This bread became my go-to housewarming gift after I brought a loaf to a friend's first apartment. She called me two days later asking for the recipe, saying she'd never tasted anything like it from a store. Now whenever someone moves, they get a fresh loaf.
Getting That Crackling Crust
The Dutch oven creates a steam-filled environment that lets the bread expand fully before the crust sets. I learned this the hard way when I tried baking it on a regular baking sheet—the bread was still delicious, but that shattering crust texture was missing. The trapped steam is the secret ingredient.
Timing Your Bake
I like starting the dough in the evening so it's ready to shape first thing in the morning. There's something deeply satisfying about having fresh bread with breakfast, especially on weekends. The timing works perfectly—mix at 7 PM, shape at 8 AM, eat by 10.
Customizing Your Loaf
Once you've got the basic method down, the variations are endless. I've added roasted garlic cloves, chopped rosemary from my windowsill plant, and even cubed cheddar cheese that melts into pockets throughout the crumb. Just mix your additions in with the flour before adding the water.
- Fold in olives during the shaping step if you want them whole
- Whole wheat flour can replace up to half the white flour
- A slash across the top before baking helps it expand beautifully
 Save to feedthepins
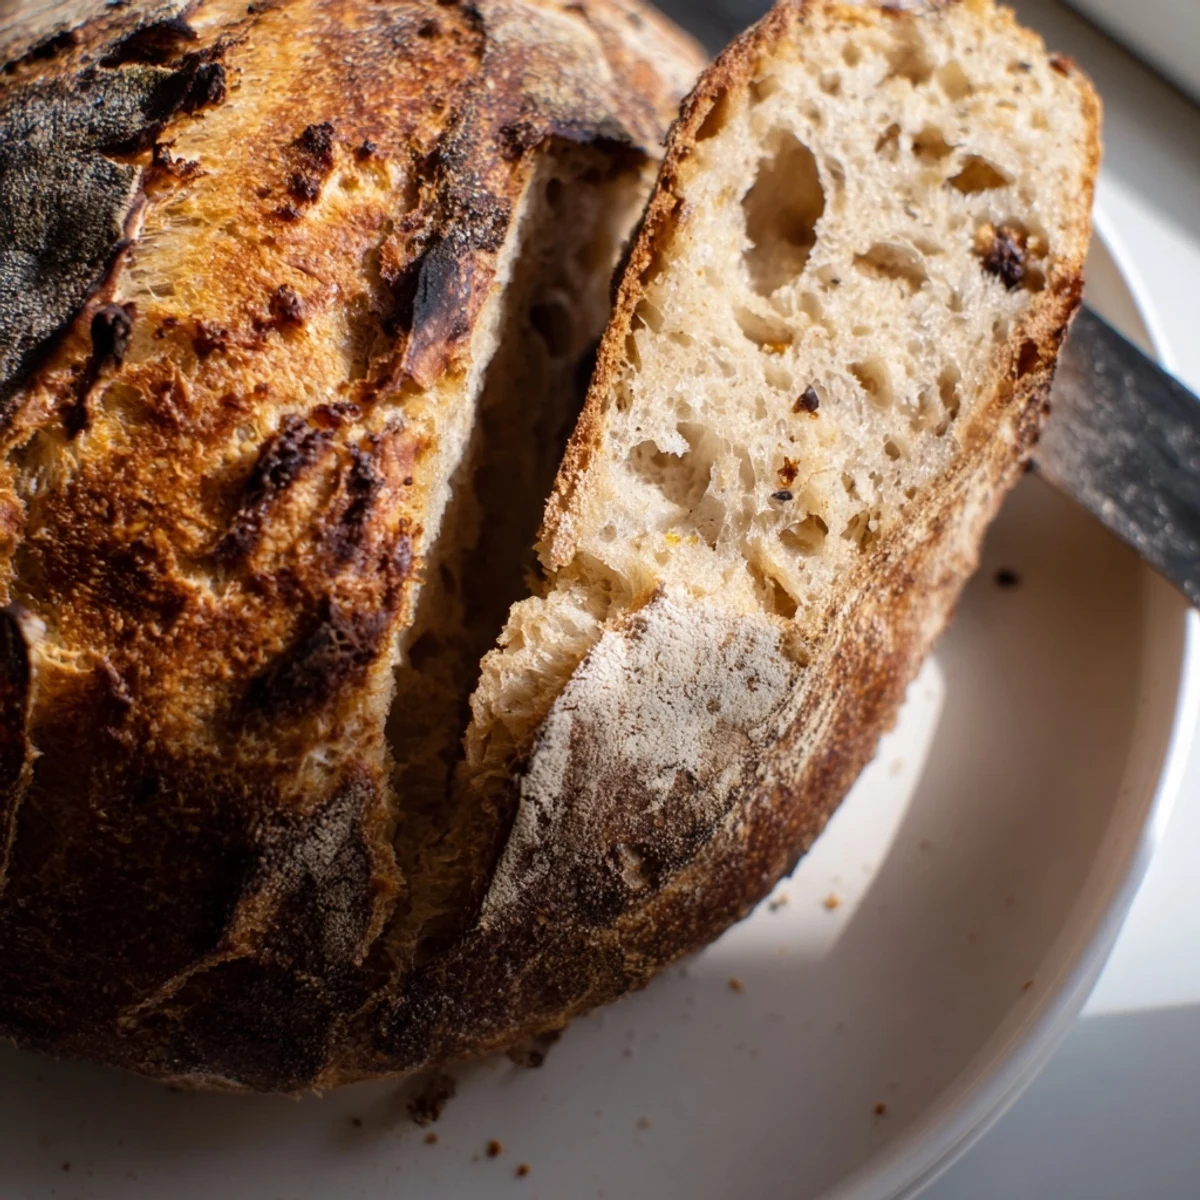
 There's nothing quite like tearing into a still-warm loaf, hearing that crackle, and knowing you made something this good with your own hands. Happy baking.
Recipe Q&A
- → What makes the crust so crackling and golden?
-
The Dutch oven traps steam during baking, creating a moist environment that allows the crust to expand and blister. Removing the lid for the final 15 minutes lets moisture escape, allowing the crust to dry into that signature crackling texture and deep golden color.
- → Can I bake this without a Dutch oven?
-
Yes. Use a heavy cast iron pot with a tight-fitting lid, or place a metal baking pan on the lowest rack to create steam. Alternatively, bake on a preheated baking stone and mist the oven walls with water during the first few minutes of baking.
- → Why does the dough need to rest for 12-18 hours?
-
The long resting period allows fermentation to develop complex flavor and strengthen the gluten network without kneading. This slow rise creates those desirable airy pockets and improves the bread's digestibility while requiring minimal hands-on effort.
- → How do I know when the bread is done baking?
-
The crust should be a deep golden brown, and the bread should sound hollow when tapped on the bottom. An instant thermometer inserted into the center should read between 190-200°F (88-93°C). Let it cool completely before slicing for the best texture.
- → Can I add mix-ins like olives or herbs?
-
Absolutely. Gently fold in up to ½ cup of ingredients like chopped olives, roasted garlic, fresh rosemary, thyme, sun-dried tomatoes, or shredded cheese after the overnight rise and before shaping. Avoid adding wet ingredients that could make the dough too sticky to handle.
- → How should I store the baked bread?
-
Keep at room temperature wrapped in a clean towel or paper bag for up to 2 days. Avoid plastic bags, which trap moisture and make the crust soft. To refresh, place in a 350°F oven for 5-10 minutes. For longer storage, slice and freeze in a sealed bag.
