 Save to feedthepins
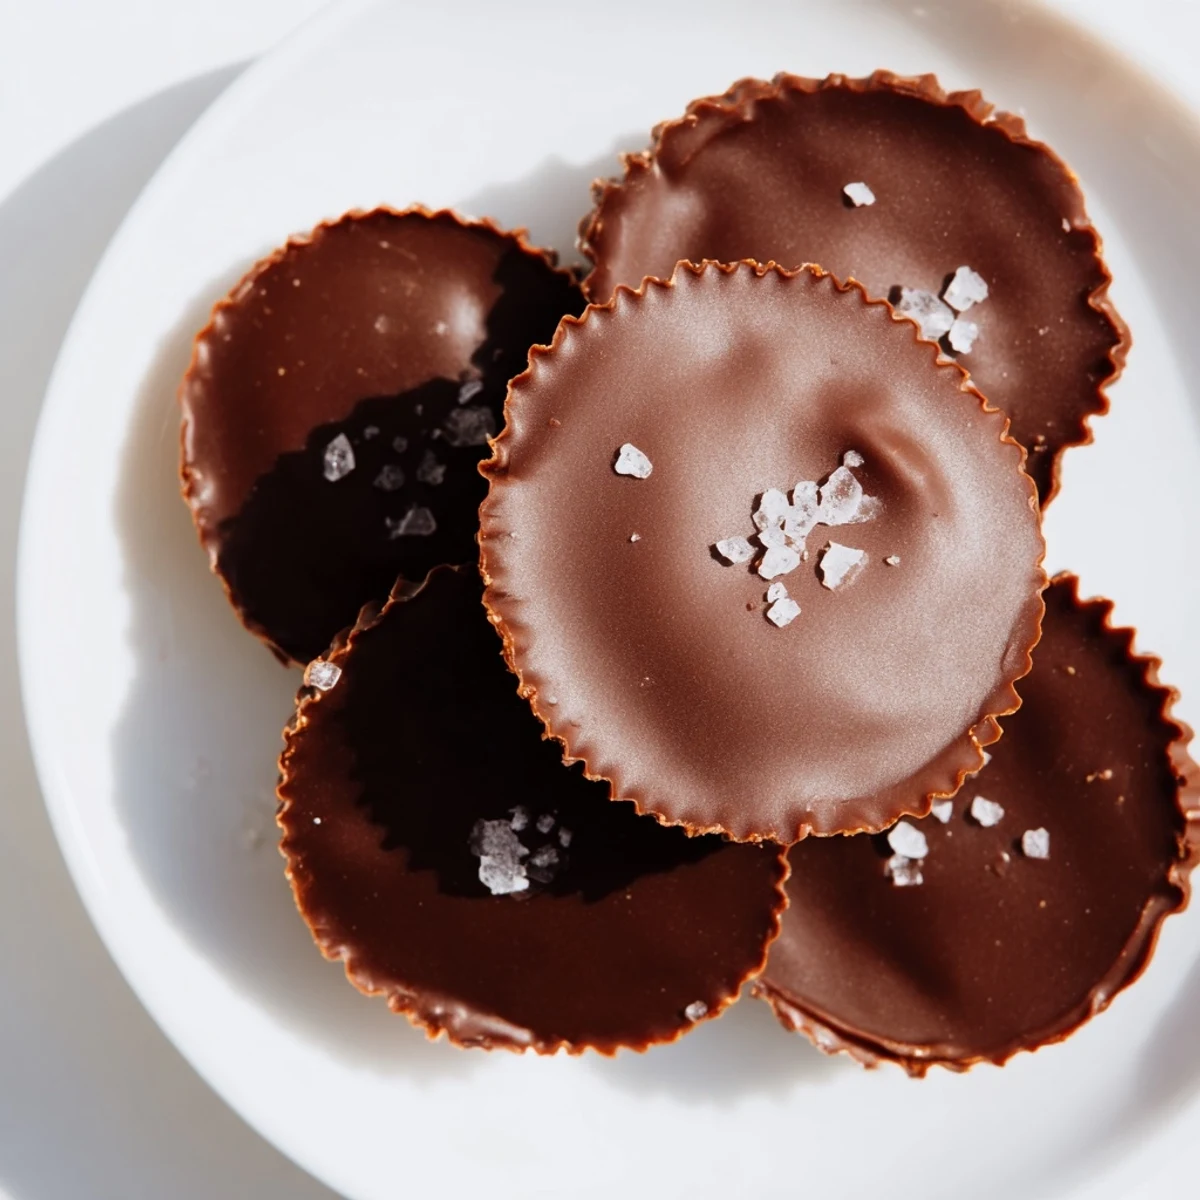
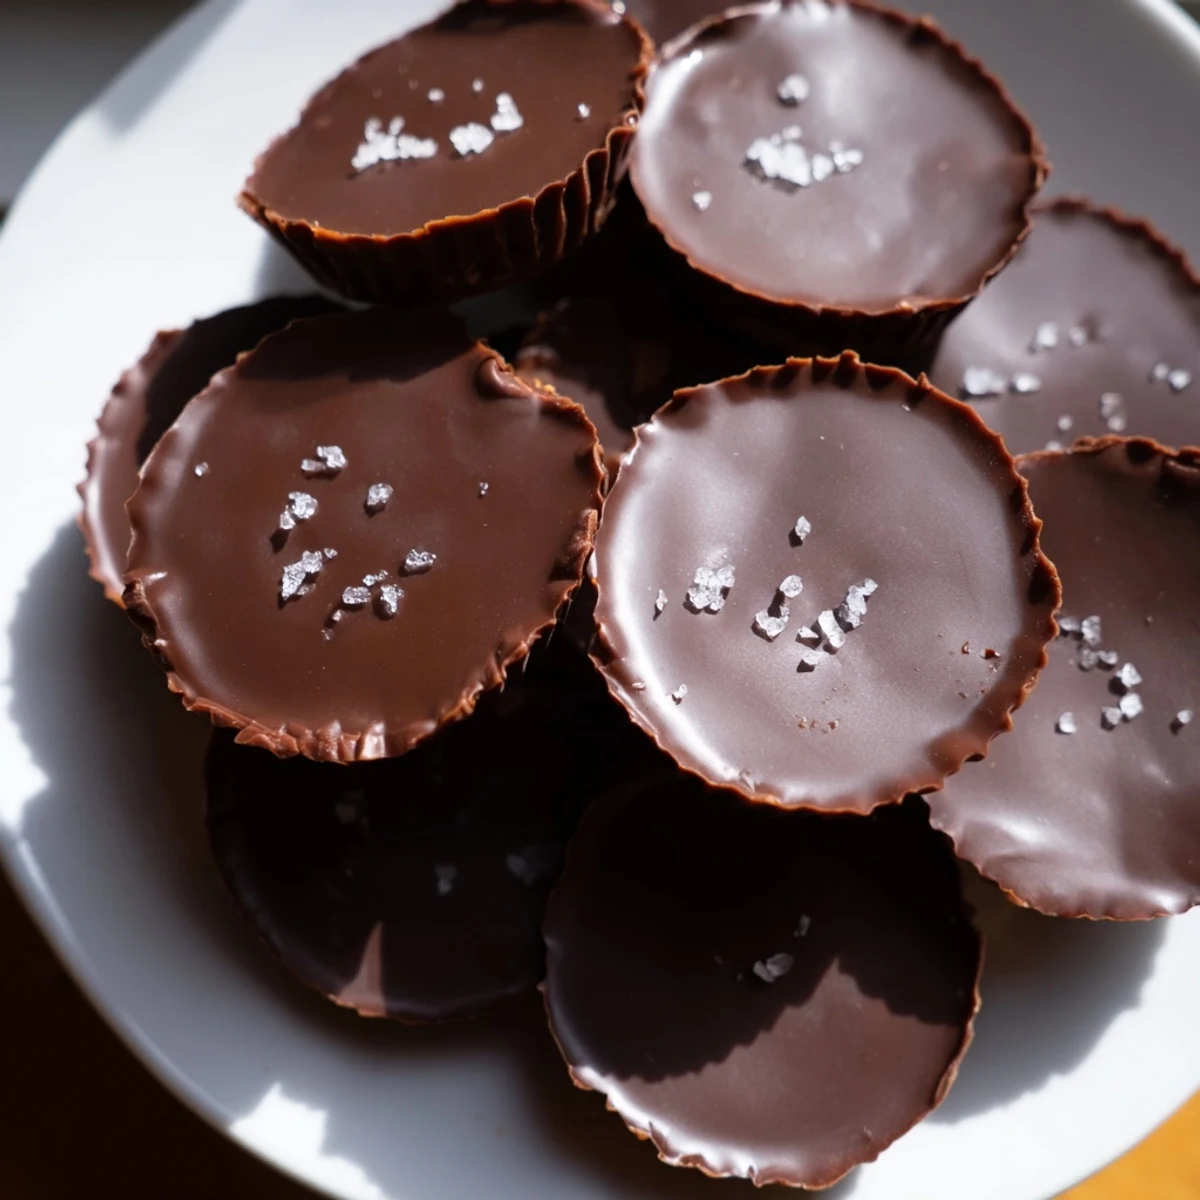
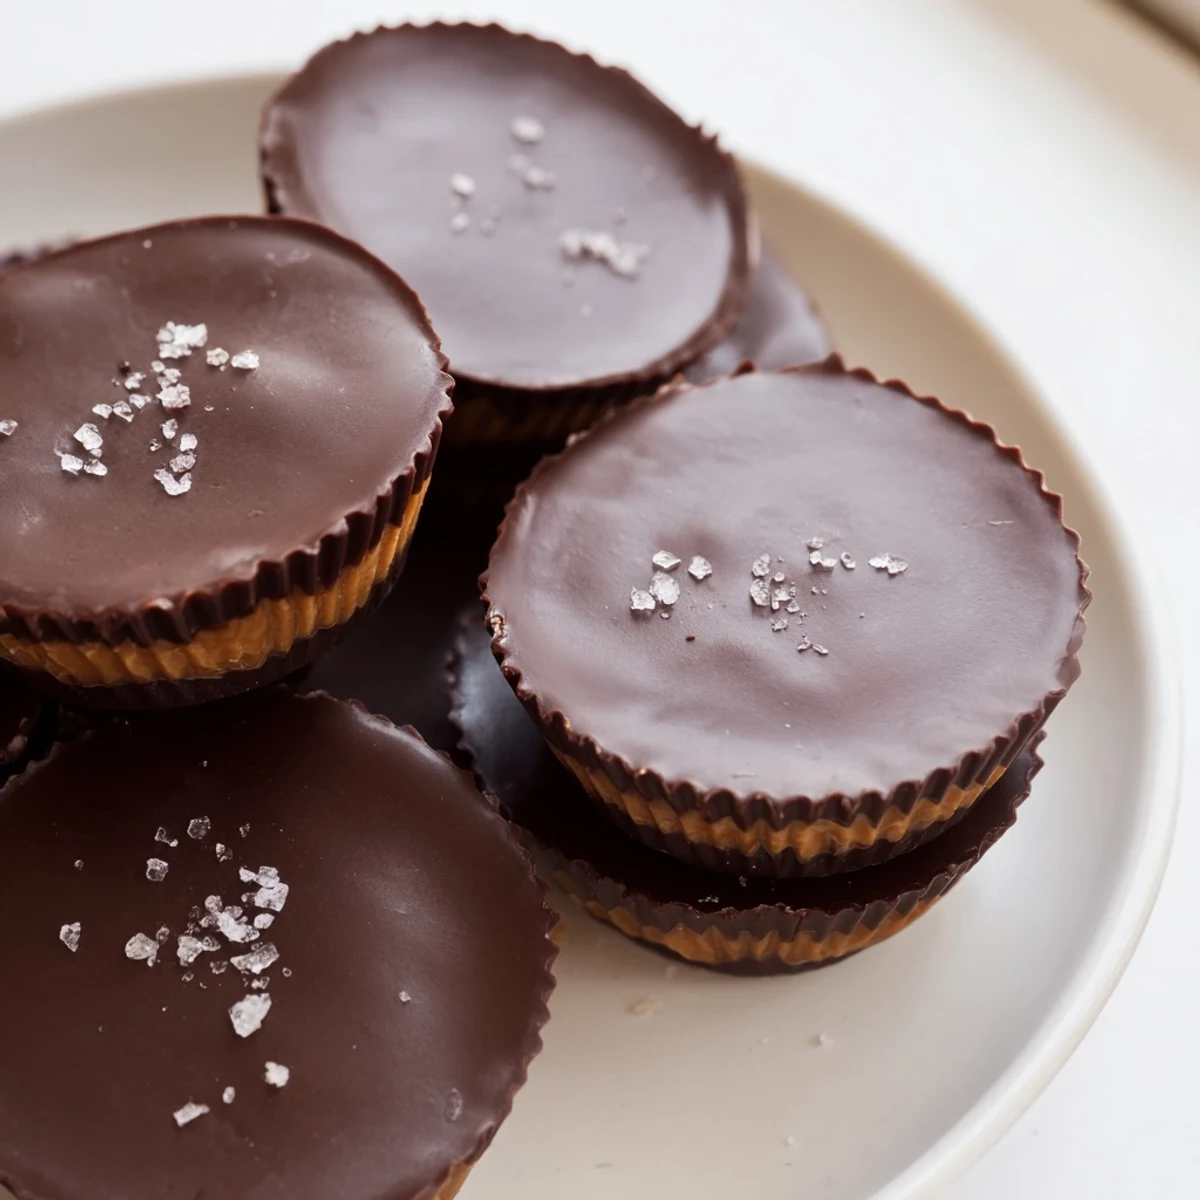
 These cups combine smooth chocolate with rich, creamy peanut butter for a luscious treat. Layers of melted chocolate and a velvety peanut butter filling are chilled to set, creating a perfect balance of flavors and textures. Simple to prepare with just a few ingredients, these sweet cups offer a convenient snack or a thoughtful gift. Variations include vegan options and textured fillings for added interest. Enjoy chilled or paired with coffee or milk for a satisfying indulgence.
My roommate Sarah walked into our tiny apartment kitchen to find me standing over the stove with a bowl of melted chocolate at midnight. She asked what I was making and I whispered peanut butter cups like it was some contraband operation. We ate them straight from the freezer with spoons, chocolate smeared on chins, laughing about how these were infinitely better than the store-bought ones.
Last Christmas I made three batches and wrapped them in little parchment paper bundles tied with twine. My dad usually skips dessert but he took one bite, raised his eyebrows, and asked if there were more hiding somewhere. Now I keep a stash in the freezer year round for moments that call for something sweet but sophisticated.
Ingredients
- 1 1/2 cups (260 g) semi-sweet or milk chocolate chips: Choose quality chocolate here since its the main flavor player, and microwave with coconut oil for that professional glossy finish
- 1 tbsp coconut oil: This optional ingredient makes the chocolate melt smoother and creates that gorgeous snap when you bite into the cups
- 3/4 cup (180 g) creamy peanut butter: Room temperature peanut butter blends more easily with the other filling ingredients
- 2 tbsp unsalted butter, melted: The butter adds richness and helps the filling set up properly in the fridge
- 1/3 cup (40 g) powdered sugar: This sweetens the filling while keeping it smooth and creamy without any grainy texture
- 1/4 tsp fine sea salt: Omit this if your peanut butter already contains salt, otherwise it balances the sweetness beautifully
Instructions
- Prep your muffin tin:
- Line a 12-cup mini muffin tin with paper liners, pressing them firmly into the cups so the chocolate holds its shape later
- Melt the chocolate base:
- Combine chocolate chips and coconut oil in a heatproof bowl, microwaving in 30-second intervals and stirring between each until completely smooth and glossy
- Create the chocolate shell:
- Spoon about 1 teaspoon of melted chocolate into each liner, then tilt and swirl the tin to coat the bottom evenly before freezing for 10 minutes to set
- Make the peanut butter filling:
- Mix the peanut butter, melted butter, powdered sugar, and salt in a bowl until completely smooth and no sugar lumps remain
- Layer the filling:
- Scoop about 1 heaping teaspoon of peanut butter mixture onto each set chocolate base, flattening gently while leaving a small border around the edges
- Seal with chocolate:
- Cover each cup with remaining melted chocolate, about 1 to 1.5 teaspoons per cup, smoothing the tops to completely encase the peanut butter center
- Chill until firm:
- Refrigerate the cups for at least 30 minutes or until completely set and firm to the touch
- Store and enjoy:
- Remove from liners and keep in an airtight container in the refrigerator for up to two weeks
 Save to feedthepins
 My niece helped me make these last weekend and she insisted on adding the flaky sea salt on top like a pro. Now she calls them her special recipe and asks to make them every time she visits. Theres something about making candy from scratch that feels like passing down a secret family tradition.
Getting The Chocolate Right
Chocolate can be tricky but the key is patience and low heat. I learned the hard way that overheating causes chocolate to seize into a grainy mess that never quite recovers. The microwave method with stirring between intervals gives you the control you need for that silky smooth consistency that makes these cups look professionally made.
Customizing Your Filling
While the classic peanut butter filling is perfect on its own, there is room to play. I have added crushed pretzels for a salty crunch and even swirls of raspberry jam for a peanut butter and jelly version. Just keep the total filling amount the same so the chocolate-to-filling ratio stays balanced.
Storage And Serving Tips
These cups keep beautifully in the freezer for up to three months, which means you can always have homemade candy ready for unexpected guests or midnight cravings. Let them sit at room temperature for about five minutes before serving so the chocolate softens slightly and the filling becomes perfectly creamy.
- Serve them in mini candy papers for an elegant presentation
- A sharp knife dipped in hot water cuts them cleanly if you want to halve them
- Room temperature for 10 minutes creates the ideal eating texture
 Save to feedthepins
 There is something deeply satisfying about making your own candy, especially when the result tastes this good. These peanut butter cups have become my go-to for everything from holiday gifts to quiet Tuesday night treats.
Recipe Q&A
- → How do I ensure smooth chocolate layers?
-
Gently melt chocolate in short intervals, stirring frequently to avoid burning and achieve a silky texture.
- → Can I use crunchy peanut butter for texture?
-
Yes, crunchy peanut butter adds a delightful contrast inside the smooth chocolate shell.
- → What is the best way to set these cups?
-
Chill the assembled cups in the refrigerator for at least 30 minutes until fully firm.
- → Are there vegan alternatives to dairy butter in the filling?
-
Plant-based butter works well to maintain creaminess without dairy ingredients.
- → How can I add a gourmet touch?
-
Sprinkling flaky sea salt on top before chilling enhances flavor complexity.
