 Save to feedthepins
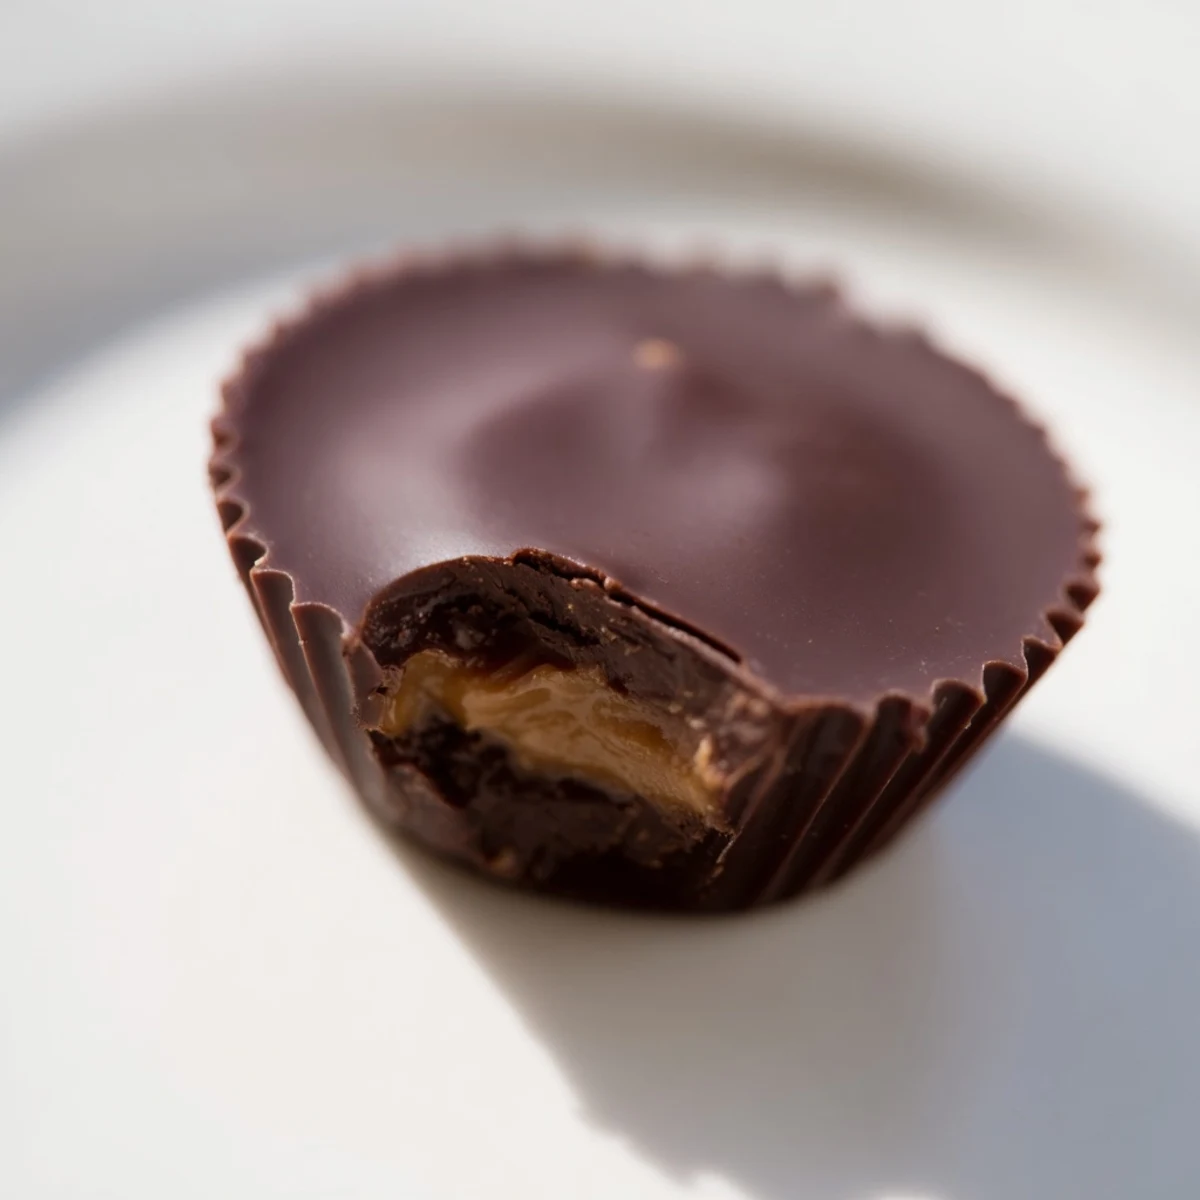
 This treat layers creamy peanut butter filling inside a smooth chocolate shell. Melt chocolate and coconut oil, coat the base of mini muffin liners, then chill to set. Mix peanut butter, powdered sugar, butter, vanilla, and salt until smooth, shape into discs, and place on the chocolate layer. Cover with remaining chocolate and chill until firm. Once set, remove cups from liners for a creamy, rich indulgence combining nutty and chocolate flavors.
The first time I made these, I stood in my kitchen at midnight sneaking chocolate-covered fingers straight from the freezer. My roommate caught me red-handed, and instead of judging, she grabbed a spoon. We finished half the batch standing there in the fluorescent glow of the refrigerator light.
Last Christmas, I made triple batches because word got out at my office potluck. People were literally slipping into the breakroom all day, and by 3 PM the platter was empty. Now they are my go-to contribution for absolutely everything.
Ingredients
- 200 g semi-sweet or milk chocolate: I have used grocery store chocolate chips and high-end bars both work beautifully here
- 1 tbsp coconut oil: This tiny addition makes the chocolate silkier and easier to work with
- 120 g creamy peanut butter: Room temperature peanut butter mixes so much better than cold
- 30 g powdered sugar: The sugar thickens the filling and balances the peanut butters natural saltiness
- 1 tbsp unsalted butter: Softened butter creates that perfect melt-in-your-mouth texture
- 1/2 tsp vanilla extract: Pure vanilla makes a huge difference here do not skip it
- Pinch of salt: Just a pinch wakes up all the flavors unless your peanut butter is already salted
Instructions
- Prep your mold:
- Line a 12-cup mini muffin tin with paper liners. I have tried making these without liners and learned my lesson the hard way.
- Melt the chocolate:
- Combine the chocolate and coconut oil in a heatproof bowl over simmering water. Stir until completely smooth and glossy.
- Create the chocolate base:
- Spoon about 1 teaspoon of melted chocolate into each liner. Gently tilt the pan to help the chocolate spread evenly then freeze for 10 minutes.
- Make the peanut butter filling:
- Mix the peanut butter powdered sugar butter vanilla and salt until smooth and thick. The mixture should hold its shape when you scoop it.
- Shape the filling:
- Roll 12 small balls about 2 teaspoons each then flatten them slightly into discs. I use a tablespoon to keep them uniform.
- Assemble the cups:
- Place one peanut butter disc in each chocolate-lined cup pressing gently. Cover completely with the remaining melted chocolate.
- Set and serve:
- Chill for at least 30 minutes until firm. They keep beautifully in the refrigerator for weeks assuming they last that long.
 Save to feedthepins
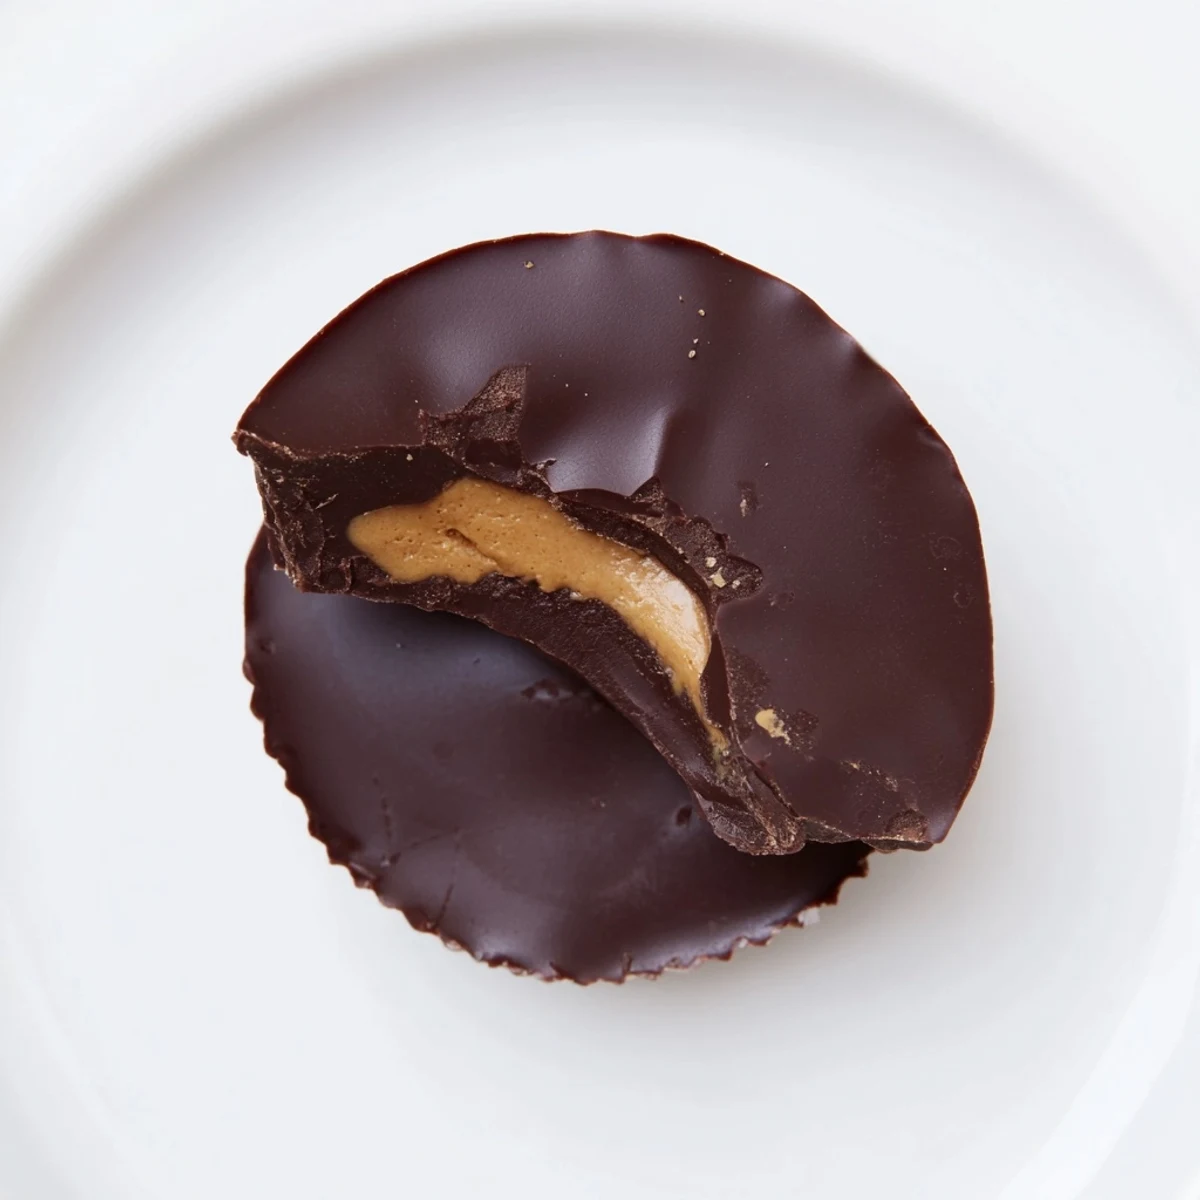
 My father who claims he does not have a sweet tooth ate four of these in one sitting. He stood by the counter pretending he was just testing them for quality control purposes.
Making Them Your Way
I have made these with crunchy peanut butter and the texture contrast is incredible. Dark chocolate works beautifully too and cuts through the sweetness of the filling.
Perfecting The Chocolate Layer
The trickiest part is getting the chocolate thin enough to be elegant but thick enough to hold everything together. Practice makes perfect here and honestly even the ugly ones taste amazing.
Storage And Serving
These need to stay cold so serve them straight from the refrigerator. They become slightly softer at room temperature which some people actually prefer.
- Let them sit for 5 minutes before serving for the ideal texture
- Aim for exactly 12 even cups so no one fights over the bigger ones
- Store them in the back of the fridge to hide them from yourself
 Save to feedthepins
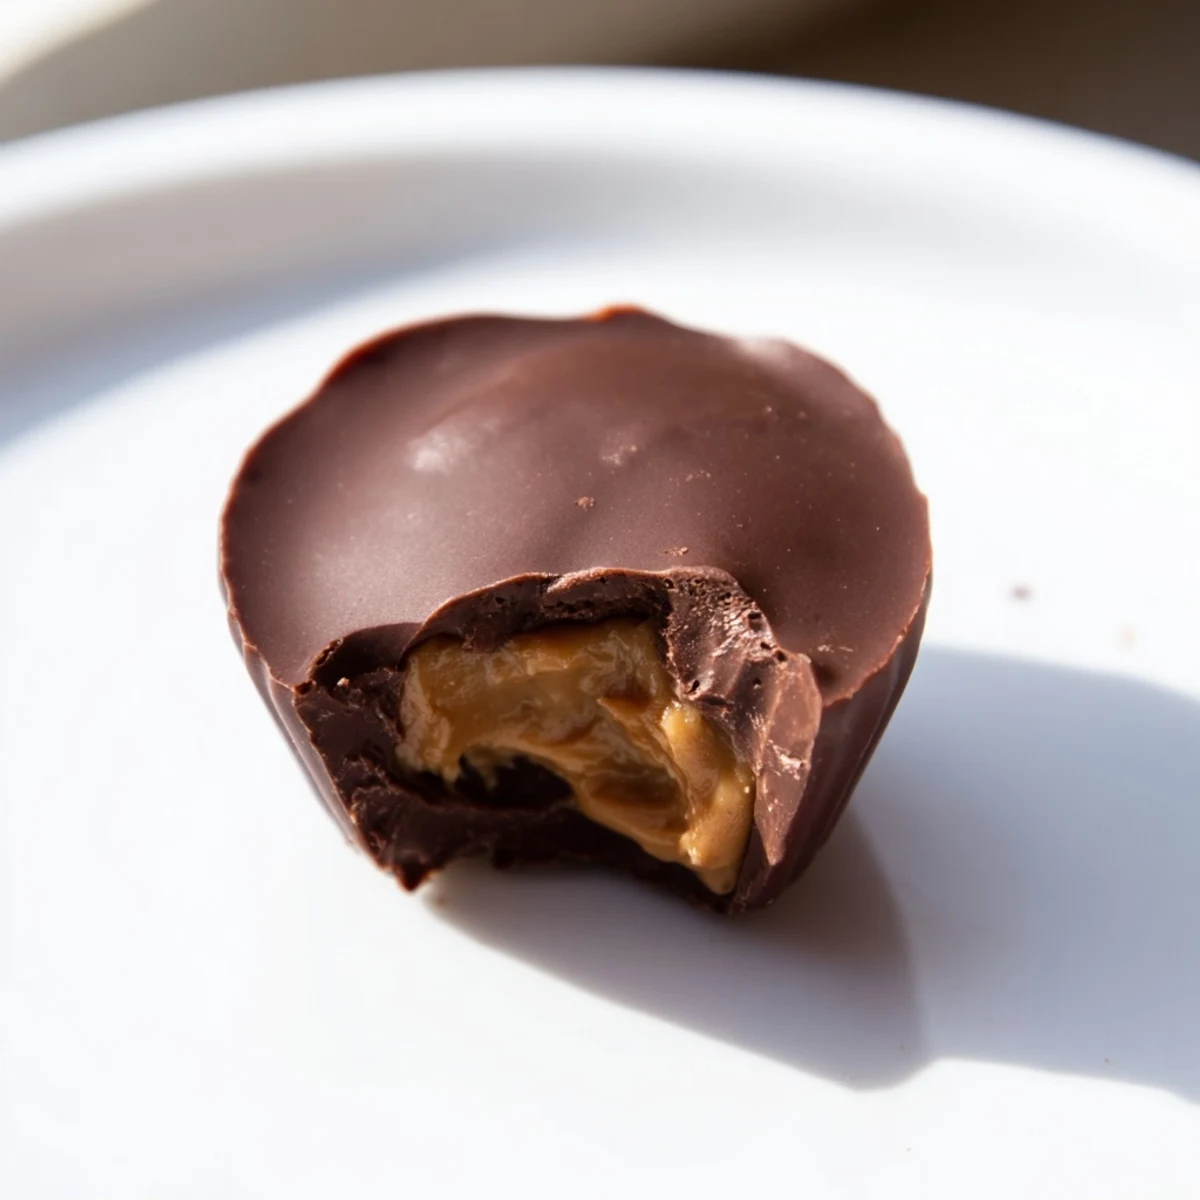
 These chocolate peanut butter cups have become my signature gift and I cannot tell you how many friendships they have cemented over the years.
Recipe Q&A
- → What type of chocolate works best?
-
Semi-sweet or milk chocolate provides a smooth, balanced sweetness. Use dairy-free chocolate for vegan versions.
- → Can I use crunchy peanut butter?
-
Yes, crunchy peanut butter adds texture and a pleasant crunch to each cup.
- → How long should I chill the cups?
-
Chill for at least 30 minutes or until the chocolate is fully set and firm to the touch.
- → Is coconut oil necessary?
-
Optional but recommended; it helps melt the chocolate smoothly and gives a glossy finish.
- → Can I add sea salt on top?
-
Sprinkling flaky sea salt before chilling enhances flavor by balancing sweetness with a subtle salty note.
