 Save to feedthepins
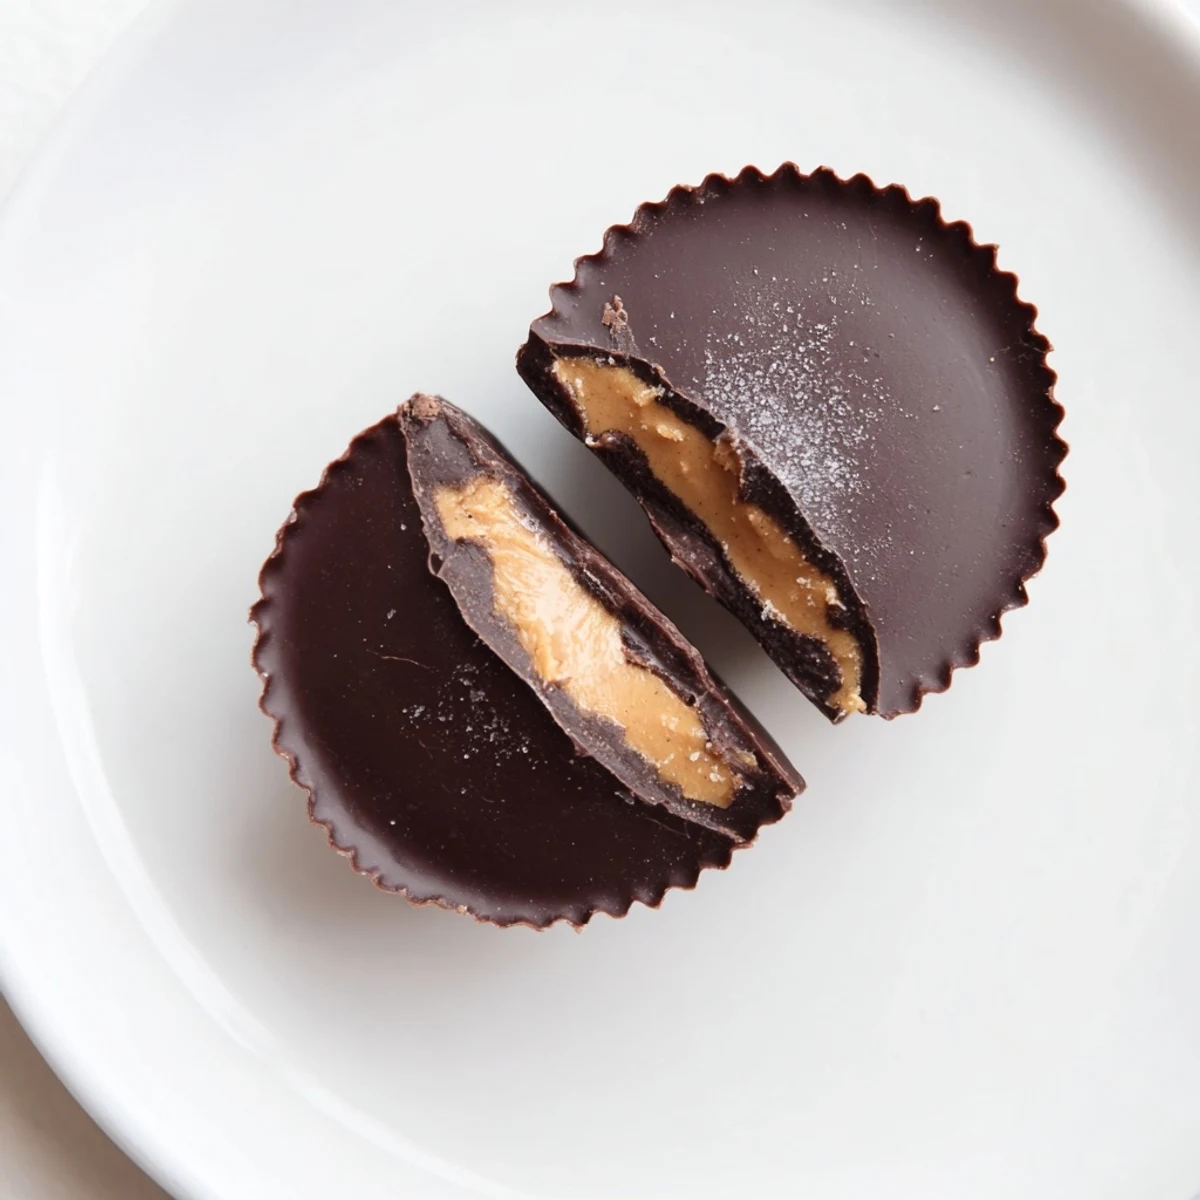
 These homemade cups combine rich dark chocolate with creamy peanut butter for an irresistible treat. The chocolate base sets first before being filled with a smooth peanut butter mixture, then topped with more melted chocolate and chilled until firm. Perfect for a quick indulgence, they balance sweetness and texture beautifully with minimal preparation time and simple ingredients. Ideal for a satisfying dessert or snack.
The rainy Sunday afternoon I first attempted these cups, my kitchen smelled like chocolate and possibility. Id seen them in candy shops for years, assuming they required some secret confectioner knowledge I didnt possess. Turns out, theyre just two layers of delicious pretending to be complicated.
My roommate wandered in when I was tapping the muffin tin against the counter, convinced Id lost my mind. Five minutes later, she was right beside me, compulsively smoothing chocolate tops with the back of a spoon. We ate the first batch standing up, still slightly soft from the fridge warmth.
Ingredients
- 225 g dark or semi-sweet chocolate: Chop it yourself for faster melting, though chips work if youre in a hurry
- 120 g creamy peanut butter: Room temperature mixes better than cold straight from the fridge
- 30 g unsalted butter, melted: Let it cool slightly so it doesnt seize the peanut butter mixture
- 30 g powdered sugar: Sift it first or youre fishing sugar lumps out of your perfectly smooth filling
- 1/2 tsp vanilla extract: The real stuff makes these taste like they came from an actual chocolate shop
- Pinch of salt: Use regular salt here since the filling is sweet enough to handle it
Instructions
- Set up your workspace:
- Grab a 12-cup mini muffin tin and line it with paper liners before you start melting anything
- Melt the chocolate:
- Use a double boiler or microwave in 30-second bursts, stirring between each until completely smooth
- Create the bottom layer:
- Spoon about 1 teaspoon of melted chocolate into each liner, then tilt or tap the tin until the base is evenly coated
- Set the chocolate:
- Pop the tin in the freezer for exactly 10 minutes while you make the filling
- Mix the peanut butter filling:
- Combine peanut butter, melted butter, powdered sugar, vanilla, and salt until no sugar lumps remain
- Add the filling:
- Drop a rounded teaspoon of peanut butter mixture onto each chocolate base, pressing gently to flatten but keeping it away from the edges
- Seal with chocolate:
- Spoon remaining chocolate over each cup until the filling is completely covered, then tap gently to smooth the tops
- Chill until set:
- Refrigerate for at least 30 minutes, though an hour gives you the cleanest release from the liners
 Save to feedthepins
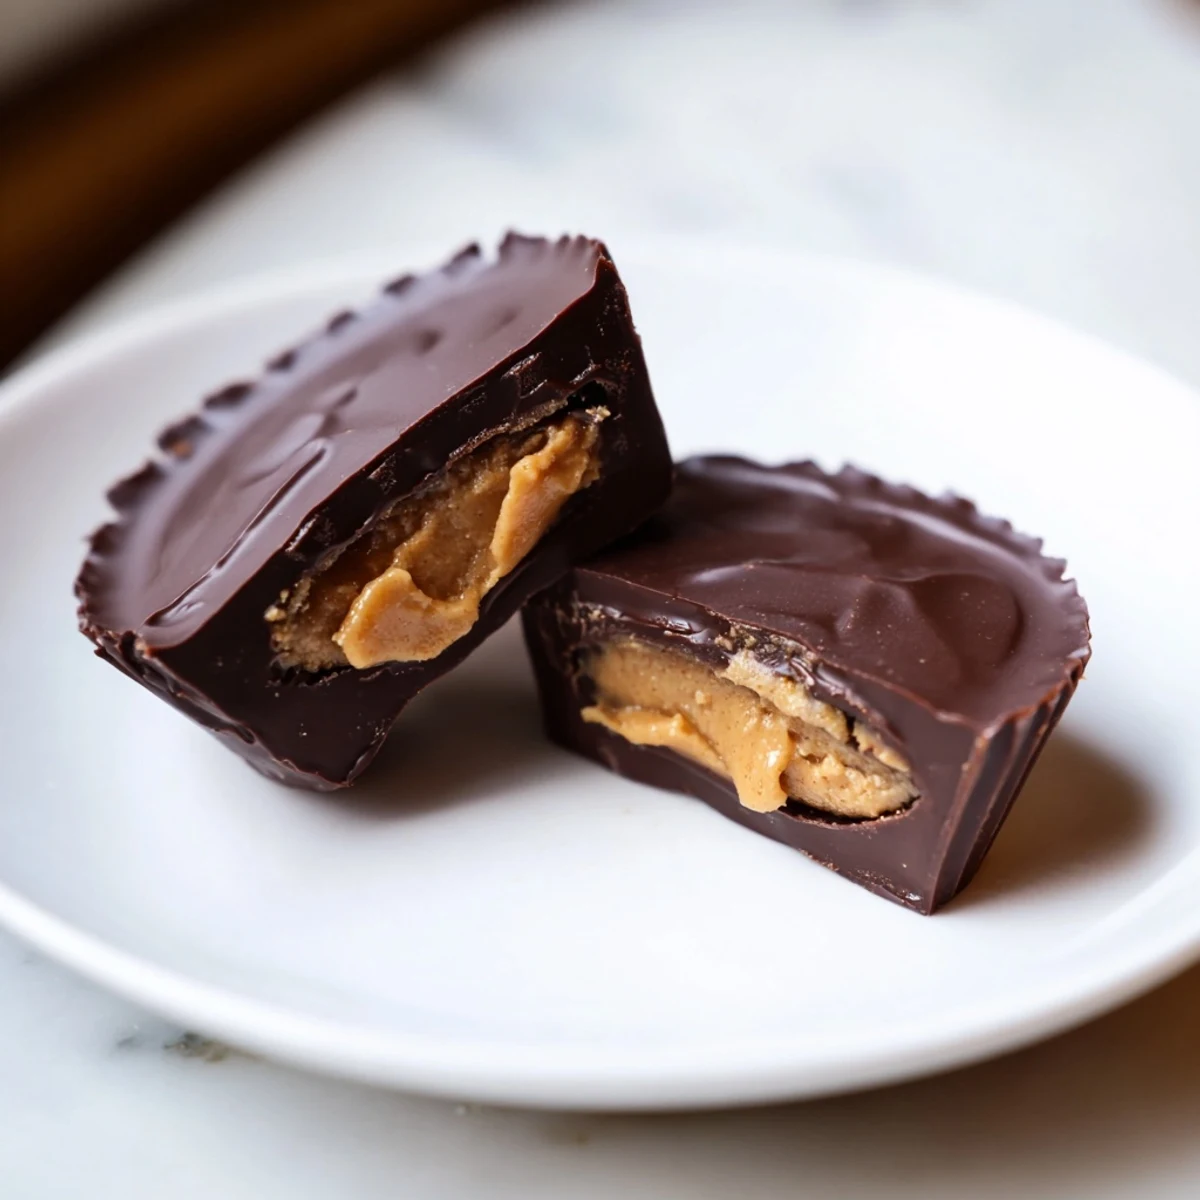
 Now I keep a batch in the fridge for when 3 pm hits and nothing else will satisfy. Friends who claim they dont care for desserts somehow develop an uncanny ability to detect when these are chilling on the middle shelf.
Making Them Vegan
Swap in dairy-free chocolate and coconut oil or plant-based butter instead of regular. The texture stays just as creamy, and honestly, no one notices the difference except for the people who need it to.
Getting Creative
Sprinkle flaky sea salt on top before the final chill, or mix crushed pretzels into the peanut butter layer. A tiny pinch of cinnamon in the filling makes them taste unexpectedly sophisticated.
Storage Success
These keep beautifully in the fridge for two weeks, assuming they last that long. For longer storage, wrap individually and freeze for up to three months.
- Let frozen cups thaw in the fridge, not on the counter
- Use fresh liners if youre stacking layers in an airtight container
- Room temperature serving makes the filling extra creamy
 Save to feedthepins
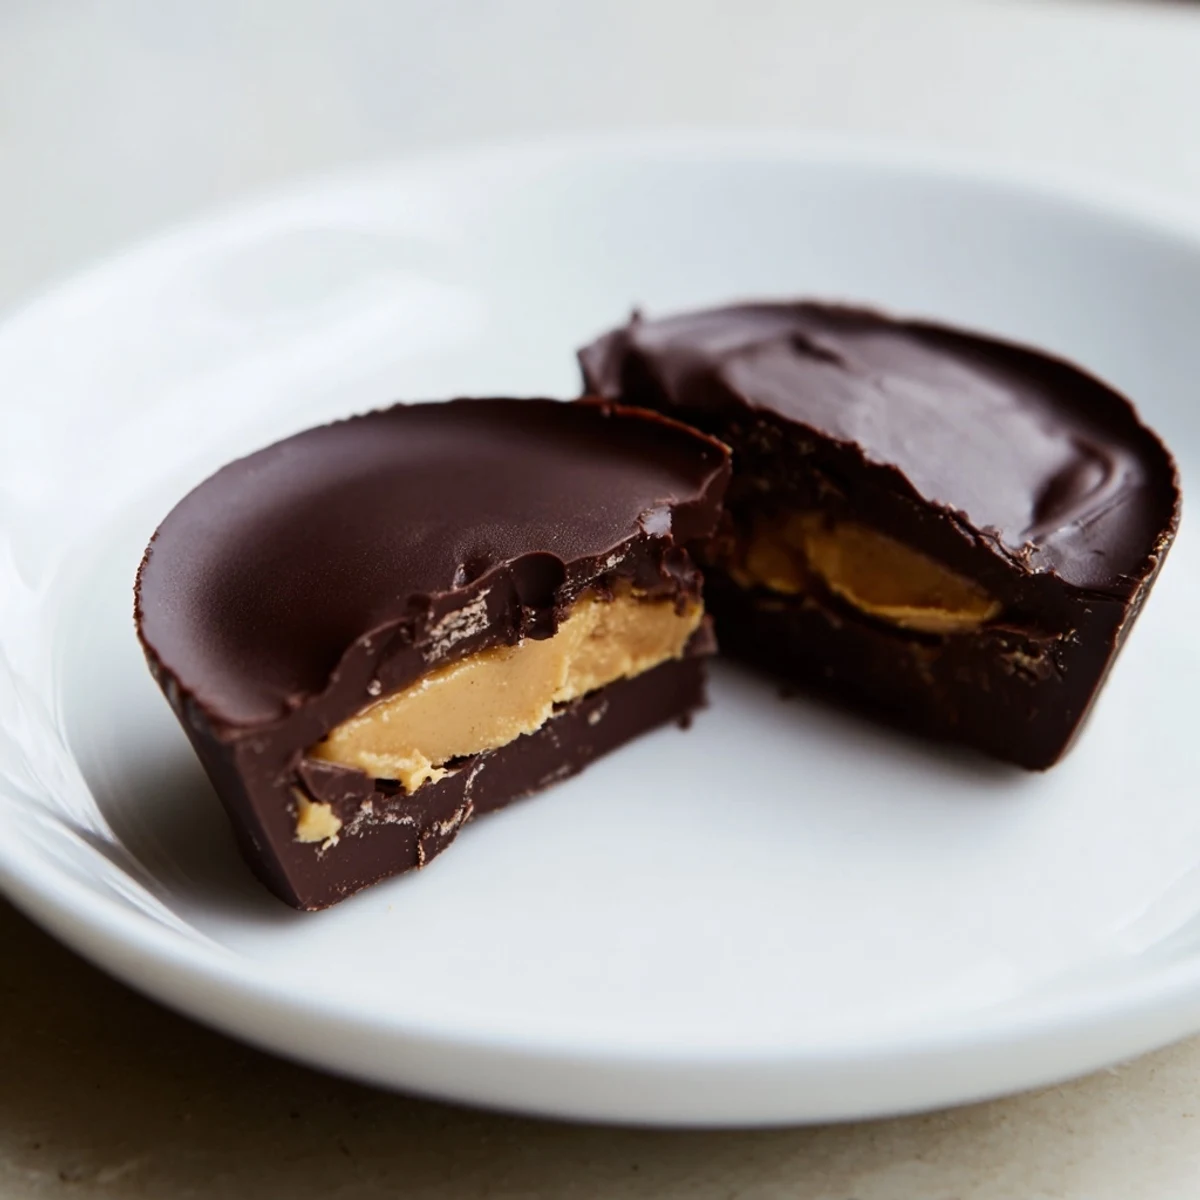
 Homemade peanut butter cups taught me that some things worth making really are this simple.
Recipe Q&A
- → What type of chocolate works best?
-
Dark or semi-sweet chocolate provides a rich flavor and smooth texture that complements the peanut butter well.
- → Can I use crunchy peanut butter?
-
Yes, crunchy peanut butter adds a delightful texture contrast to the creamy chocolate layers.
- → How do I melt chocolate without burning it?
-
Use a double boiler or microwave in short bursts, stirring frequently to ensure smooth melting.
- → Is chilling necessary before serving?
-
Chilling helps the chocolate set firmly and melds the flavors, resulting in better texture and taste.
- → How long can these treats be stored?
-
Store in an airtight container in the refrigerator for up to two weeks to maintain freshness.
