 Save to feedthepins
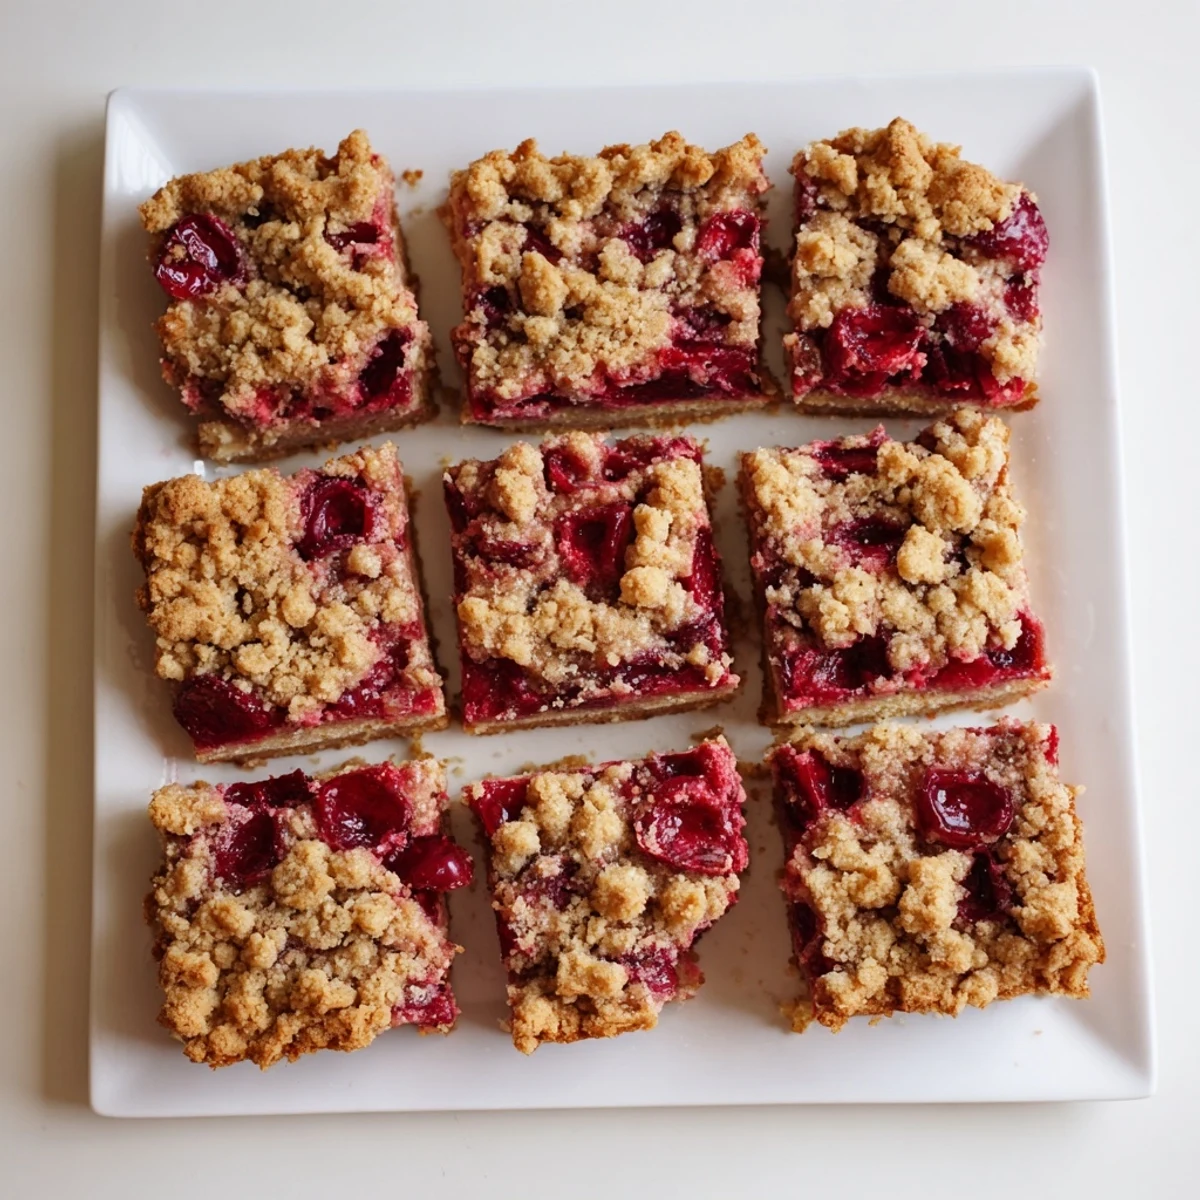
 These cherry crumble bars feature a buttery, cinnamon-spiced crust topped with a sweet-tart cherry filling. The texture is wonderfully crisp yet tender, with golden crumbs that contrast beautifully against the juicy fruit layer. Perfect for bake sales, picnics, or afternoon treats, they come together quickly and slice cleanly when cooled.
The smell of bubbling cherries through a warm kitchen window will always stop me in my tracks. My neighbor used to make something similar whenever summer cherries flooded the farmers market, and Id find any excuse to wander over when the oven timer went off. These bars capture that same magic, buttery and fruit-filled all at once.
I brought these to a potluck last summer and watched them disappear in minutes. Someone asked for the recipe before even swallowing their first bite, which is always the best kind of review. Now theyre my go-to when I need something impressive but effortless.
Ingredients
- All-purpose flour: Forms the structure of both crust and crumble, dont skip the sifting for lighter texture
- Granulated sugar: Sweetens just enough to let the cherries shine without overpowering their natural tartness
- Baking powder: Gives the crumble a slight lift instead of staying dense and heavy
- Salt: A quarter teaspoon wakes up all the other flavors
- Ground cinnamon: Warmth that bridges the buttery notes with the bright cherries
- Unsalted butter: Must be cold and diced, this creates those irresistible nuggets of crisp topping
- Large egg: Binds the crumble just enough so it holds together when you cut bars
- Fresh or frozen cherries: Pitted and halved, frozen work beautifully when cherries arent in season
- Cornstarch: Thickens the cherry juices into that perfect jammy consistency
- Lemon juice: Brightens the filling and keeps the red color vibrant
- Vanilla extract: Rounds out the fruit flavors with warmth
Instructions
- Preheat and prepare your pan:
- Set your oven to 350°F and line a 9x9-inch pan with parchment, letting the paper hang over two opposite sides like handles.
- Mix the dry crumble ingredients:
- Whisk flour, sugar, baking powder, salt, and cinnamon in a large bowl until everything is evenly distributed.
- Work in the butter:
- Add cold diced butter and the egg, then use a pastry cutter or your fingers to break it down until you see coarse crumbs with some pea-sized butter pieces remaining.
- Form the base:
- Press two-thirds of the mixture firmly into the bottom of your pan, really pressing it down so it bakes into a solid foundation.
- Prepare the cherry filling:
- Toss halved cherries with sugar, cornstarch, lemon juice, and vanilla until every piece is coated and the mixture looks glossy.
- Layer the filling:
- Spread the cherries evenly over the pressed crust, right to the edges.
- Add the topping:
- Sprinkle the remaining crumble over the cherries, leaving some clumps intact for texture.
- Bake until golden:
- Bake for 38 to 42 minutes until the top is golden brown and you can see the cherry filling bubbling through the crumble.
- Cool completely:
- Let the bars cool completely in the pan, then use the parchment handles to lift them out before cutting into squares.
 Save to feedthepins
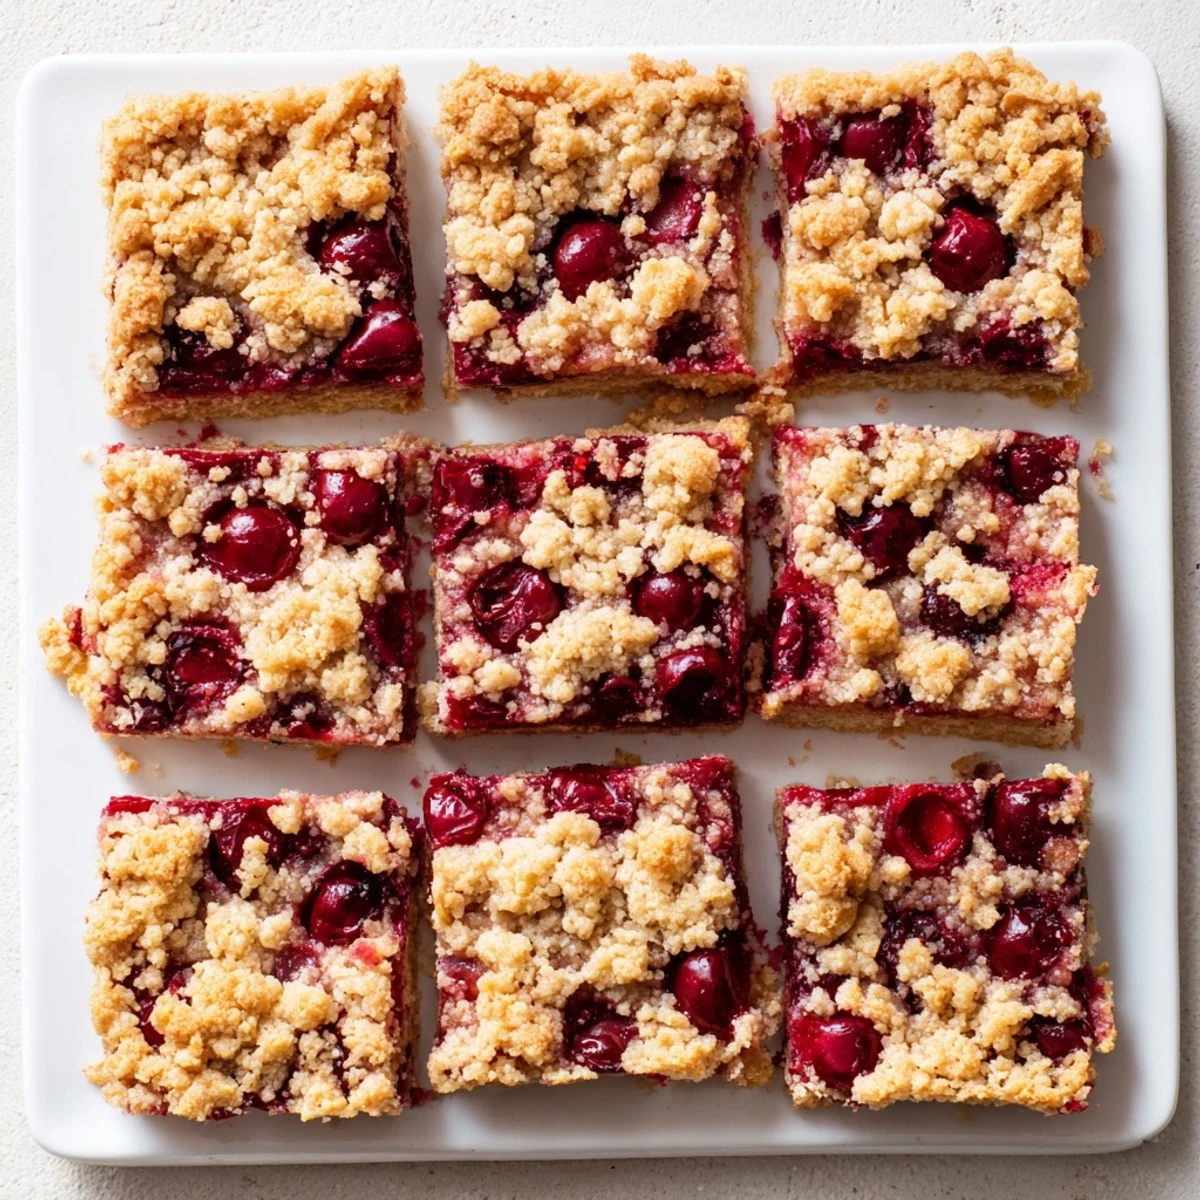
 My daughter now requests these for every school bake sale, and Ive learned to double the recipe because one batch never makes it home. Theres something about that jammy cherry layer peeking through golden crumble that makes people feel taken care of.
Fruit Variations That Work
Blueberries make these bars taste like summer in a different way, sweeter and more straightforward. Mixed berries create a beautiful purple filling that stains the crumble in the most charming way. Peaches work surprisingly well too, just slice them instead of halving since they soften more than cherries.
Making Them Gluten Free
A good 1:1 gluten-free flour blend handles this recipe beautifully, no other adjustments needed. The texture comes out just as buttery, though the crumble might spread slightly more during baking. Look for a blend that includes xanthan gum for the best structure.
Storage and Serving Ideas
These bars keep at room temperature for two days, then move them to the refrigerator where they last another five days. The texture actually improves after a night in the fridge, becoming more cohesive and the flavors more married.
- Serve slightly warmed with a scoop of vanilla ice cream
- Dust with powdered sugar right before serving for a bakery finish
- Package individually in parchment paper for easy lunchbox treats
 Save to feedthepins
 Theres nothing quite like pulling these from the oven and seeing that ruby filling bubbling up through the golden crust. Hope they become as loved in your kitchen as they are in mine.
Recipe Q&A
- → Can I use frozen cherries instead of fresh?
-
Yes, frozen cherries work perfectly in this filling. No need to thaw them first—just toss them with the sugar and cornstarch mixture as directed.
- → How should I store these bars?
-
Store in an airtight container at room temperature for up to 3 days, or refrigerate for up to a week. They also freeze well for up to 3 months.
- → Why did my filling turn out runny?
-
Make sure to bake until the filling is bubbling actively in the center. The cornstarch needs to reach a full boil to thicken properly. Cool completely before cutting.
- → Can I make these gluten-free?
-
Absolutely. Substitute the all-purpose flour with a 1:1 gluten-free flour blend. The texture remains excellent with no other changes needed.
- → What other fruits can I use?
-
Blueberries, raspberries, blackberries, or sliced peaches all work wonderfully. Adjust sugar slightly based on fruit sweetness—tart fruits may need a bit more.
- → Why is my crust too hard or too soft?
-
Press the base firmly but don't compact it too densely. Using cold butter is essential for proper texture. Overbaking can also make the crust too hard.
