 Save to feedthepins
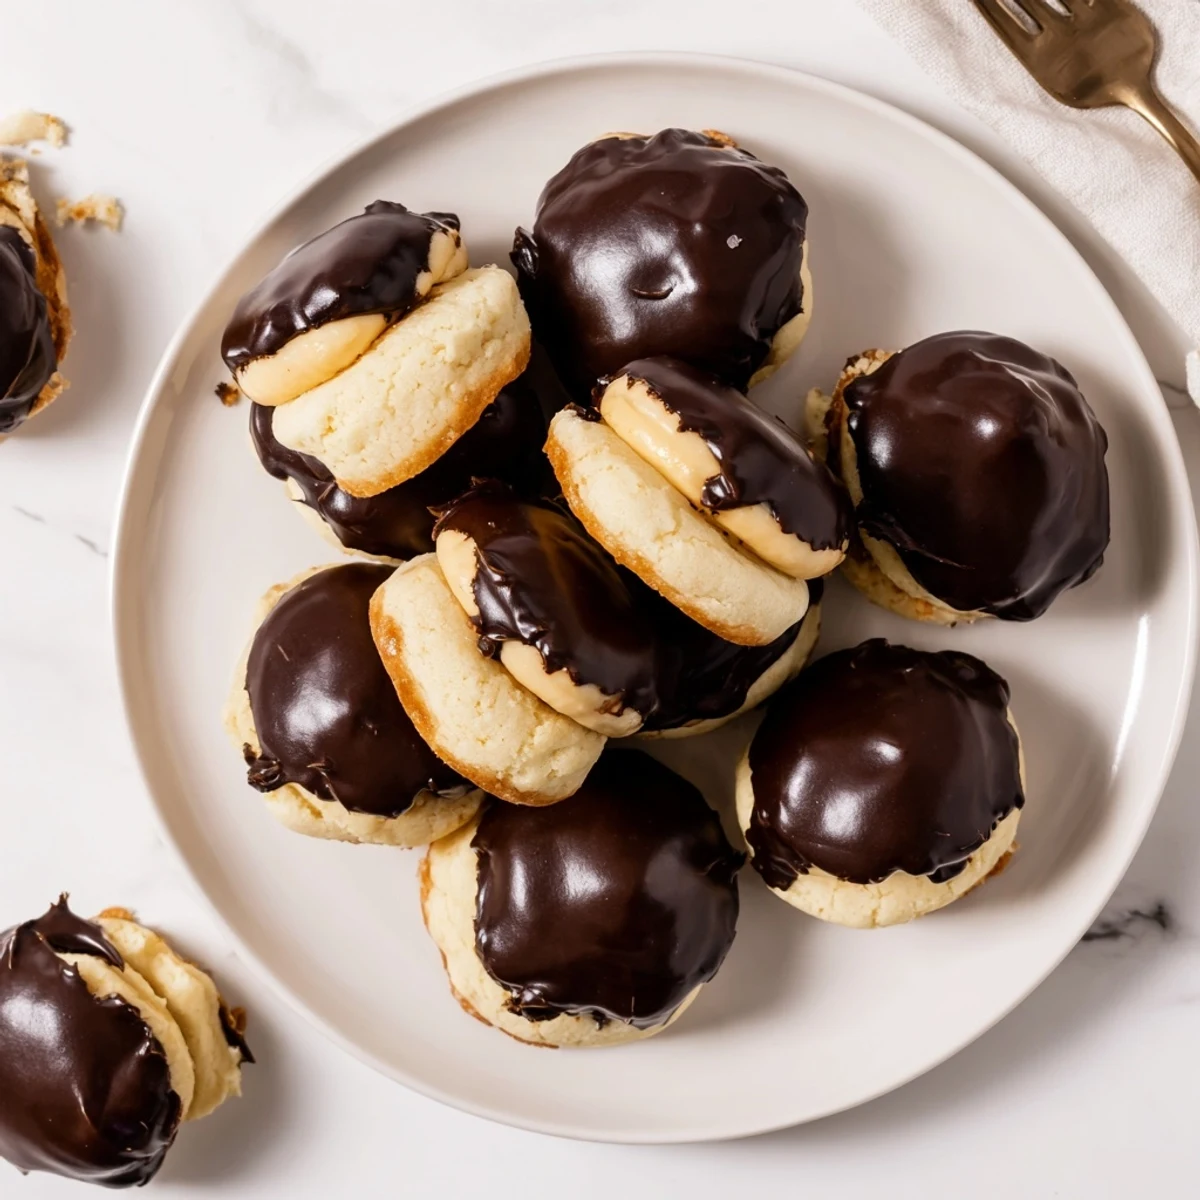
 These delightful two-bite treats transform the beloved Boston cream pie into portable, cookie form. Soft vanilla cookies are baked until lightly golden, then sandwiched around a silky vanilla custard filling. The crowning touch is a glossy chocolate glaze that sets to perfection.
The preparation comes together in about 45 minutes, with most of that time being hands-off. You'll start by creaming butter and sugar for the cookie base, which yields a tender, cake-like texture. While the cookies cool, you'll prepare the stovetop custard using simple pantry ingredients.
Assembly is straightforward—pipe or spoon custard onto the flat side of half the cookies, top with the remaining halves, and finish with a generous drizzle of chocolate glaze. The result is an impressive dessert that looks like it came from a bakery but is completely manageable for home cooks.
The first time I attempted these miniature versions of the classic Boston cream pie, I made the mistake of assembling them while the custard was still warm. By the time guests arrived, the chocolate glaze had slid halfway down the sides, creating what my sister called abstract dessert art on the serving platter. We ate them anyway, laughing through the mess, and honestly they still disappeared in minutes.
Last summer, my neighbor asked me to bring dessert for her annual block party, and I decided to give these another shot. This time I let the custard chill properly, and when I bit into that first finished cookie the crunch of chocolate gave way to silky vanilla custard sandwiched between tender cookies. They were the first thing gone from the table, and three people actually asked for the recipe right there.
Ingredients
- All-purpose flour: The foundation for soft, cakey cookies that hold up to filling without crumbling
- Unsalted butter: Room temperature butter creates the tender crumb you want in these cookie bases
- Whole milk: Essential for a rich, creamy custard that sets up beautifully between layers
- Egg yolk: This single yolk provides the structure and velvety texture for your filling
- Cornstarch: The secret to thickening the custard without making it heavy or starchy tasting
- Semi-sweet chocolate: Provides the perfect bittersweet contrast to the sweet vanilla custard
- Heavy cream: Creates a glossy, pourable glaze that firms up beautifully on top
Instructions
- Prepare your workspace:
- Preheat your oven to 350°F and line a baking sheet with parchment paper for easy cleanup later.
- Mix the dry ingredients:
- Whisk together flour, baking powder, baking soda, and salt in a medium bowl until well combined.
- Cream the butter and sugar:
- Beat softened butter and sugar until light and fluffy, then incorporate the egg and vanilla extract.
- Combine everything:
- Gradually add dry ingredients to the wet mixture, alternating with milk, until a soft dough comes together.
- Shape and bake:
- Roll tablespoon portions into balls, flatten slightly on the baking sheet, and bake for 10 to 12 minutes until edges are golden.
- Make the custard:
- Whisk milk, sugar, egg yolk, cornstarch, vanilla, and salt in a saucepan over medium heat until thickened.
- Chill completely:
- Press plastic wrap directly onto the custard surface and refrigerate until fully set, about 30 minutes.
- Prepare the glaze:
- Melt chocolate with cream and butter in the microwave, stirring every 20 seconds until smooth and glossy.
- Assemble the bites:
- Spoon custard onto half the cookies, sandwich with remaining cookies, and top with chocolate glaze.
 Save to feedthepins
 My grandmother used to make traditional Boston cream pie for Sunday dinners, and I remember watching her carefully pour that chocolate glaze from the center outward, creating perfect concentric circles. These bite-sized versions capture that same magic but in a format you can actually eat with your fingers while standing around the kitchen island talking.
Making These Ahead
I have learned through trial and error that the cookie base can be baked up to two days in advance and stored in an airtight container. The custard actually improves after chilling overnight, and the glaze comes together in just minutes when you are ready to assemble everything.
Getting the Assembly Right
Use a small spoon or piping bag to add custard to the flat side of your cookies, keeping it away from the very edges. This prevents the filling from squishing out when you press the second cookie on top, keeping everything neat and tidy.
Customization Ideas
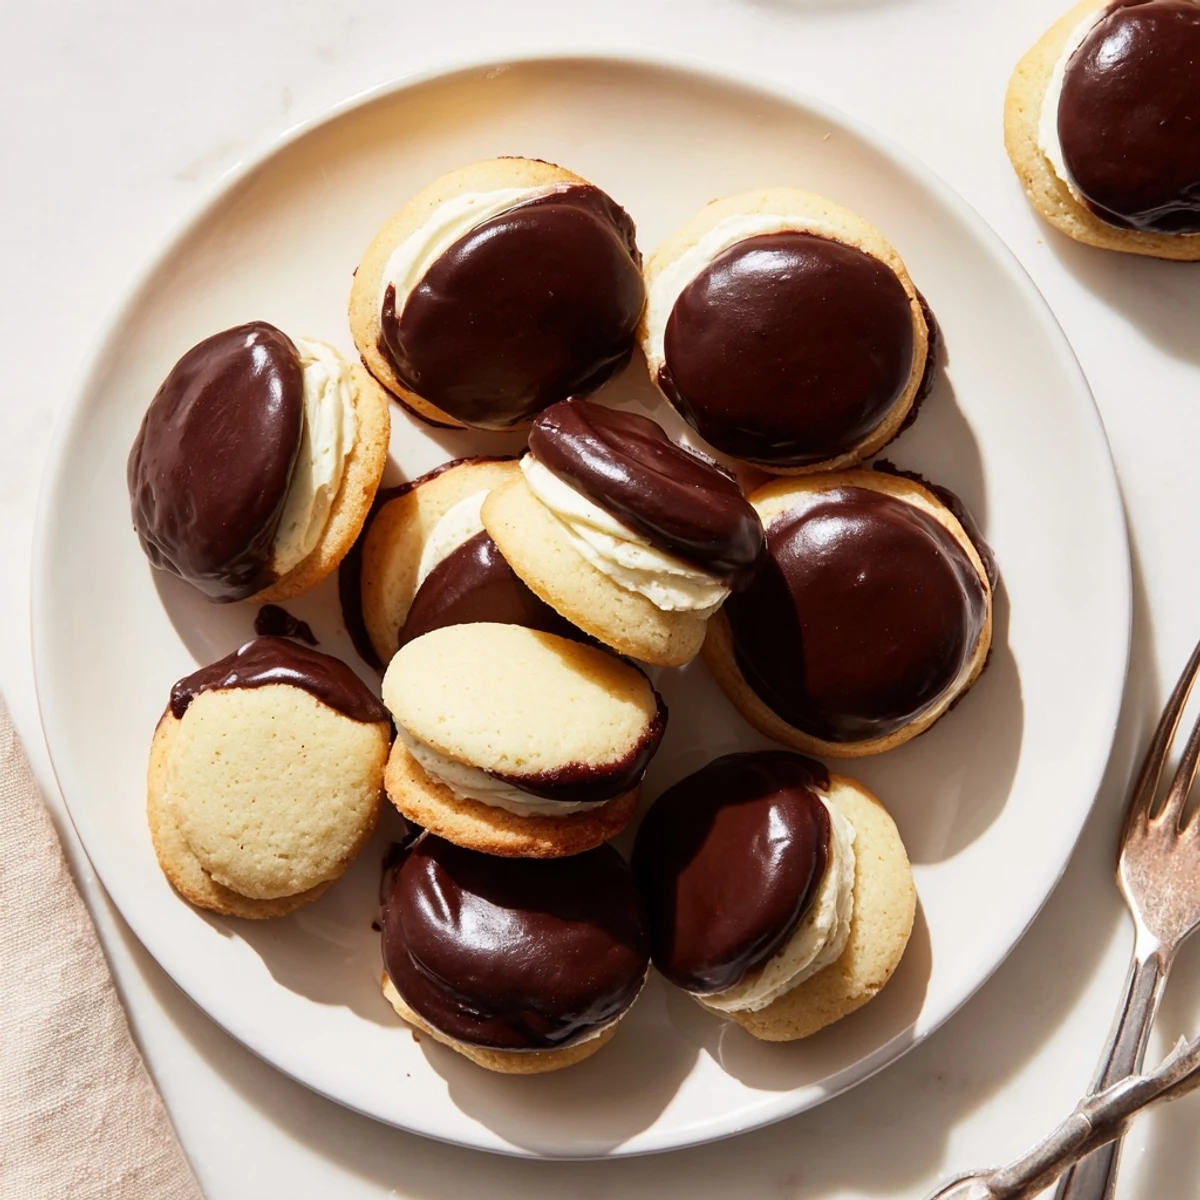
A splash of dark rum or a teaspoon of instant espresso powder dissolved in the custard transforms these into an entirely different dessert experience. You could also dip half of each assembled cookie in the glaze instead of covering the top completely for a striking presentation.
- Try adding a pinch of cinnamon to the cookie dough for warmth
- Mix toasted chopped pecans into the custard for added texture
- Top with sprinkles immediately after glazing while the chocolate is still wet
 Save to feedthepins
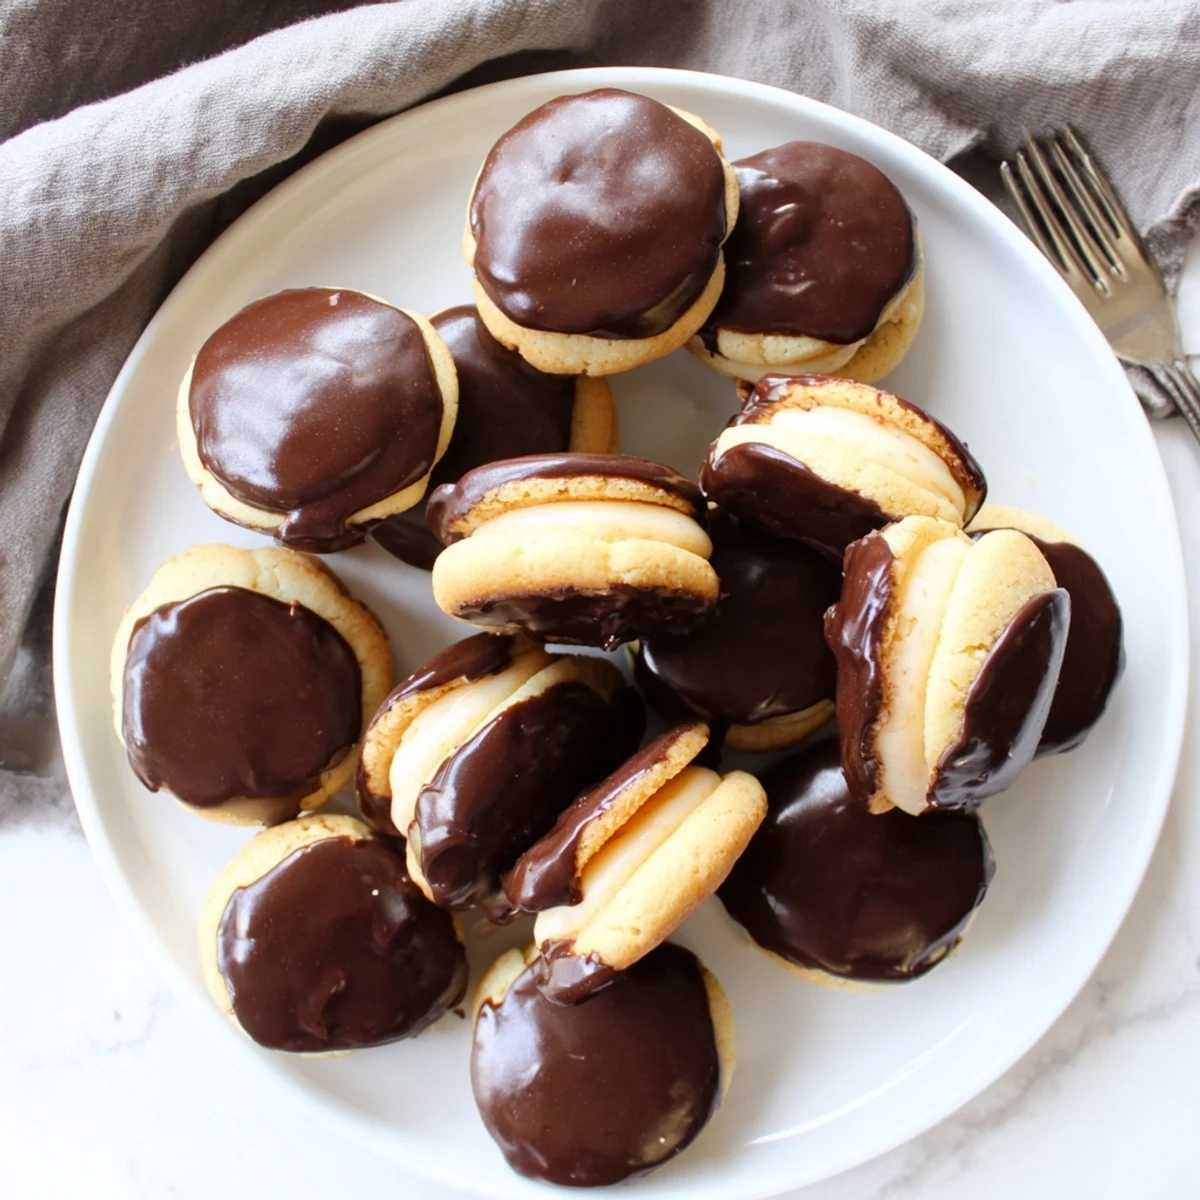
 There is something deeply satisfying about holding an entire dessert experience in the palm of your hand. These little bites bring all the nostalgic comfort of the classic pie but with the modern appeal of finger food at parties.
Recipe Q&A
- → Can I make the custard filling ahead of time?
-
Yes, the custard can be prepared up to 24 hours in advance. Store it in the refrigerator with plastic wrap pressed directly against the surface to prevent a skin from forming. Let it come to room temperature before piping for easier handling.
- → What's the best way to melt the chocolate for the glaze?
-
Microwave the chopped chocolate, cream, and butter in 20-second intervals, stirring well between each burst. This gradual heating prevents the chocolate from seizing. Alternatively, use a double boiler on the stovetop for more temperature control.
- → Can I freeze these assembled treats?
-
While it's best to enjoy these fresh, you can freeze the assembled cookie bites for up to one month. Place them in a single layer on a baking sheet until frozen, then transfer to an airtight container. Thaw in the refrigerator for best texture.
- → Is there a quicker alternative to homemade custard?
-
Absolutely. Swap the homemade custard for instant vanilla pudding mix prepared according to package directions. For thicker consistency, reduce the milk slightly. This shortcut shaves off about 15 minutes from your prep time.
- → Why did my custard turn out lumpy?
-
Lumps usually form from eggs cooking too quickly or insufficient whisking. Always whisk constantly over medium heat, and consider tempering the yolks by whisking a small amount of warm milk into them before adding to the saucepan. Straining the custard through a fine-mesh sieve can also rescue a lumpy batch.
- → Can I add flavor variations to the dough?
-
Certainly. Try adding almond extract instead of some vanilla, or fold in mini chocolate chips to the cookie dough. For the custard, a splash of rum, espresso, or orange liqueur adds sophistication. The chocolate glaze can also be flavored with a teaspoon of instant coffee powder.
